Installing a hot-swap fan
Attention:
vReplace a failed fan within 48 hours.
vTo ensure proper cooling and airflow, do not operate the server for more than 30 minutes with the side cover removed.
To install a
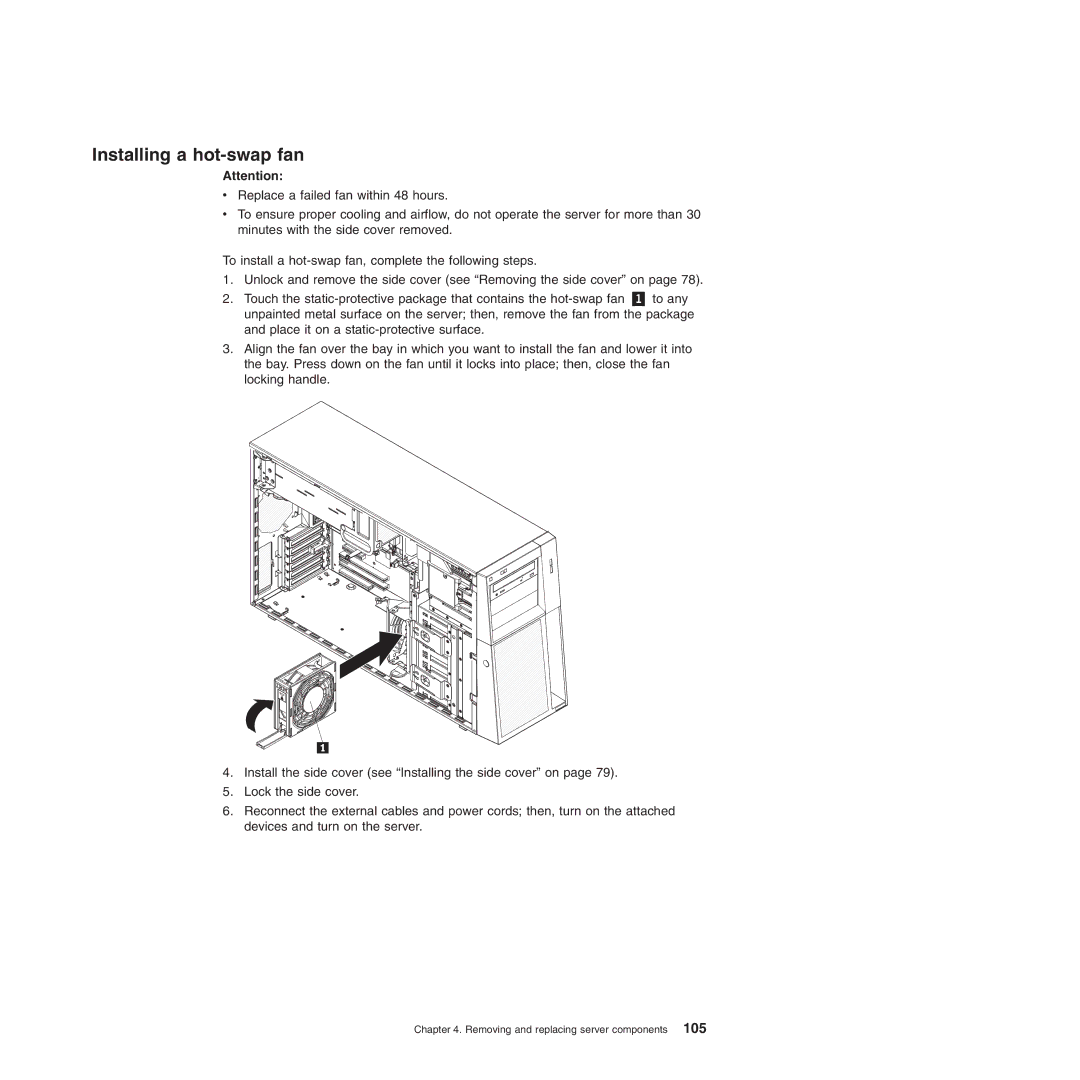
1.Unlock and remove the side cover (see “Removing the side cover” on page 78).
2.Touch the
3.Align the fan over the bay in which you want to install the fan and lower it into the bay. Press down on the fan until it locks into place; then, close the fan locking handle.
4.Install the side cover (see “Installing the side cover” on page 79).
5.Lock the side cover.
6.Reconnect the external cables and power cords; then, turn on the attached devices and turn on the server.