Easy LED Diagnostics panel (TD100x only)
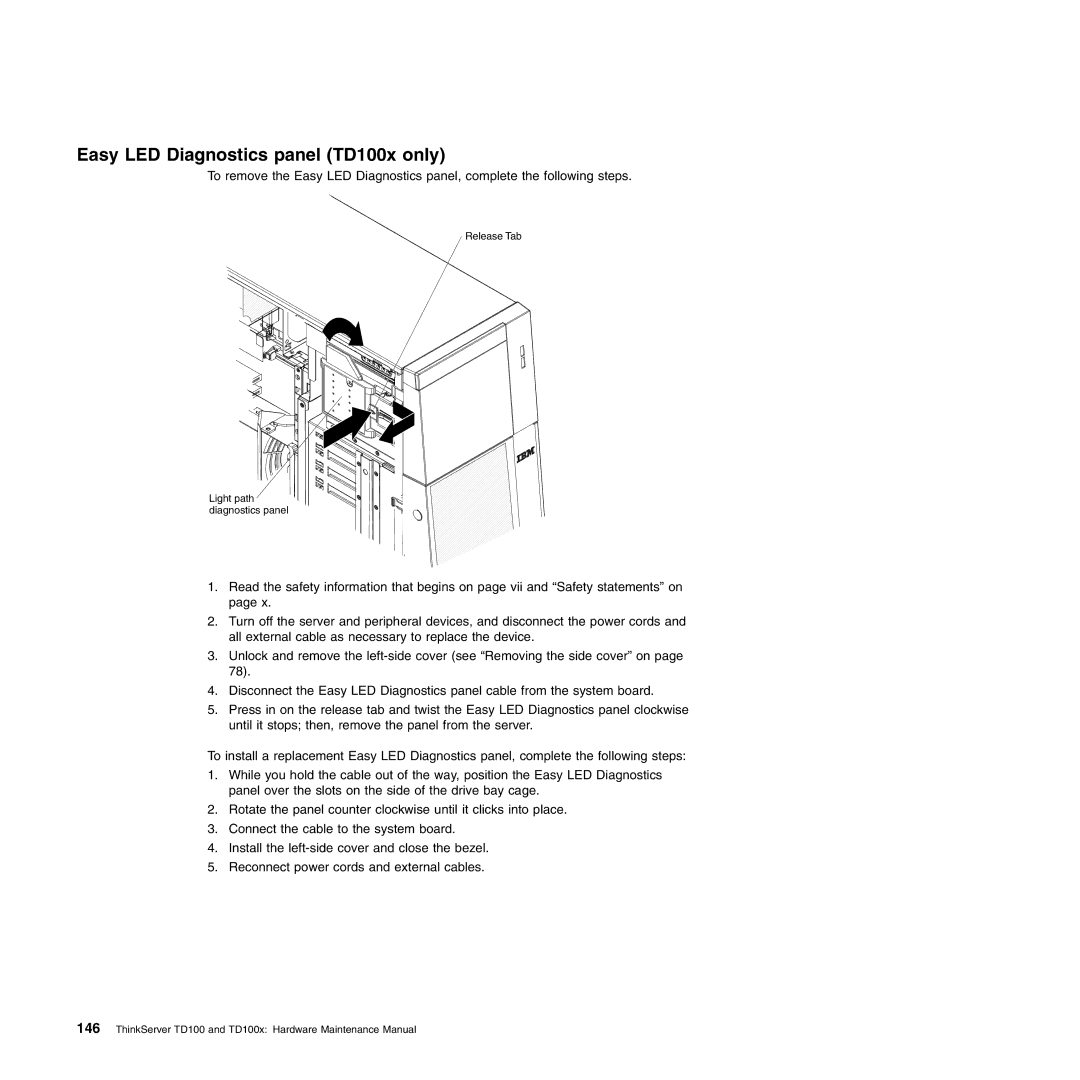
To remove the Easy LED Diagnostics panel, complete the following steps.
Release Tab
Light path diagnostics panel
1.Read the safety information that begins on page vii and “Safety statements” on page x.
2.Turn off the server and peripheral devices, and disconnect the power cords and all external cable as necessary to replace the device.
3.Unlock and remove the
4.Disconnect the Easy LED Diagnostics panel cable from the system board.
5.Press in on the release tab and twist the Easy LED Diagnostics panel clockwise until it stops; then, remove the panel from the server.
To install a replacement Easy LED Diagnostics panel, complete the following steps:
1.While you hold the cable out of the way, position the Easy LED Diagnostics panel over the slots on the side of the drive bay cage.
2.Rotate the panel counter clockwise until it clicks into place.
3.Connect the cable to the system board.
4.Install the
5.Reconnect power cords and external cables.