3.Return the
4.Reinstall the
5.Install the side cover (see “Installing the side cover” on page 79).
6.Lock the side cover.
7.Reconnect the external cables and power cords; then, turn on the attached devices and turn on the server.
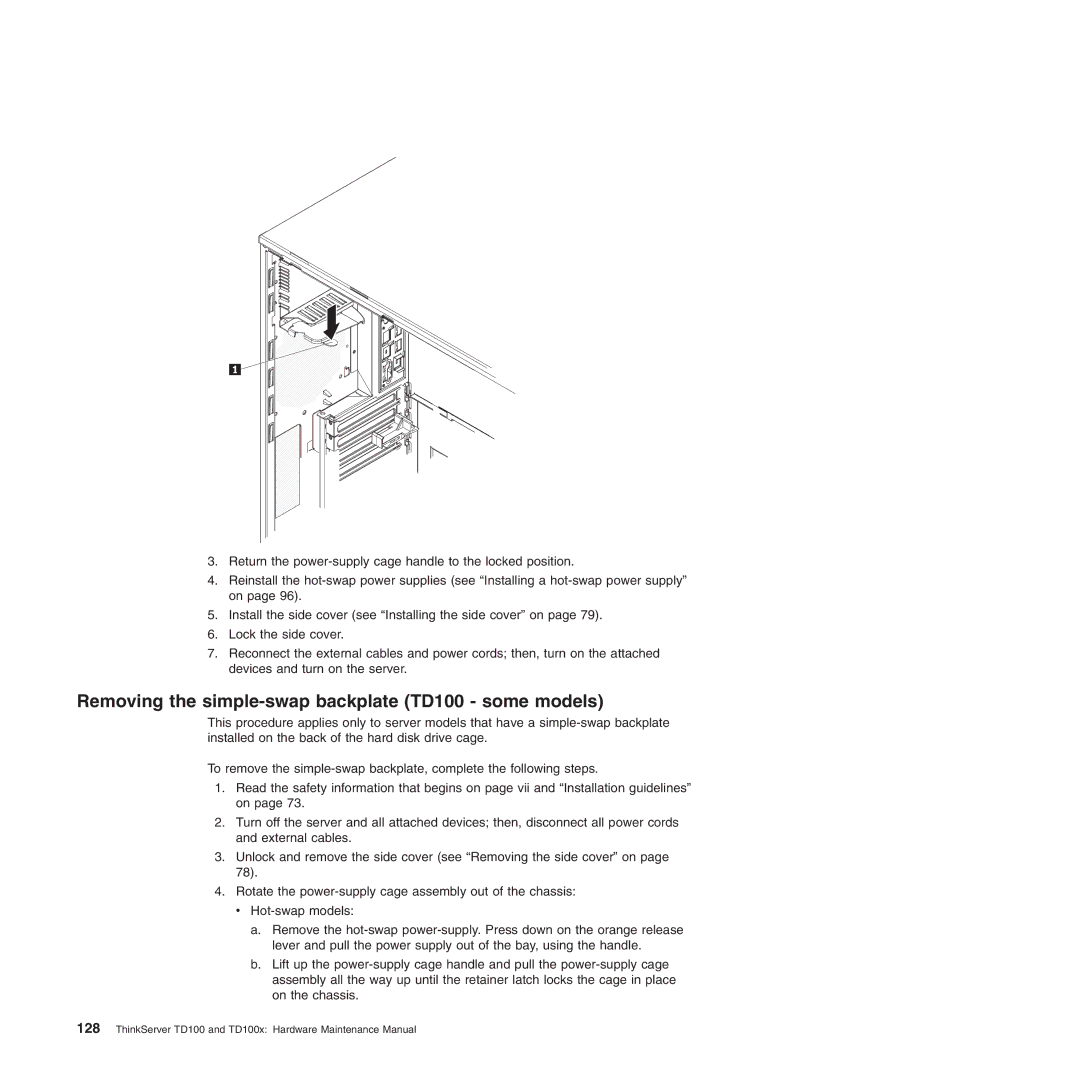
Removing the simple-swap backplate (TD100 - some models)
This procedure applies only to server models that have a
To remove the
1.Read the safety information that begins on page vii and “Installation guidelines” on page 73.
2.Turn off the server and all attached devices; then, disconnect all power cords and external cables.
3.Unlock and remove the side cover (see “Removing the side cover” on page 78).
4.Rotate the
a.Remove the
b.Lift up the