Removing the front system fan cage assembly
Attention:
vReplace a failed fan within 48 hours.
vTo ensure proper cooling and airflow, do not operate the server for more than 30 minutes with the side cover removed.
To remove the front system fan cage assembly, complete the following steps.
1.Read the safety information that begins on page vii and “Installation guidelines” on page 73.
2.Turn off the server and all attached devices; then, disconnect all power cords and external cables.
3.Unlock and remove the side cover (see “Removing the side cover” on page 78).
4.Rotate the
a.Remove the
b.Lift up the
v
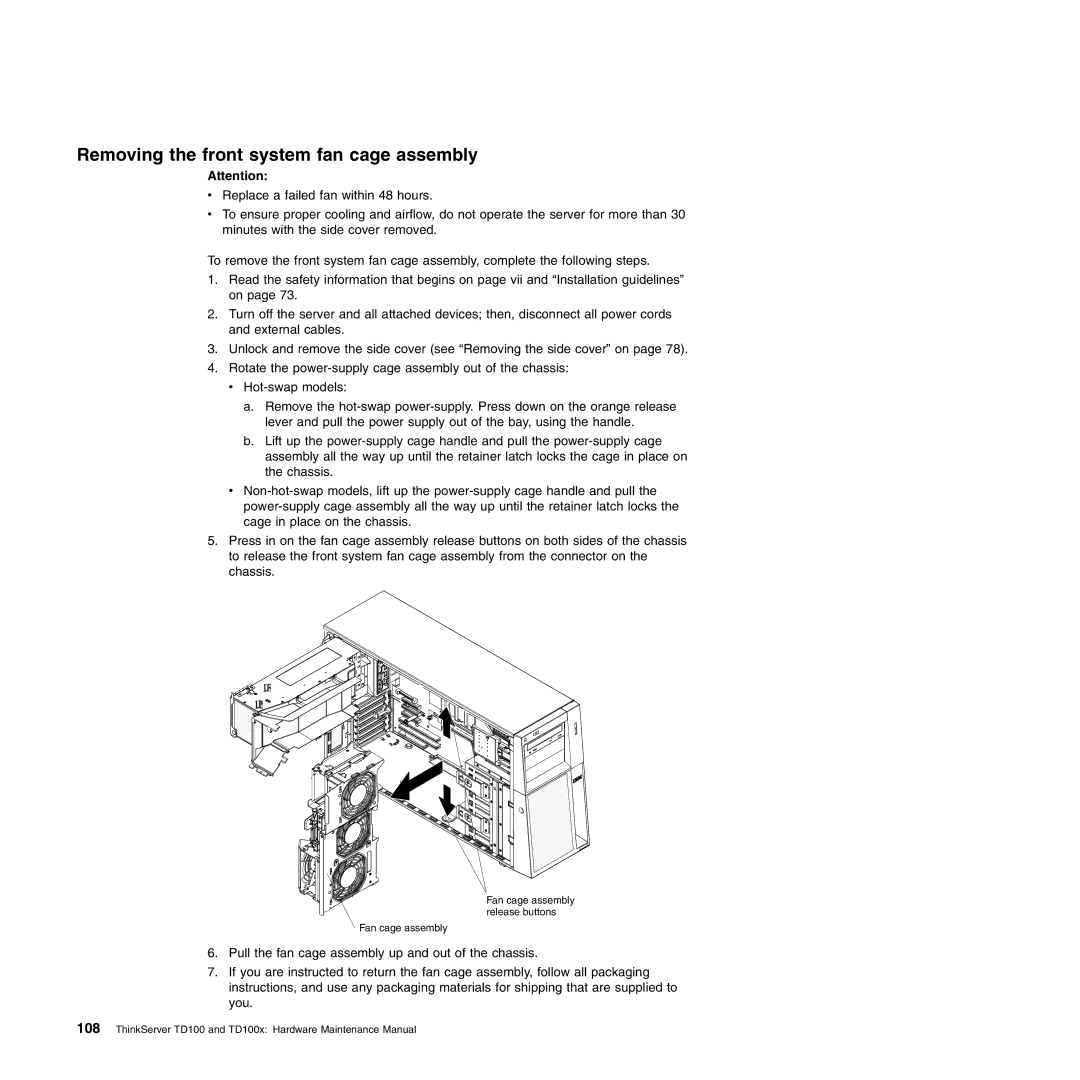
5.Press in on the fan cage assembly release buttons on both sides of the chassis to release the front system fan cage assembly from the connector on the chassis.
Fan cage assembly release buttons
Fan cage assembly
6.Pull the fan cage assembly up and out of the chassis.
7.If you are instructed to return the fan cage assembly, follow all packaging instructions, and use any packaging materials for shipping that are supplied to you.