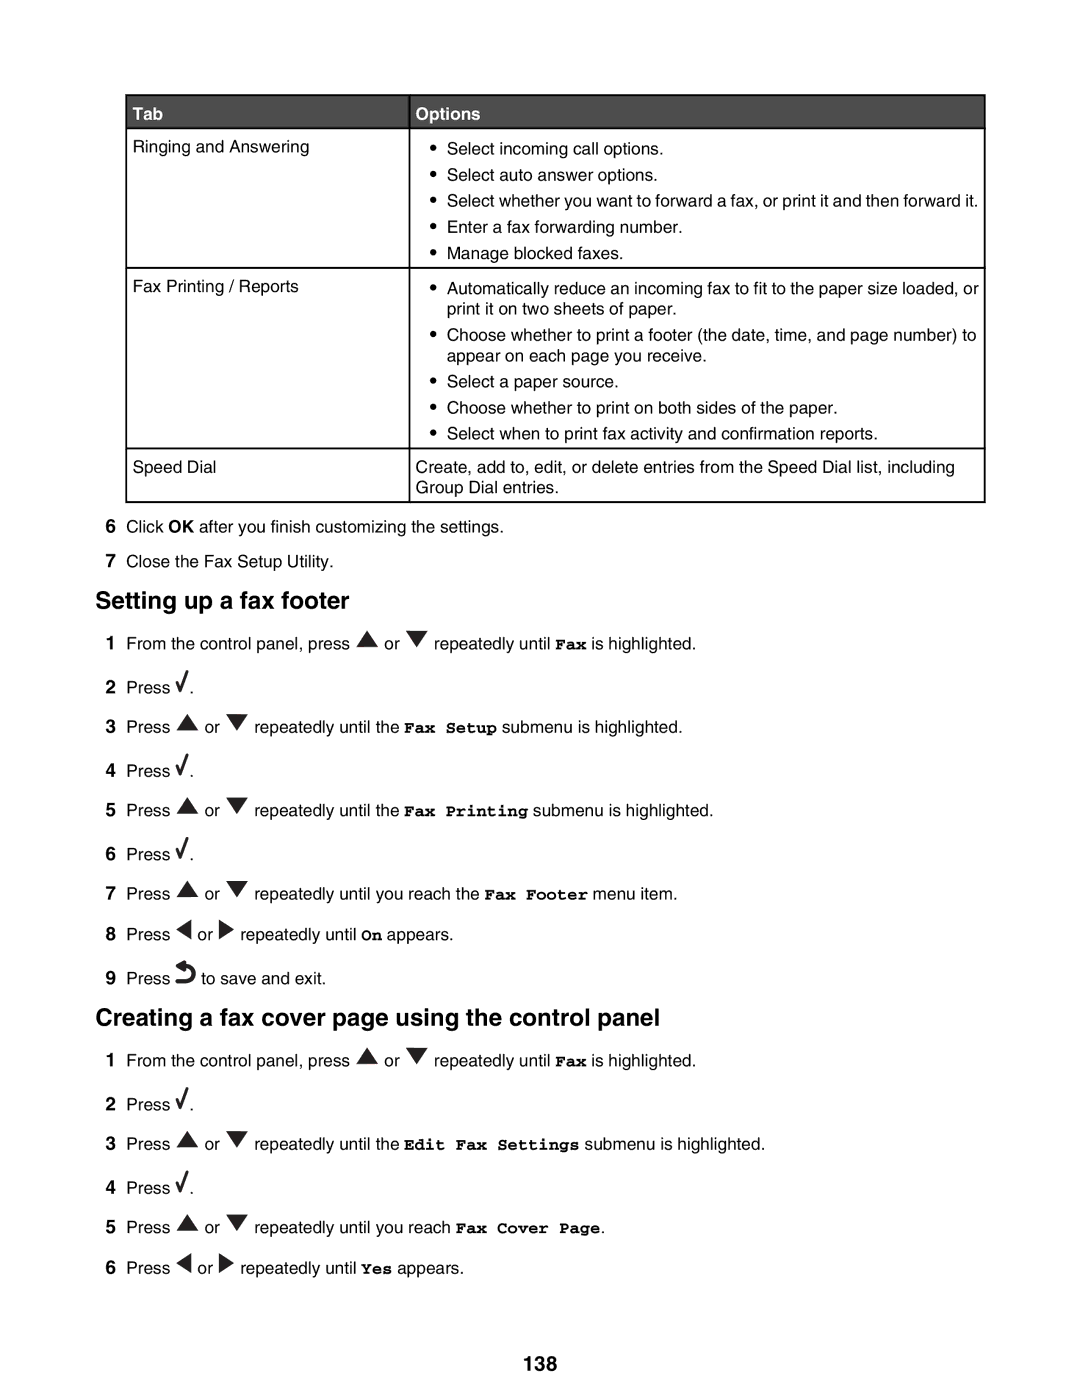
Tab | Options | ||
Ringing and Answering | • | Select incoming call options. |
|
| • | Select auto answer options. | |
| • Select whether you want to forward a fax, or print it and then forward it. | ||
| • | Enter a fax forwarding number. | |
| • | Manage blocked faxes. | |
|
|
|
|
Fax Printing / Reports | • | Automatically reduce an incoming fax to fit to the paper size loaded, or | |
|
| print it on two sheets of paper. | |
| • | Choose whether to print a footer (the date, time, and page number) to | |
|
| appear on each page you receive. | |
| • | Select a paper source. | |
| • | Choose whether to print on both sides of the paper. | |
| • | Select when to print fax activity and confirmation reports. | |
|
|
|
|
Speed Dial | Create, add to, edit, or delete entries from the Speed Dial list, including | ||
| Group Dial entries. | ||
|
|
|
|
6Click OK after you finish customizing the settings.
7Close the Fax Setup Utility.
Setting up a fax footer
1From the control panel, press ![]() or
or ![]() repeatedly until Fax is highlighted.
repeatedly until Fax is highlighted.
2Press ![]() .
.
3Press ![]() or
or ![]() repeatedly until the Fax Setup submenu is highlighted.
repeatedly until the Fax Setup submenu is highlighted.
4Press ![]() .
.
5Press ![]() or
or ![]() repeatedly until the Fax Printing submenu is highlighted.
repeatedly until the Fax Printing submenu is highlighted.
6Press ![]() .
.
7Press ![]() or
or ![]() repeatedly until you reach the Fax Footer menu item.
repeatedly until you reach the Fax Footer menu item.
8Press ![]() or
or ![]() repeatedly until On appears.
repeatedly until On appears.
9Press![]() to save and exit.
to save and exit.
Creating a fax cover page using the control panel
1From the control panel, press ![]() or
or ![]() repeatedly until Fax is highlighted.
repeatedly until Fax is highlighted.
2Press ![]() .
.
3Press ![]() or
or ![]() repeatedly until the Edit Fax Settings submenu is highlighted.
repeatedly until the Edit Fax Settings submenu is highlighted.
4Press ![]() .
.
5Press ![]() or
or ![]() repeatedly until you reach Fax Cover Page.
repeatedly until you reach Fax Cover Page.
6Press ![]() or
or ![]() repeatedly until Yes appears.
repeatedly until Yes appears.