Use this | To |
|
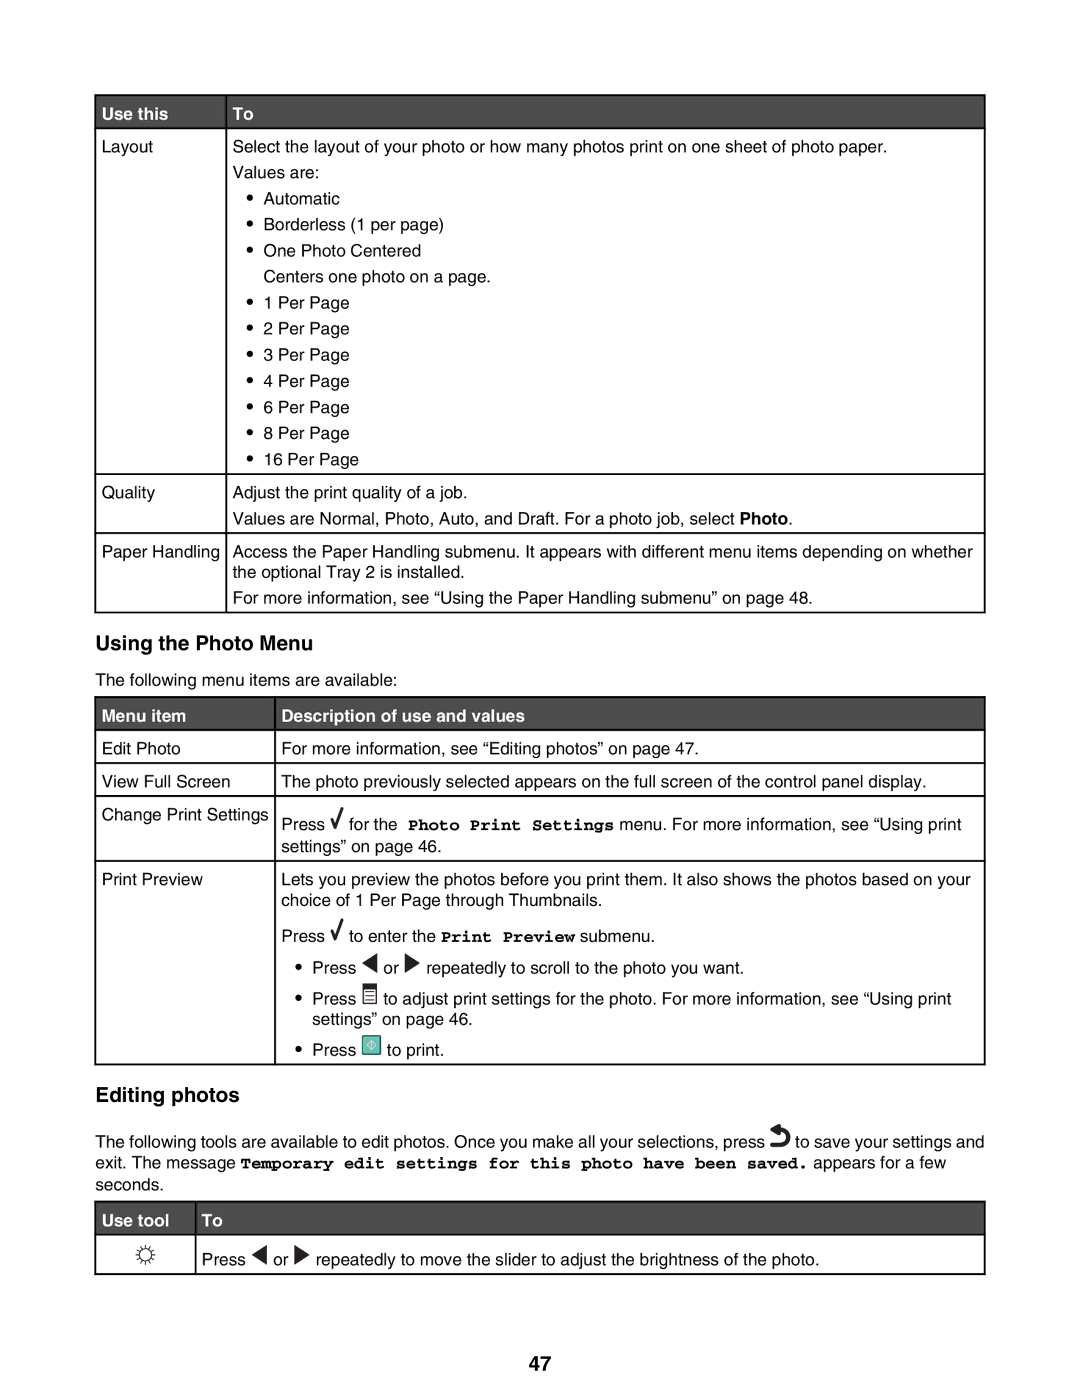
Layout | Select the layout of your photo or how many photos print on one sheet of photo paper. | |
| Values are: | |
| • | Automatic |
| • | Borderless (1 per page) |
| • | One Photo Centered |
|
| Centers one photo on a page. |
| • | 1 Per Page |
| • | 2 Per Page |
| • | 3 Per Page |
| • | 4 Per Page |
| • | 6 Per Page |
| • | 8 Per Page |
| • | 16 Per Page |
|
|
|
Quality | Adjust the print quality of a job. | |
| Values are Normal, Photo, Auto, and Draft. For a photo job, select Photo. | |
|
|
|
Paper Handling | Access the Paper Handling submenu. It appears with different menu items depending on whether | |
| the optional Tray 2 is installed. | |
| For more information, see “Using the Paper Handling submenu” on page 48. | |
|
|
|
Using the Photo Menu
The following menu items are available:
Menu item
Edit Photo
View Full Screen
Change Print Settings
Print Preview
Description of use and values
For more information, see “Editing photos” on page 47.
The photo previously selected appears on the full screen of the control panel display.
Press ![]() for the Photo Print Settings menu. For more information, see “Using print settings” on page 46.
for the Photo Print Settings menu. For more information, see “Using print settings” on page 46.
Lets you preview the photos before you print them. It also shows the photos based on your choice of 1 Per Page through Thumbnails.
Press ![]() to enter the Print Preview submenu.
to enter the Print Preview submenu.
•Press ![]() or
or ![]() repeatedly to scroll to the photo you want.
repeatedly to scroll to the photo you want.
•Press ![]() to adjust print settings for the photo. For more information, see “Using print settings” on page 46.
to adjust print settings for the photo. For more information, see “Using print settings” on page 46.
•Press ![]() to print.
to print.
Editing photos
The following tools are available to edit photos. Once you make all your selections, press![]() to save your settings and exit. The message Temporary edit settings for this photo have been saved. appears for a few seconds.
to save your settings and exit. The message Temporary edit settings for this photo have been saved. appears for a few seconds.
Use tool
To
Press ![]() or
or ![]() repeatedly to move the slider to adjust the brightness of the photo.
repeatedly to move the slider to adjust the brightness of the photo.
47
