SD/MMC | MS |
XD | |
CF/MD |
|
| PictBr |
| idge |
4Click View and Print Photos.
5From the dialog that appears, click on each photo that you want to print.
6Select the size for each photo, the paper size in the printer, and the number of copies.
7Click Print Now.
Printing photos stored on the computer using the Productivity Suite
1Load a stack of photo paper in Tray 1 or one sheet in the small media feeder.
Note: Make sure to load the paper with the glossy or printable side facing down. (If you are not sure which side is the printable side, see the instructions that came with the paper.)
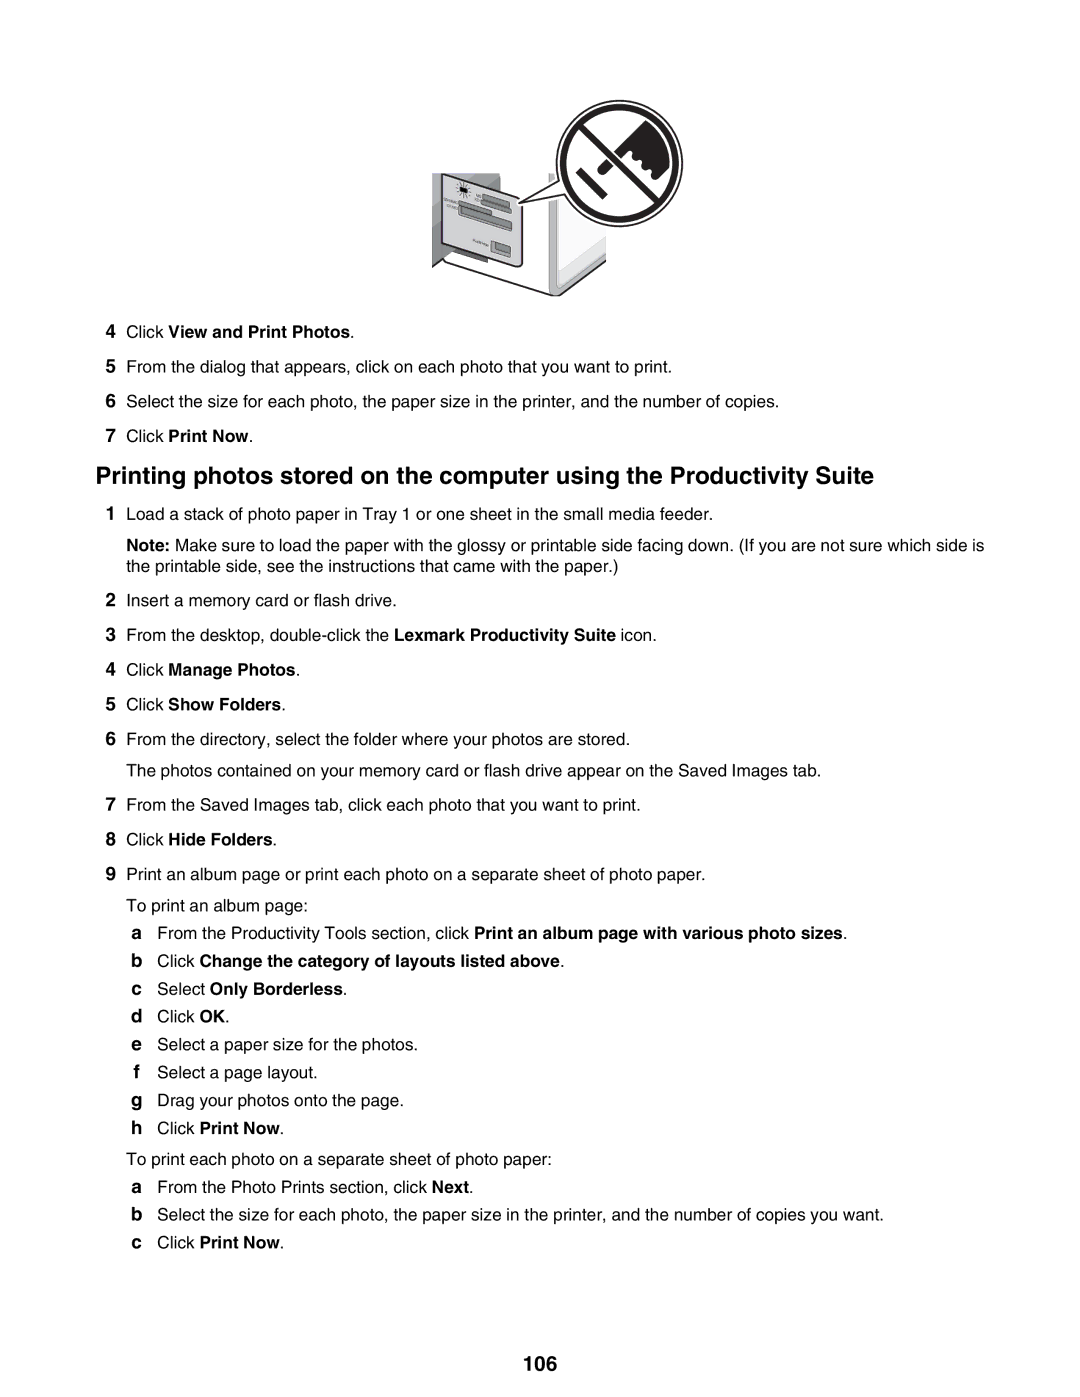
2Insert a memory card or flash drive.
3From the desktop,
4Click Manage Photos.
5Click Show Folders.
6From the directory, select the folder where your photos are stored.
The photos contained on your memory card or flash drive appear on the Saved Images tab.
7From the Saved Images tab, click each photo that you want to print.
8Click Hide Folders.
9Print an album page or print each photo on a separate sheet of photo paper. To print an album page:
a From the Productivity Tools section, click Print an album page with various photo sizes. b Click Change the category of layouts listed above.
c Select Only Borderless. d Click OK.
e Select a paper size for the photos. f Select a page layout.
g Drag your photos onto the page. h Click Print Now.
To print each photo on a separate sheet of photo paper: a From the Photo Prints section, click Next.
b Select the size for each photo, the paper size in the printer, and the number of copies you want. c Click Print Now.