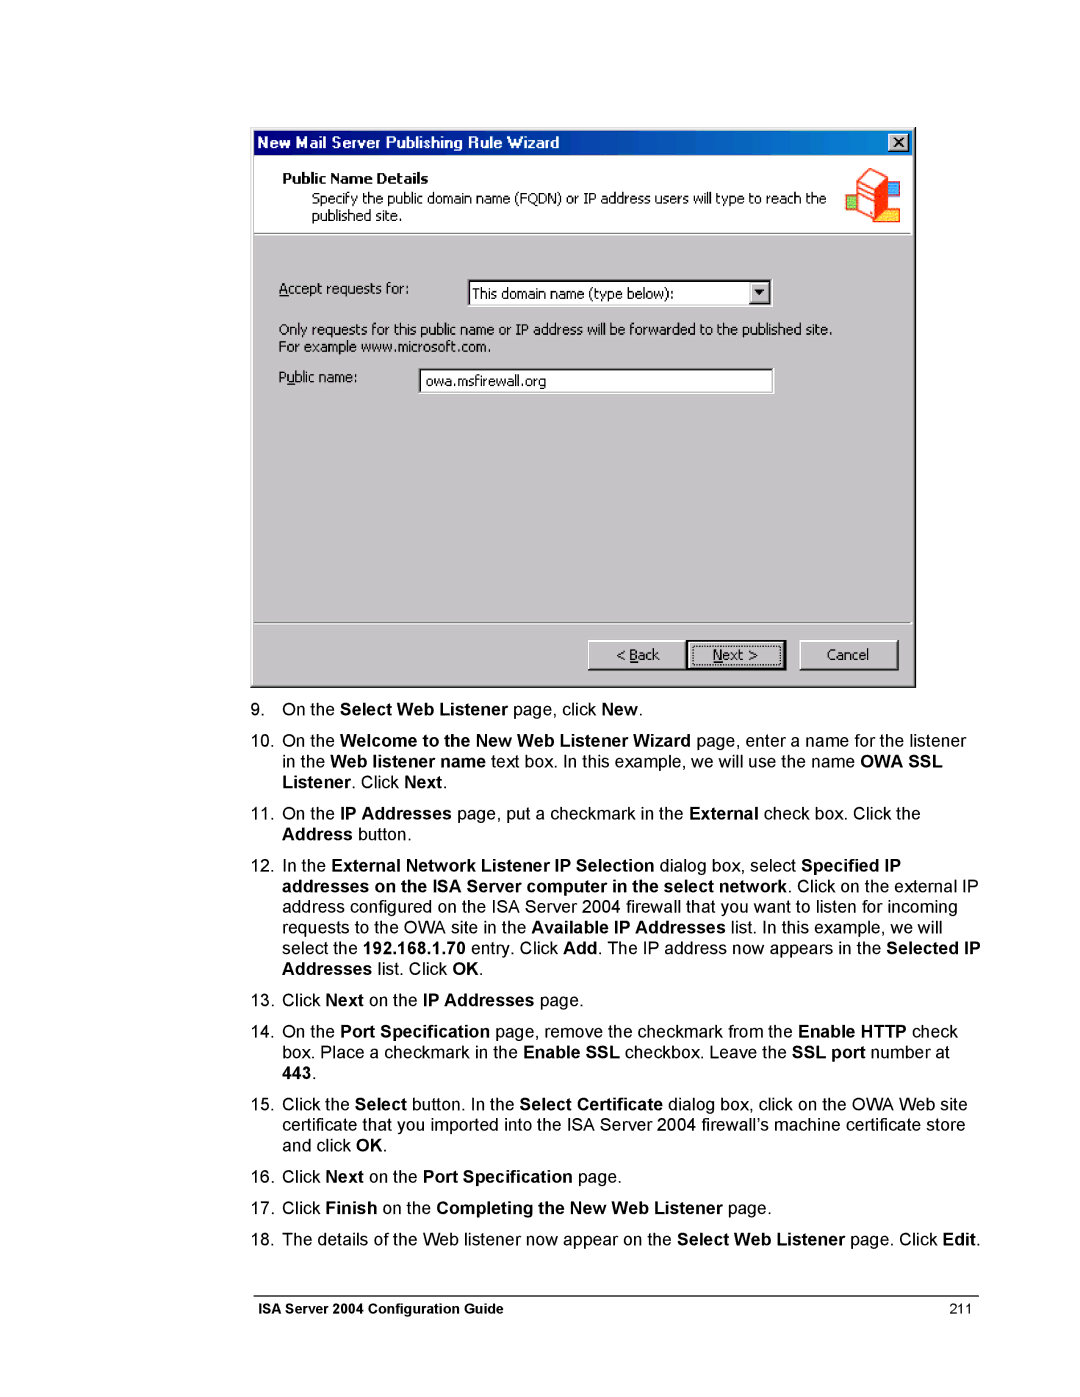
9.On the Select Web Listener page, click New.
10.On the Welcome to the New Web Listener Wizard page, enter a name for the listener in the Web listener name text box. In this example, we will use the name OWA SSL Listener. Click Next.
11.On the IP Addresses page, put a checkmark in the External check box. Click the Address button.
12.In the External Network Listener IP Selection dialog box, select Specified IP addresses on the ISA Server computer in the select network. Click on the external IP address configured on the ISA Server 2004 firewall that you want to listen for incoming requests to the OWA site in the Available IP Addresses list. In this example, we will select the 192.168.1.70 entry. Click Add. The IP address now appears in the Selected IP Addresses list. Click OK.
13.Click Next on the IP Addresses page.
14.On the Port Specification page, remove the checkmark from the Enable HTTP check box. Place a checkmark in the Enable SSL checkbox. Leave the SSL port number at 443.
15.Click the Select button. In the Select Certificate dialog box, click on the OWA Web site certificate that you imported into the ISA Server 2004 firewall’s machine certificate store and click OK.
16.Click Next on the Port Specification page.
17.Click Finish on the Completing the New Web Listener page.
18.The details of the Web listener now appear on the Select Web Listener page. Click Edit.
ISA Server 2004 Configuration Guide | 211 |
