Create the Network Rule at the Branch Office
Just as we did at the main office, we must create a routing relationship between the branch office and the main office networks. We will configure a route relationship so that we can get the highest level of protocol support.
Perform the following steps to create the Network Rule at the branch office:
1.Expand the Configuration node in the left Pane of the console. Click on the Networks node.
2.Click on the Network Rules tab in the Details Pane. Click on the Tasks tab in the Task Pane. Click Create a New Network Rule.
3.On the Welcome to the New Network Rule Wizard page, enter a name for the rule in the Network rule name text box. In this example, enter BranchMain. Click Next.
4.On the Network Traffic Sources page, click Add.
5.In the Add Network Entities dialog box, click the Networks folder. Double click on the Internal network. Click Close.
6.Click Next on the Network Traffic Sources page.
7.On the Network Traffic Destinations page, click Add.
8.In the Add Network Entities dialog box, double click on the Main network. Click Close.
9.Click Next on the Network Traffic Destinations page.
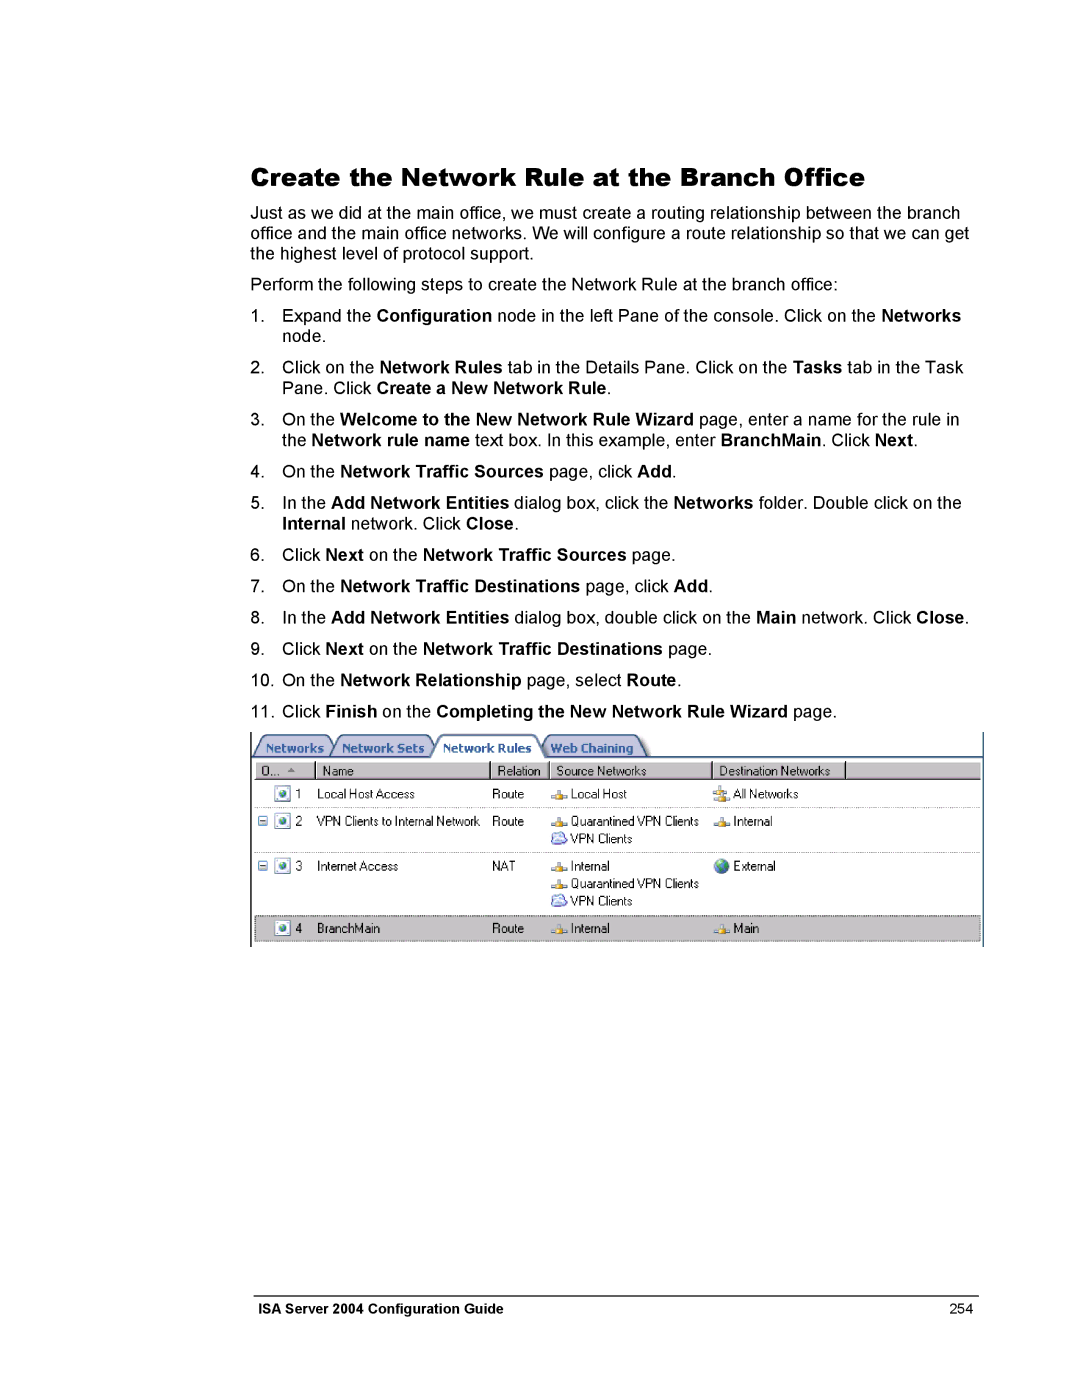
10.On the Network Relationship page, select Route.
11.Click Finish on the Completing the New Network Rule Wizard page.
ISA Server 2004 Configuration Guide | 254 |