®
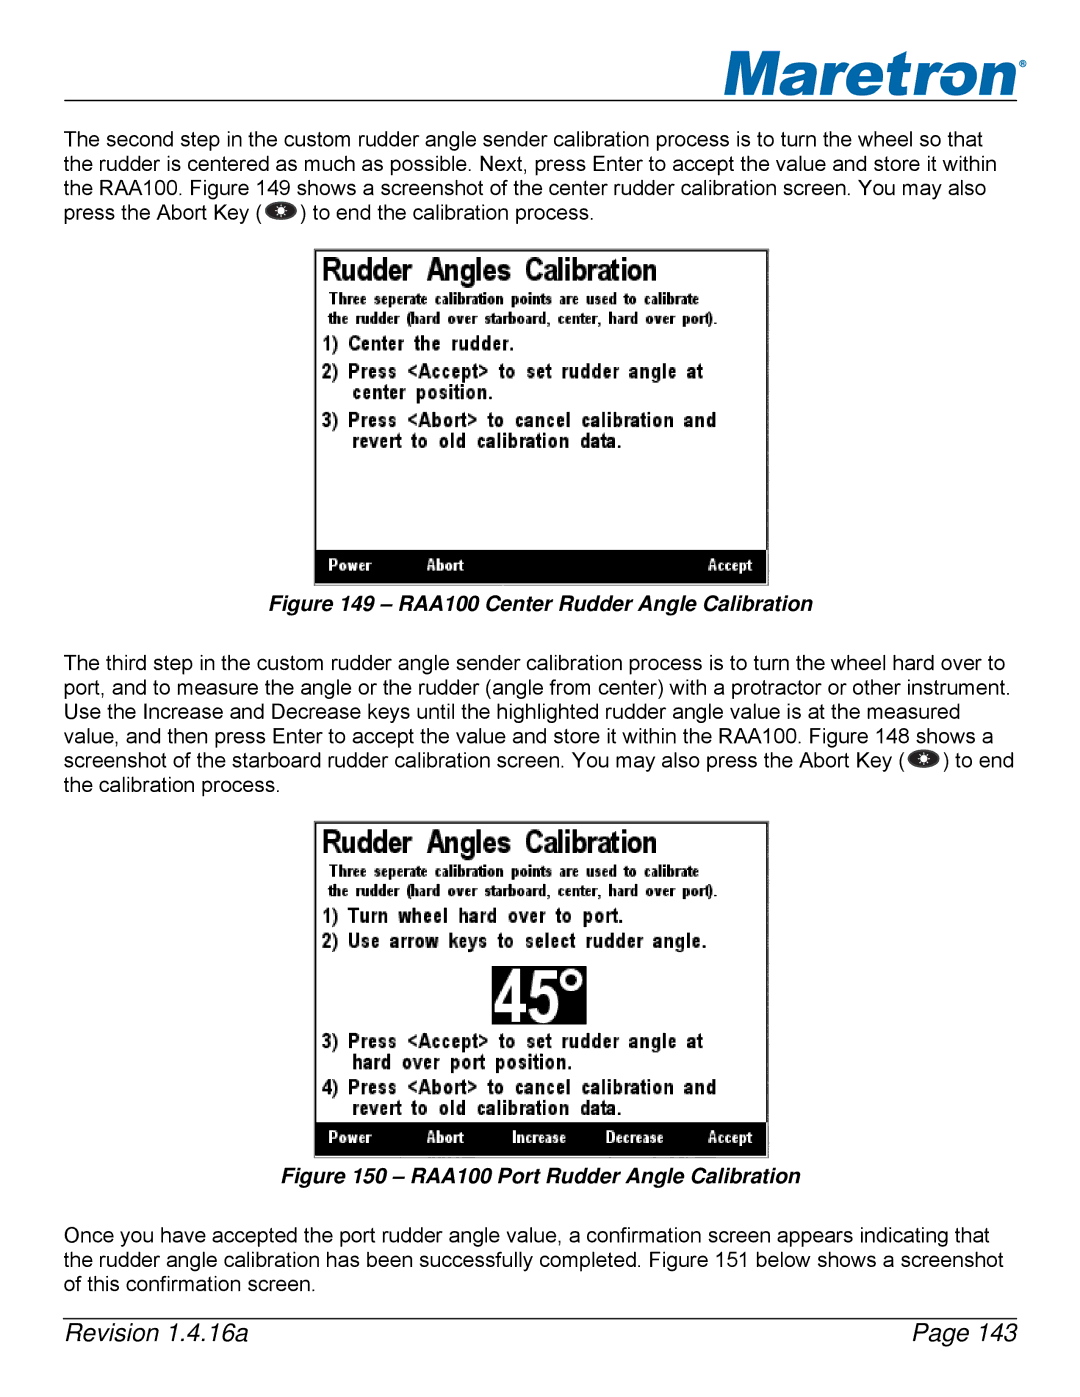
The second step in the custom rudder angle sender calibration process is to turn the wheel so that the rudder is centered as much as possible. Next, press Enter to accept the value and store it within the RAA100. Figure 149 shows a screenshot of the center rudder calibration screen. You may also press the Abort Key ( ![]() ) to end the calibration process.
) to end the calibration process.
Figure 149 – RAA100 Center Rudder Angle Calibration
The third step in the custom rudder angle sender calibration process is to turn the wheel hard over to port, and to measure the angle or the rudder (angle from center) with a protractor or other instrument. Use the Increase and Decrease keys until the highlighted rudder angle value is at the measured value, and then press Enter to accept the value and store it within the RAA100. Figure 148 shows a screenshot of the starboard rudder calibration screen. You may also press the Abort Key ( ![]() ) to end the calibration process.
) to end the calibration process.
Figure 150 – RAA100 Port Rudder Angle Calibration
Once you have accepted the port rudder angle value, a confirmation screen appears indicating that the rudder angle calibration has been successfully completed. Figure 151 below shows a screenshot of this confirmation screen.
Revision 1.4.16a | Page 143 |
