b.On the front panel or remote control, press the left/right arrow buttons ![]()
![]() to highlight the month settings box, and then press ENTER. Using the mouse, click the month settings box. The month settings box changes color.
to highlight the month settings box, and then press ENTER. Using the mouse, click the month settings box. The month settings box changes color.
c.On the front panel or remote control, press the left/right arrow buttons ![]()
![]() to select the desired month, and then press ENTER. Using the mouse, right- or
to select the desired month, and then press ENTER. Using the mouse, right- or
d.Press any of the arrow buttons ![]()
![]()
![]()
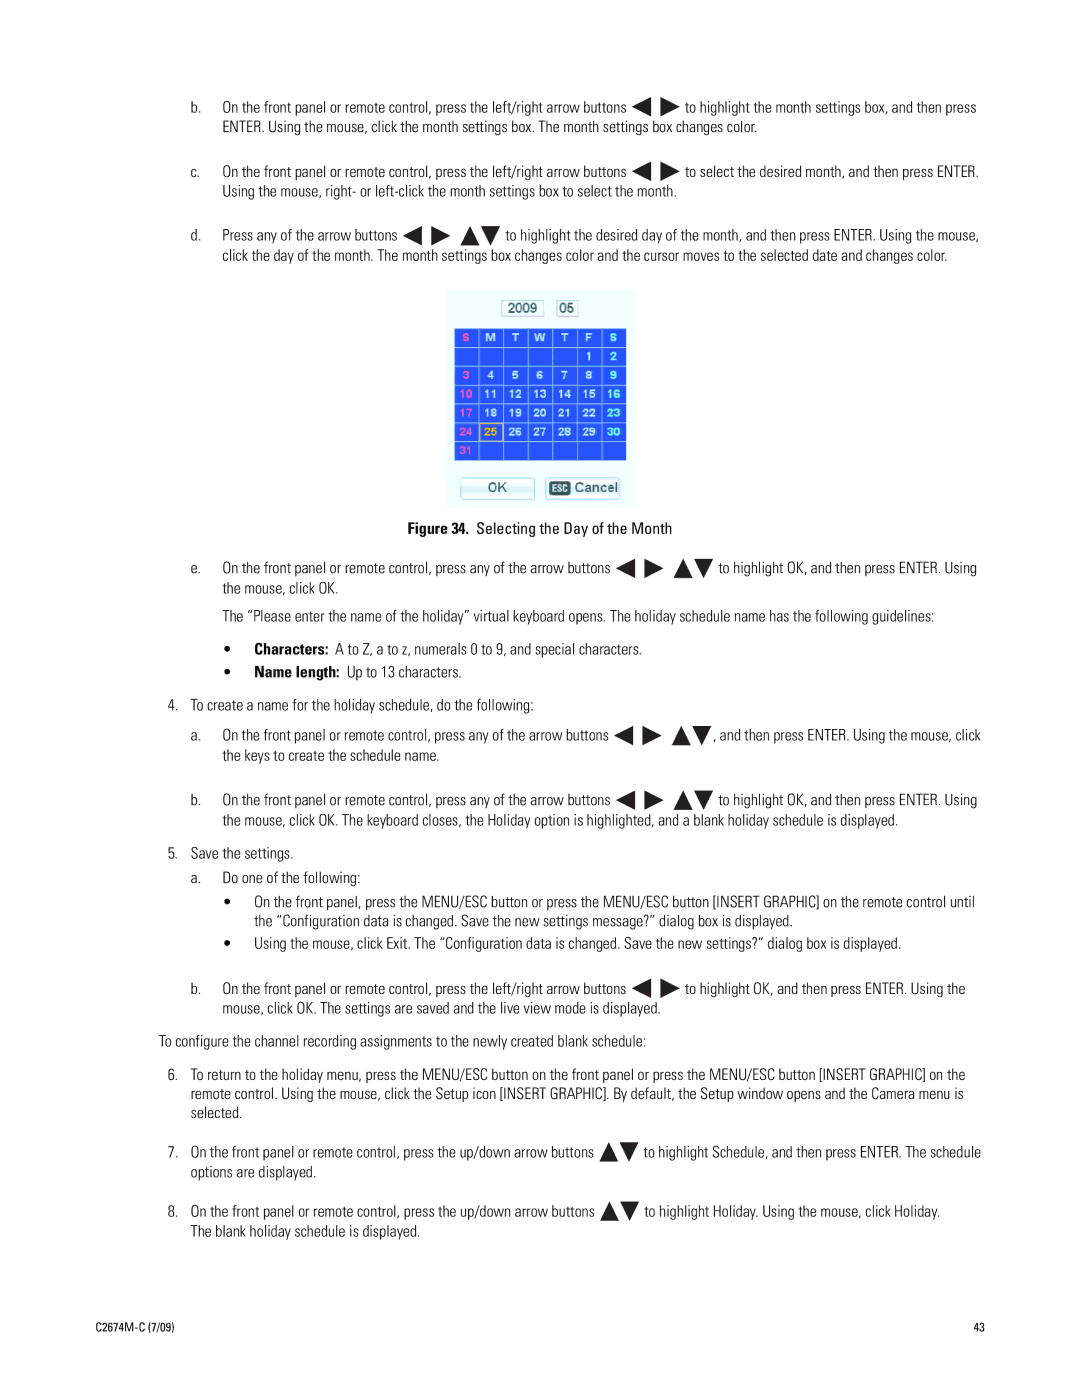
![]() to highlight the desired day of the month, and then press ENTER. Using the mouse, click the day of the month. The month settings box changes color and the cursor moves to the selected date and changes color.
to highlight the desired day of the month, and then press ENTER. Using the mouse, click the day of the month. The month settings box changes color and the cursor moves to the selected date and changes color.
Figure 34. Selecting the Day of the Month
e.On the front panel or remote control, press any of the arrow buttons 


 to highlight OK, and then press ENTER. Using the mouse, click OK.
The “Please enter the name of the holiday” virtual keyboard opens. The holiday schedule name has the following guidelines:
•Characters: A to Z, a to z, numerals 0 to 9, and special characters.
•Name length: Up to 13 characters.
4.To create a name for the holiday schedule, do the following:
a.On the front panel or remote control, press any of the arrow buttons ![]()
![]()
![]()
![]() , and then press ENTER. Using the mouse, click the keys to create the schedule name.
, and then press ENTER. Using the mouse, click the keys to create the schedule name.
b.On the front panel or remote control, press any of the arrow buttons ![]()
![]()
![]()
![]() to highlight OK, and then press ENTER. Using the mouse, click OK. The keyboard closes, the Holiday option is highlighted, and a blank holiday schedule is displayed.
to highlight OK, and then press ENTER. Using the mouse, click OK. The keyboard closes, the Holiday option is highlighted, and a blank holiday schedule is displayed.
5.Save the settings.
a.Do one of the following:
•On the front panel, press the MENU/ESC button or press the MENU/ESC button [INSERT GRAPHIC] on the remote control until the “Configuration data is changed. Save the new settings message?” dialog box is displayed.
•Using the mouse, click Exit. The “Configuration data is changed. Save the new settings?” dialog box is displayed.
b.On the front panel or remote control, press the left/right arrow buttons ![]()
![]() to highlight OK, and then press ENTER. Using the mouse, click OK. The settings are saved and the live view mode is displayed.
to highlight OK, and then press ENTER. Using the mouse, click OK. The settings are saved and the live view mode is displayed.
To configure the channel recording assignments to the newly created blank schedule:
6.To return to the holiday menu, press the MENU/ESC button on the front panel or press the MENU/ESC button [INSERT GRAPHIC] on the remote control. Using the mouse, click the Setup icon [INSERT GRAPHIC]. By default, the Setup window opens and the Camera menu is selected.
7.On the front panel or remote control, press the up/down arrow buttons ![]()
![]() to highlight Schedule, and then press ENTER. The schedule options are displayed.
to highlight Schedule, and then press ENTER. The schedule options are displayed.
8.On the front panel or remote control, press the up/down arrow buttons ![]()
![]() to highlight Holiday. Using the mouse, click Holiday. The blank holiday schedule is displayed.
to highlight Holiday. Using the mouse, click Holiday. The blank holiday schedule is displayed.
43 |
