SYSTEM IR REMOTE ID AND USER LOGOUT
IR REMOTE ID
The DX4500/DX4600 infrared (IR) ID feature allows you to transmit a unique IR Remote ID
NOTE: For proper operation and control, all IR receivers must be in the line of sight of the remote control (refer to the following examples).
•For example, you have two DVRs: Lobby and Front Entrance. Both are in the line of sight of the remote control. Lobby is preconfigured for IR Remote ID 02 and Front Entrance is preconfigured for ID 03.
–If the remote control transmits ID 02, Lobby is enabled to respond to the remote control and Front Entrance is disabled from responding.
–If the remote control transmits ID 03 to both DVRs, Front Entrance is enabled to respond to the remote control and Lobby is disabled from responding.
•For example, Front Entrance (which was previously enabled) is not in the line of sight of the remote control but Lobby is in its line of sight. The remote control transmits ID 02.
–Front Entrance remains enabled because it did not receive the IR transmission. It continues to respond to remote control commands intended for Lobby.
–Lobby is enabled and responds to the remote control.
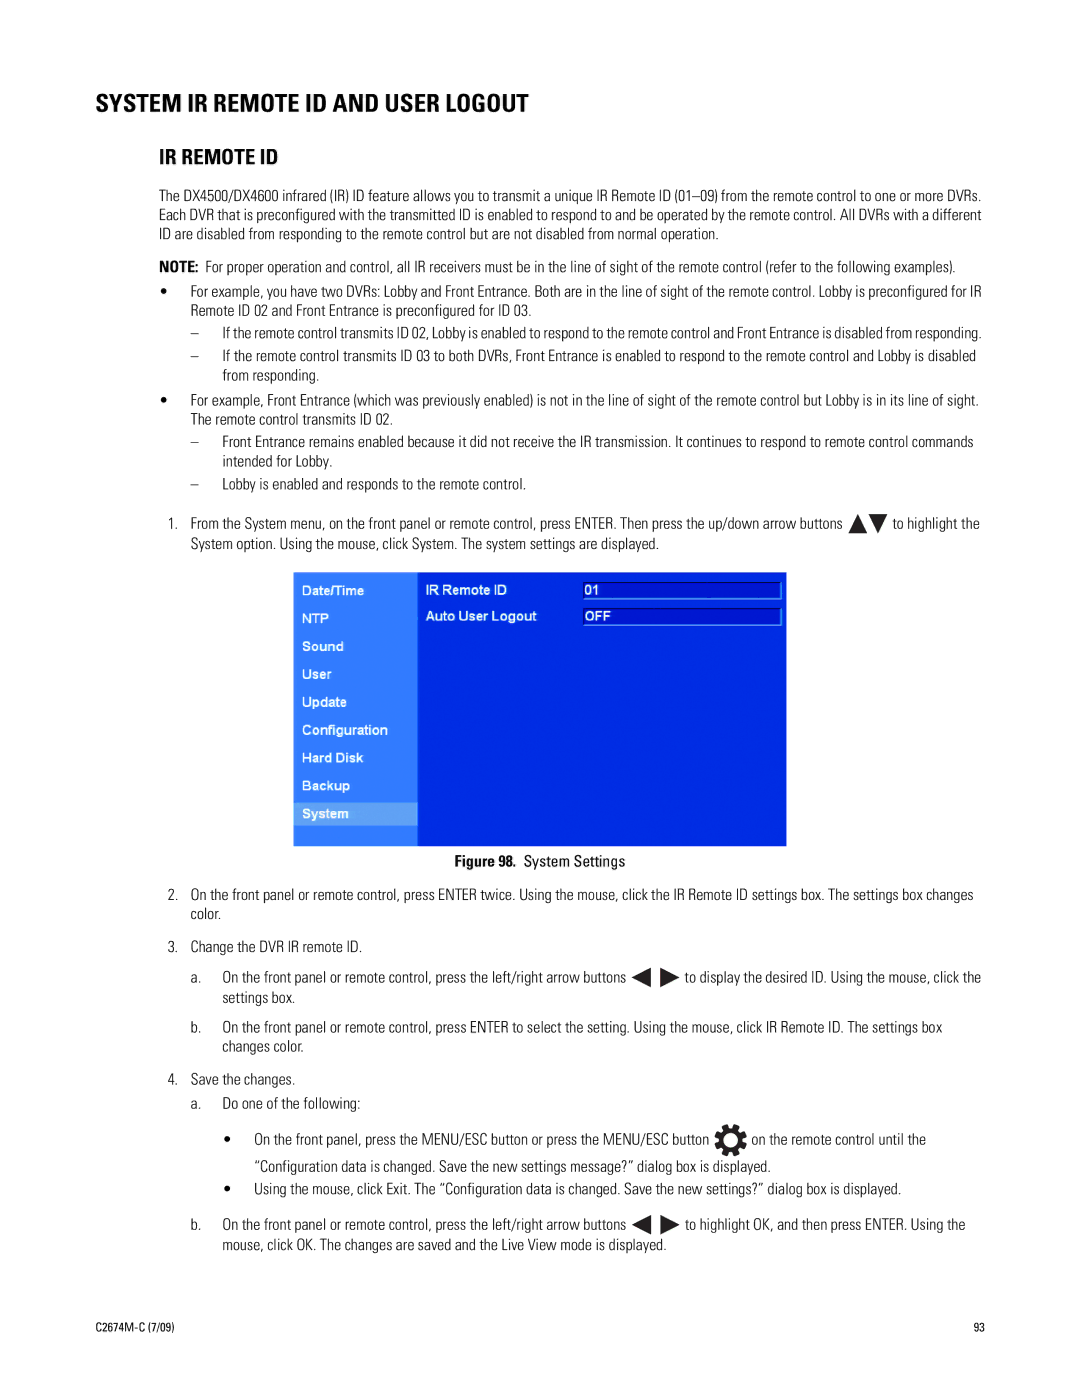
1.From the System menu, on the front panel or remote control, press ENTER. Then press the up/down arrow buttons ![]()
![]() to highlight the System option. Using the mouse, click System. The system settings are displayed.
to highlight the System option. Using the mouse, click System. The system settings are displayed.
Figure 98. System Settings
2.On the front panel or remote control, press ENTER twice. Using the mouse, click the IR Remote ID settings box. The settings box changes color.
3.Change the DVR IR remote ID.
a.On the front panel or remote control, press the left/right arrow buttons 
 to display the desired ID. Using the mouse, click the settings box.
b.On the front panel or remote control, press ENTER to select the setting. Using the mouse, click IR Remote ID. The settings box changes color.
4.Save the changes.
a.Do one of the following:
•On the front panel, press the MENU/ESC button or press the MENU/ESC button ![]() on the remote control until the “Configuration data is changed. Save the new settings message?” dialog box is displayed.
on the remote control until the “Configuration data is changed. Save the new settings message?” dialog box is displayed.
•Using the mouse, click Exit. The “Configuration data is changed. Save the new settings?” dialog box is displayed.
b.On the front panel or remote control, press the left/right arrow buttons ![]()
![]() to highlight OK, and then press ENTER. Using the mouse, click OK. The changes are saved and the Live View mode is displayed.
to highlight OK, and then press ENTER. Using the mouse, click OK. The changes are saved and the Live View mode is displayed.
| 93 |
