MOTION DETECTION
1.From the Setup widow, on the front panel or remote control, press the up/down arrow buttons ![]()
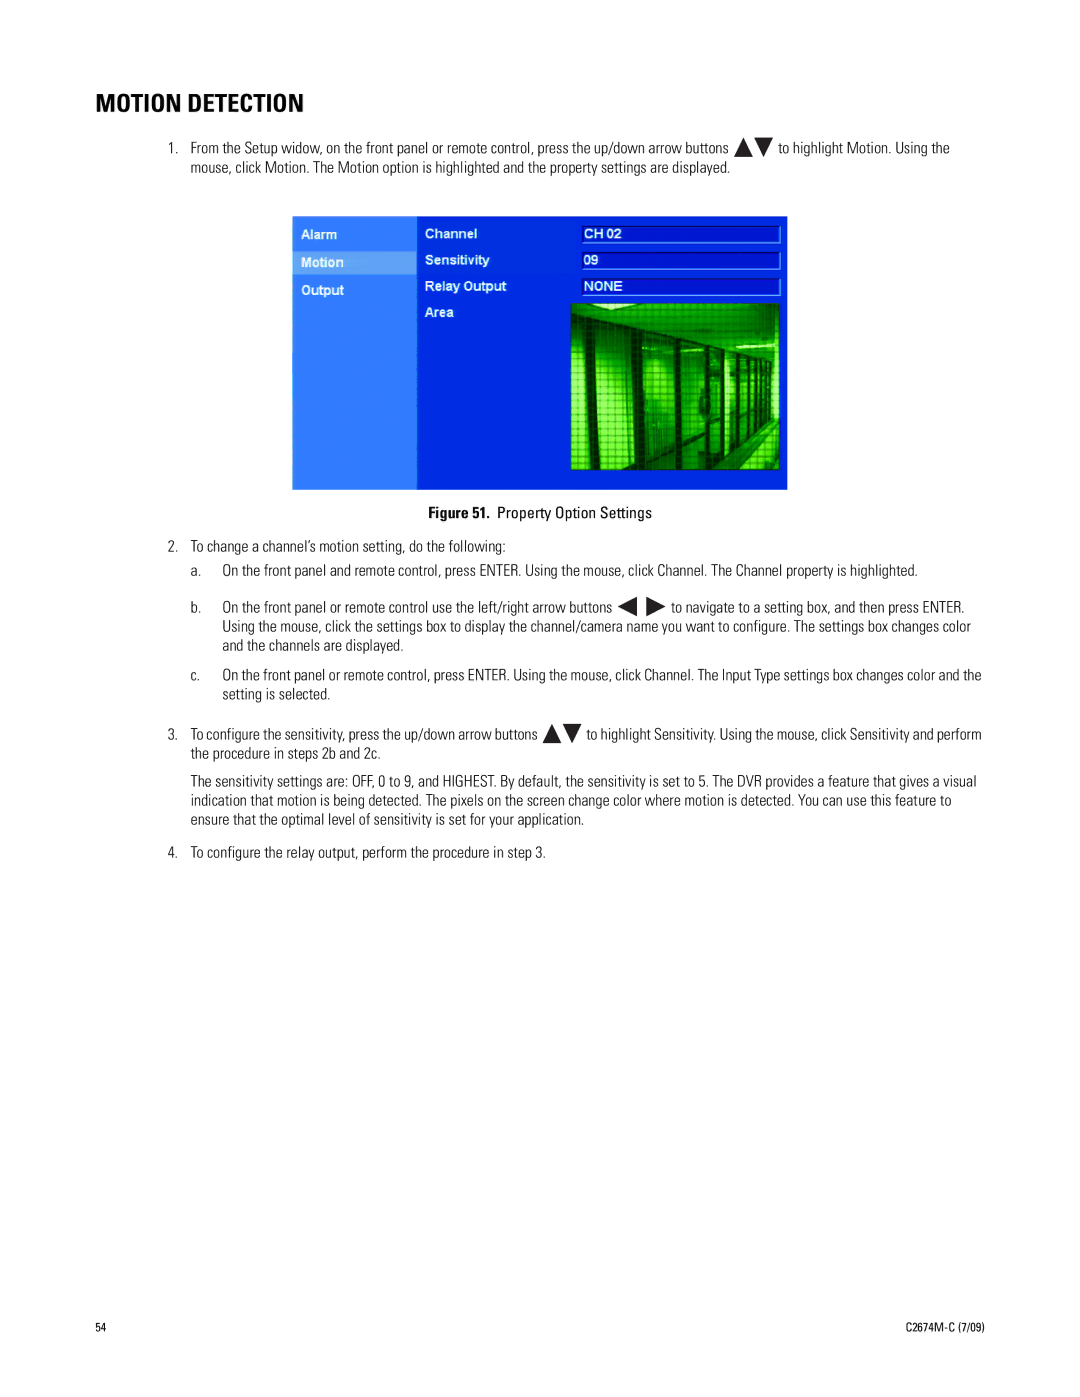
![]() to highlight Motion. Using the mouse, click Motion. The Motion option is highlighted and the property settings are displayed.
to highlight Motion. Using the mouse, click Motion. The Motion option is highlighted and the property settings are displayed.
Figure 51. Property Option Settings
2.To change a channel’s motion setting, do the following:
a.On the front panel and remote control, press ENTER. Using the mouse, click Channel. The Channel property is highlighted.
b.On the front panel or remote control use the left/right arrow buttons ![]()
![]() to navigate to a setting box, and then press ENTER. Using the mouse, click the settings box to display the channel/camera name you want to configure. The settings box changes color and the channels are displayed.
to navigate to a setting box, and then press ENTER. Using the mouse, click the settings box to display the channel/camera name you want to configure. The settings box changes color and the channels are displayed.
c.On the front panel or remote control, press ENTER. Using the mouse, click Channel. The Input Type settings box changes color and the setting is selected.
3.To configure the sensitivity, press the up/down arrow buttons ![]()
![]() to highlight Sensitivity. Using the mouse, click Sensitivity and perform the procedure in steps 2b and 2c.
to highlight Sensitivity. Using the mouse, click Sensitivity and perform the procedure in steps 2b and 2c.
The sensitivity settings are: OFF, 0 to 9, and HIGHEST. By default, the sensitivity is set to 5. The DVR provides a feature that gives a visual indication that motion is being detected. The pixels on the screen change color where motion is detected. You can use this feature to ensure that the optimal level of sensitivity is set for your application.
4.To configure the relay output, perform the procedure in step 3.
54 |
|