6.Save the changes.
a. Do one of the following:
•On the front panel, press the MENU/ESC button or press the MENU/ESC button ![]() on the remote control until the “Configuration data is changed. Save the new settings message?” dialog box is displayed.
on the remote control until the “Configuration data is changed. Save the new settings message?” dialog box is displayed.
•Click Exit. “The Configuration data is changed. Save the new settings?” dialog box is displayed.
•On the front panel or remote control, press the left/right arrow buttons ![]()
![]() to highlight OK, and then press ENTER. Using the mouse, click OK. The changes are saved and the Live View mode is displayed.
to highlight OK, and then press ENTER. Using the mouse, click OK. The changes are saved and the Live View mode is displayed.
DDNS
The DX4500/DX4600 Dynamic DNS (DDNS) feature uses the services provided by
The DDNS feature uses port 8245 provided by
1.In the Setup window, on the front panel or remote control, press the up/down arrow buttons ![]()
![]() to select the Network menu option. Using the mouse, click the Network menu option. The Network page opens.
to select the Network menu option. Using the mouse, click the Network menu option. The Network page opens.
2.On the front panel or remote control, press ENTER, and then press the up/down arrow buttons ![]()
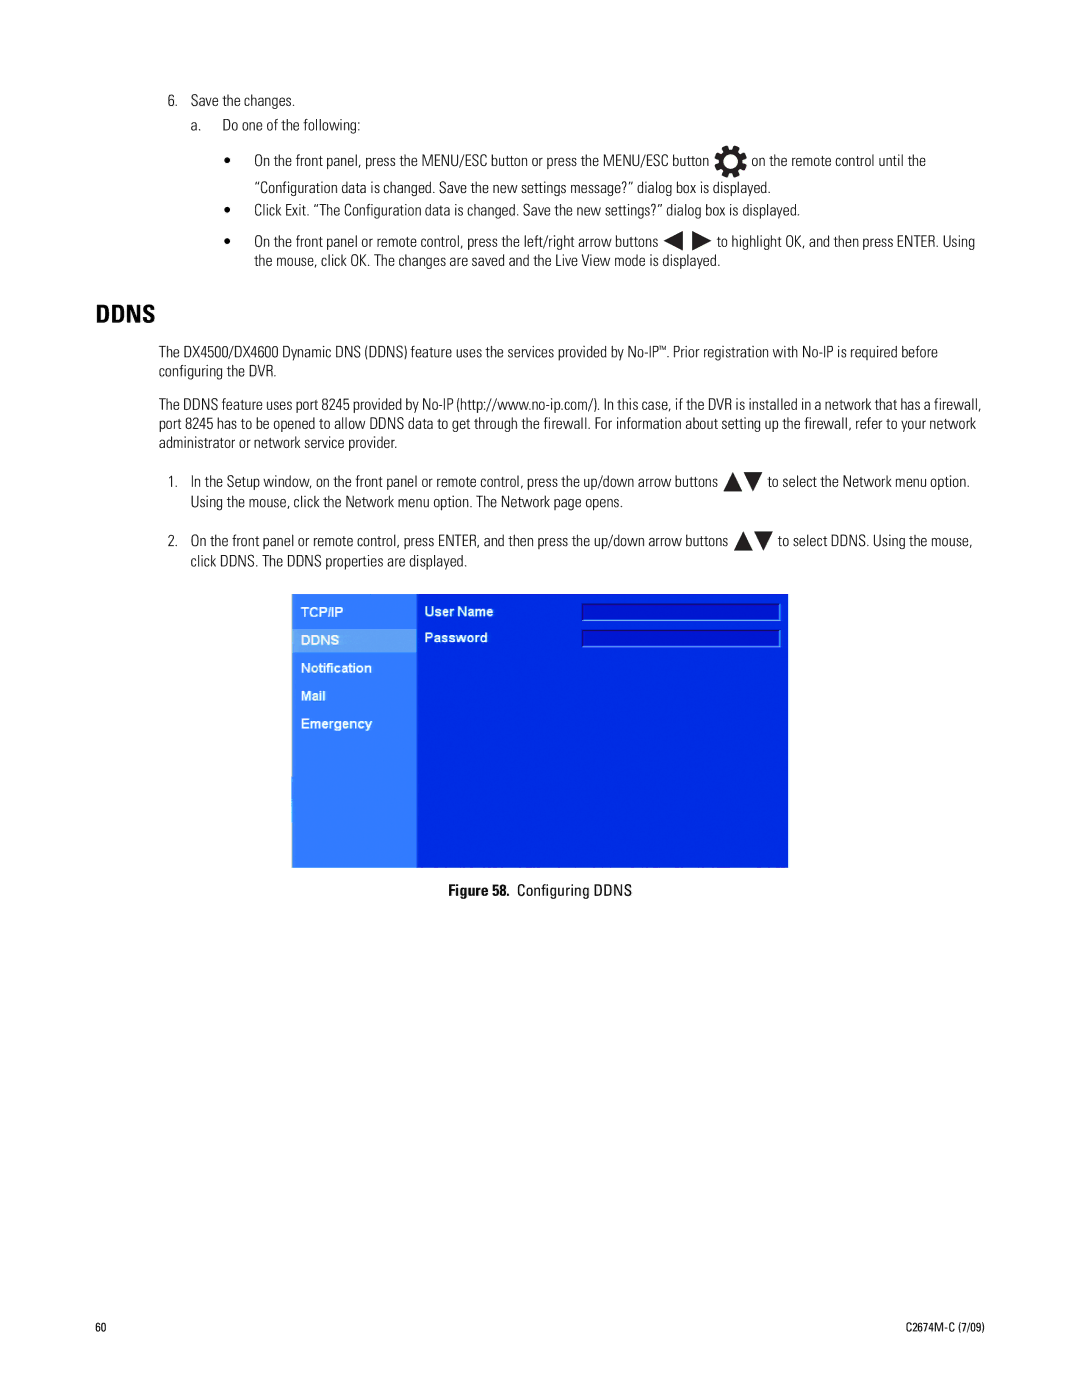
![]() to select DDNS. Using the mouse, click DDNS. The DDNS properties are displayed.
to select DDNS. Using the mouse, click DDNS. The DDNS properties are displayed.
Figure 58. Configuring DDNS
60 |
|
