Network Menu Setup
If you are installing the DX4500/DX4600 in a network environment, you must configure the DVR network settings to use the following:
•Client software application: Allows you to log on to, operate, and administer up to sixteen DX4500/DX4600 server systems simultaneously from a remote location. the DX4500/DX4600 server supports a total five simultaneous connections when using the client and Web client applications. For more information about the remote client software application, refer to the DX4500/DX4600 Client Operation and Programming manual.
•Web client applications: Allows you to view live video and operate pan, tilt, and zoom (PTZ) features of cameras attached to a DX4500/ DX4600. You can remotely monitor up to 16 cameras from the DX4500/DX4600. The DX4500/DX4600 supports a total five simultaneous connections when using the client and Web client applications.
•Network Time Protocol (NTP): Allows you to use a public or private time server.
•Software update over the network: Allows you to update the server software over the network.
•Mail notification: Sends
•Emergency Agent: Installed as part of the Client application, this application works with DX4500/DX4600 servers. If a server unit detects an event (alarm, motion, disk full, administrator password change, and so forth), an event message is sent to the Emergency Agent. The message displays for 5 seconds in the
The DX4500/DX4600 must be turned on, connected to a network, and you must be logged on at the administrator level to configure network software settings. You must restart the DVR for the network configuration changes to take effect. Be sure you are not recording video that cannot be interrupted before you change network settings.
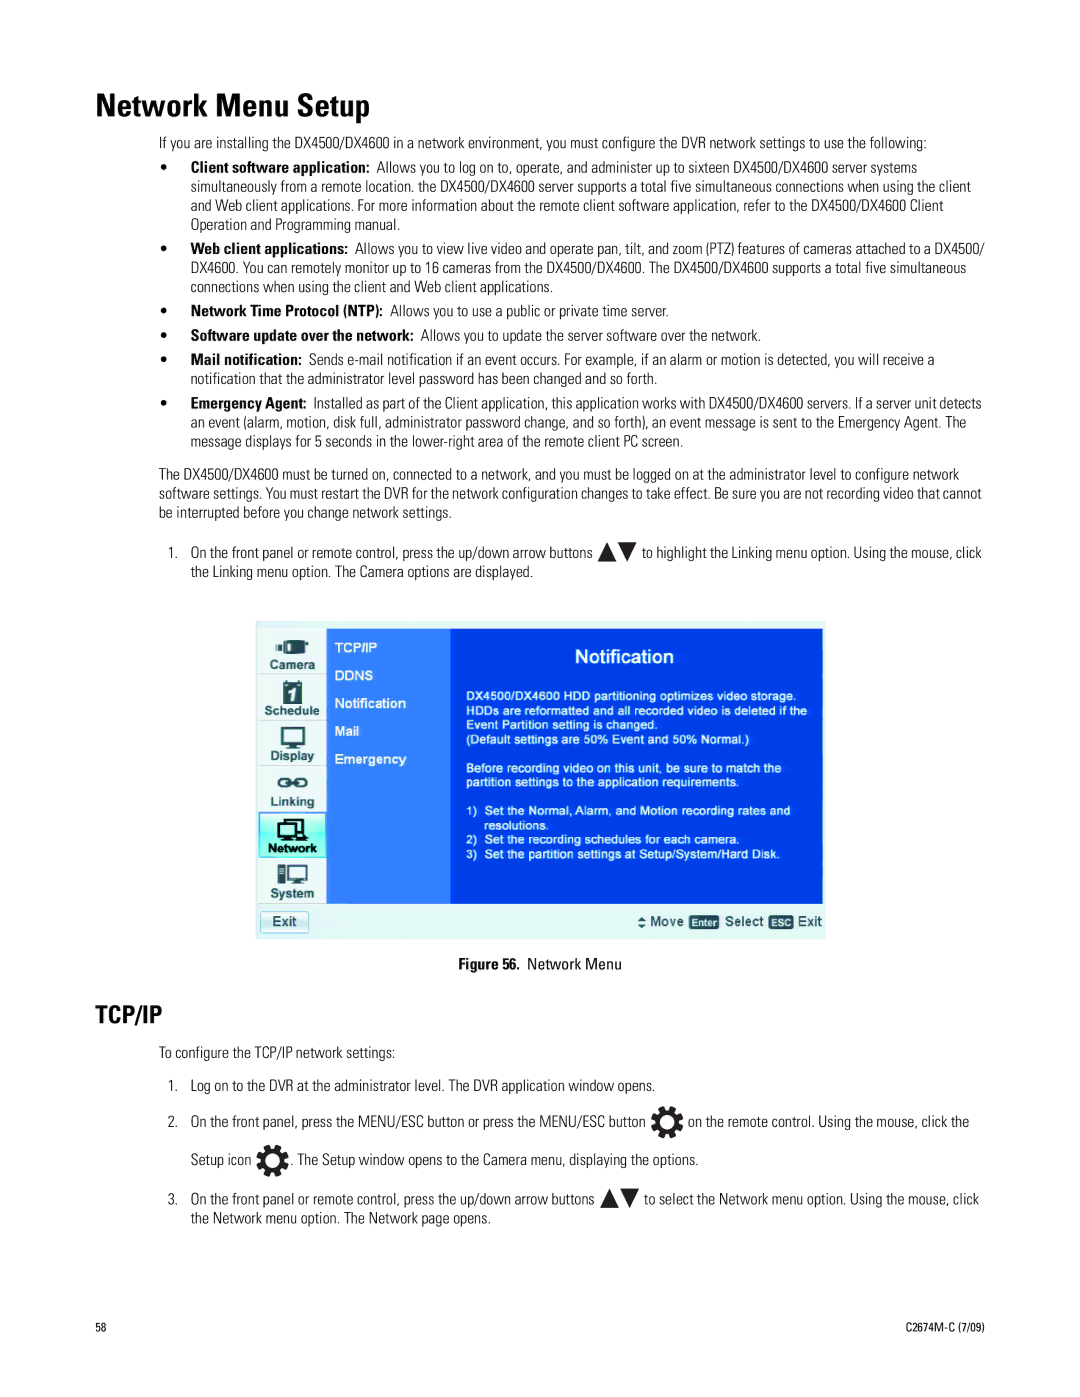
1.On the front panel or remote control, press the up/down arrow buttons ![]()
![]() to highlight the Linking menu option. Using the mouse, click the Linking menu option. The Camera options are displayed.
to highlight the Linking menu option. Using the mouse, click the Linking menu option. The Camera options are displayed.
Figure 56. Network Menu
TCP/IP
To configure the TCP/IP network settings:
1.Log on to the DVR at the administrator level. The DVR application window opens.
2.On the front panel, press the MENU/ESC button or press the MENU/ESC button ![]() on the remote control. Using the mouse, click the
on the remote control. Using the mouse, click the
Setup icon ![]() . The Setup window opens to the Camera menu, displaying the options.
. The Setup window opens to the Camera menu, displaying the options.
3.On the front panel or remote control, press the up/down arrow buttons ![]()
![]() to select the Network menu option. Using the mouse, click the Network menu option. The Network page opens.
to select the Network menu option. Using the mouse, click the Network menu option. The Network page opens.
58 |
|