2.Change the Input Type.
a. Do one of the following:
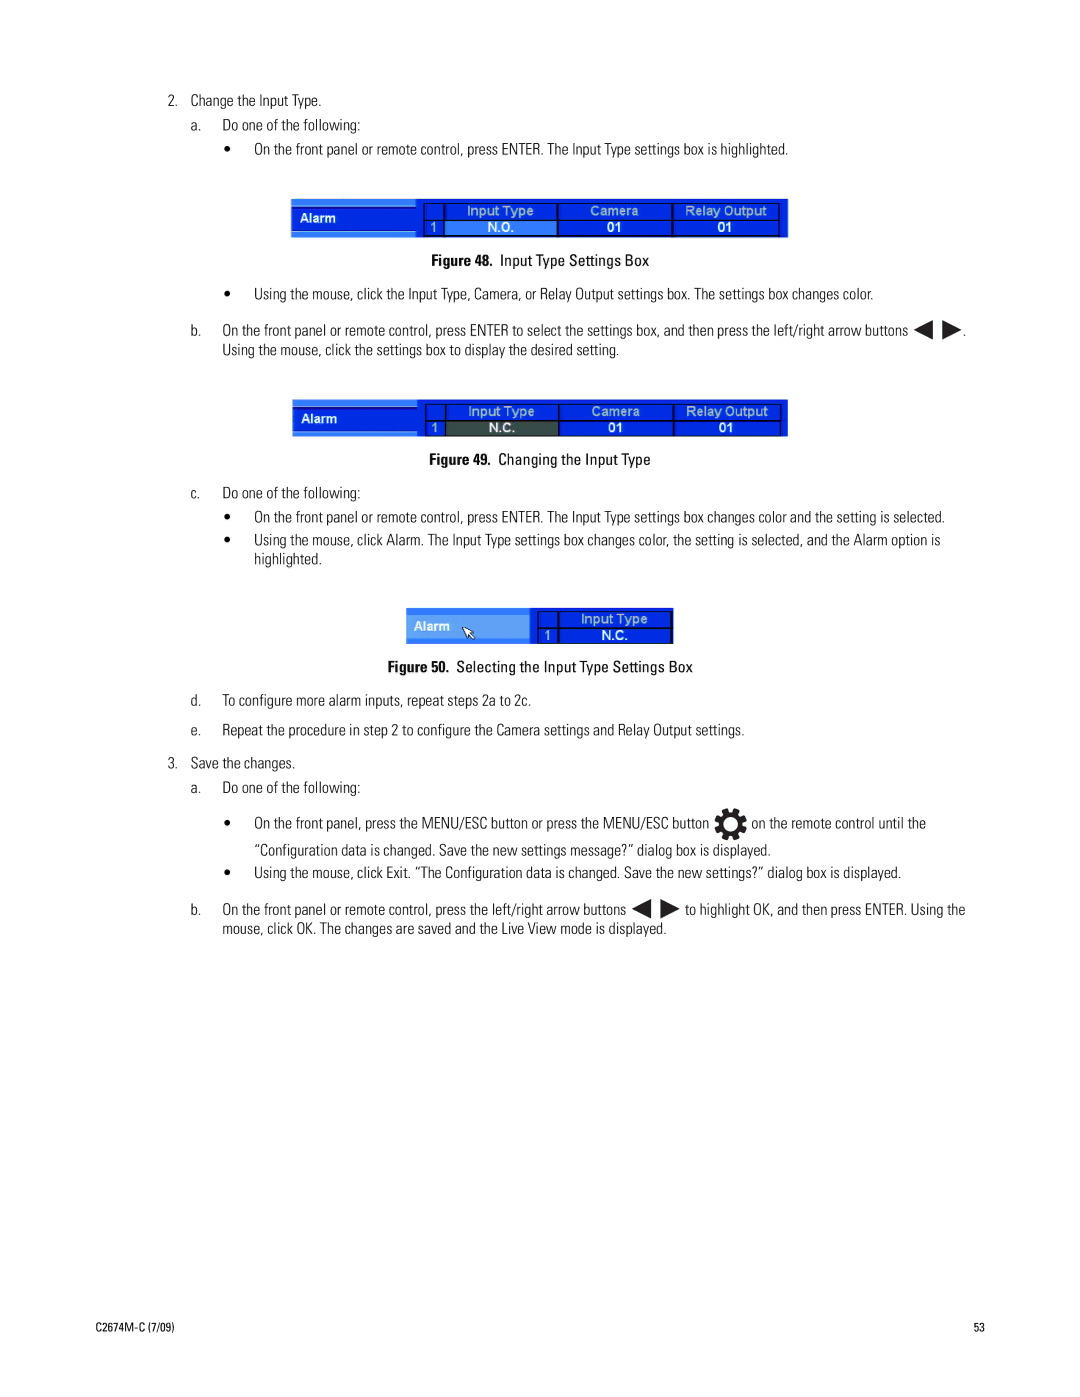
• On the front panel or remote control, press ENTER. The Input Type settings box is highlighted.
Figure 48. Input Type Settings Box
• Using the mouse, click the Input Type, Camera, or Relay Output settings box. The settings box changes color.
b.On the front panel or remote control, press ENTER to select the settings box, and then press the left/right arrow buttons 
 . Using the mouse, click the settings box to display the desired setting.
Figure 49. Changing the Input Type
c.Do one of the following:
•On the front panel or remote control, press ENTER. The Input Type settings box changes color and the setting is selected.
•Using the mouse, click Alarm. The Input Type settings box changes color, the setting is selected, and the Alarm option is highlighted.
Figure 50. Selecting the Input Type Settings Box
d.To configure more alarm inputs, repeat steps 2a to 2c.
e.Repeat the procedure in step 2 to configure the Camera settings and Relay Output settings.
3.Save the changes.
a.Do one of the following:
•On the front panel, press the MENU/ESC button or press the MENU/ESC button ![]() on the remote control until the “Configuration data is changed. Save the new settings message?” dialog box is displayed.
on the remote control until the “Configuration data is changed. Save the new settings message?” dialog box is displayed.
•Using the mouse, click Exit. “The Configuration data is changed. Save the new settings?” dialog box is displayed.
b.On the front panel or remote control, press the left/right arrow buttons ![]()
![]() to highlight OK, and then press ENTER. Using the mouse, click OK. The changes are saved and the Live View mode is displayed.
to highlight OK, and then press ENTER. Using the mouse, click OK. The changes are saved and the Live View mode is displayed.
53 |
