d.On the front panel or remote control, press the left/right arrow buttons ![]()
![]() to highlight the desired hour, and then press ENTER. Using the mouse, click the settings box.
to highlight the desired hour, and then press ENTER. Using the mouse, click the settings box.
e.Repeat the procedure in steps 6b and 6c to select the desired minutes.
7.Repeat the procedure in step 6 to select the Time Range Start day and time. This setting establishes the start day and time of the backup procedure.
8.Repeat the procedure in step 6 to select the Time Range End day and time. This setting establishes the end day and time of the backup procedure. The time range start and end days can be the same; however, the time range start and end times cannot be the same. The Time Range End time must be at least one minute later than the Time Range Start time.
9.Verify the backup media has sufficient space.
a.On the front panel or remote control, press the up/down arrow buttons ![]()
![]() to highlight Estimate Size, and press ENTER. Using the mouse, click Estimate Size. The system displays the estimated size dialog box.
to highlight Estimate Size, and press ENTER. Using the mouse, click Estimate Size. The system displays the estimated size dialog box.
b.On the front panel or remote control, press ENTER. Using the mouse, click OK.
10.Start the backup.
a.On the front panel or remote control, press the up/down arrow buttons ![]()
![]() to highlight Start Backup, and press ENTER. Using the mouse, click Start Backup. The “Would you like to start backup” dialog box opens.
to highlight Start Backup, and press ENTER. Using the mouse, click Start Backup. The “Would you like to start backup” dialog box opens.
b.On the front panel or remote control, press the left/right arrow buttons ![]()
![]() to highlight OK, and then press ENTER. Using the mouse, click OK. The backup process starts (no backup status information is displayed).
to highlight OK, and then press ENTER. Using the mouse, click OK. The backup process starts (no backup status information is displayed).
c.To view the backup status indicator, on the front panel or remote control, press MENU/ESC. Using the mouse, click Exit. If new settings are made, the “Configuration data is changed.” dialog box is displayed. Otherwise, the system exits to the Live View mode.
d.If the “Configuration data is changed.” dialog box is displayed, press the left/right arrow buttons ![]()
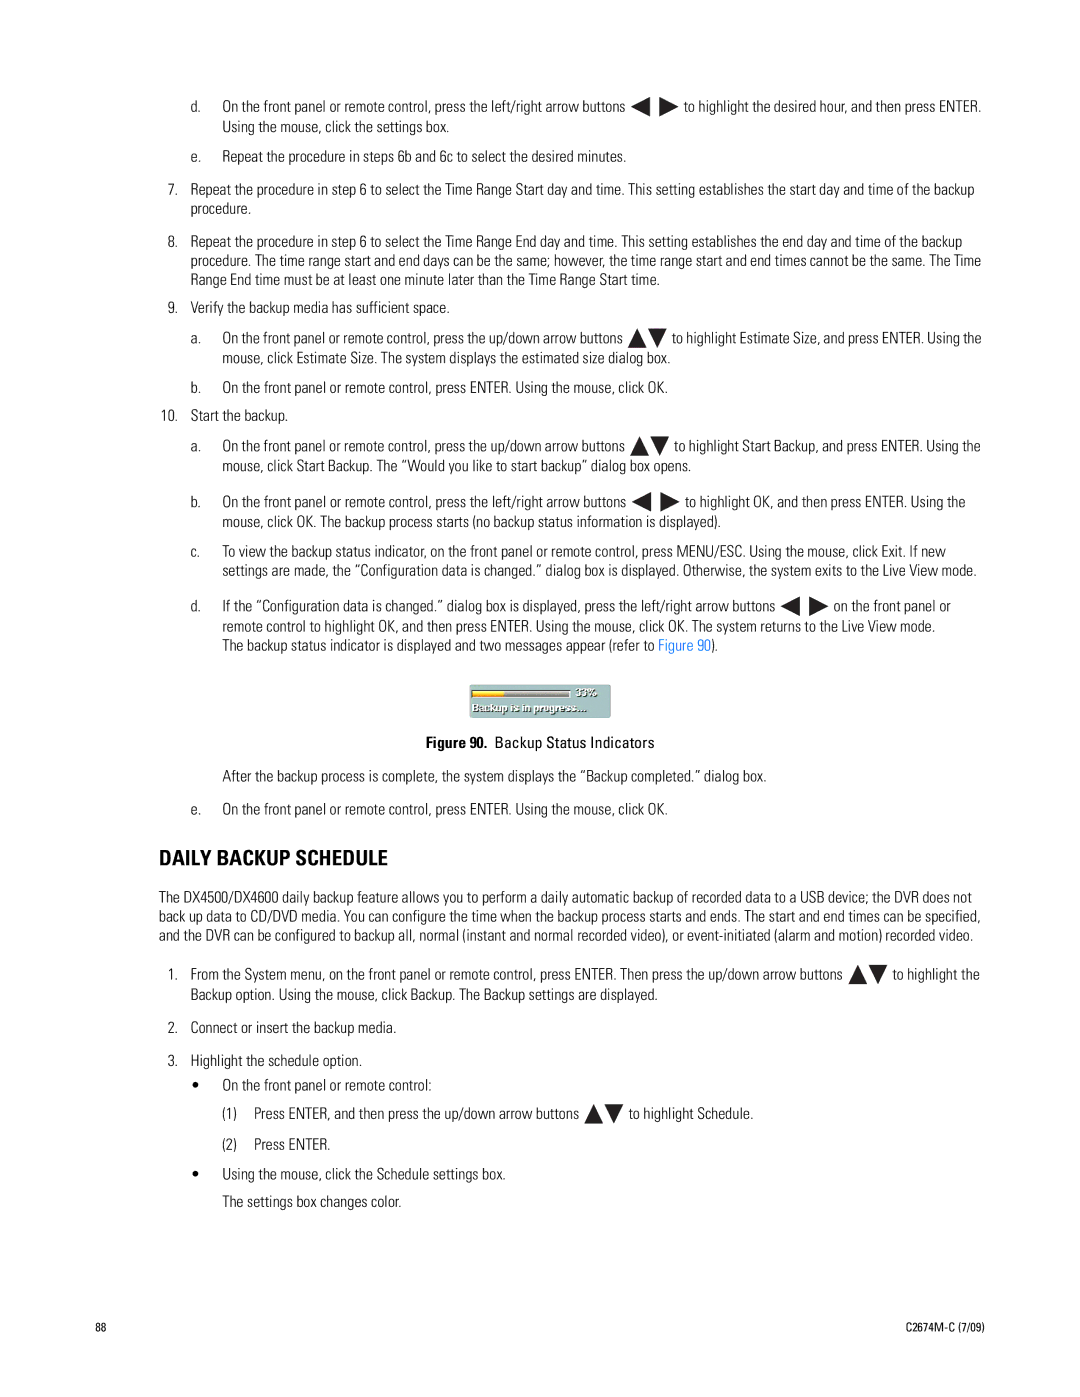
![]() on the front panel or remote control to highlight OK, and then press ENTER. Using the mouse, click OK. The system returns to the Live View mode. The backup status indicator is displayed and two messages appear (refer to Figure 90).
on the front panel or remote control to highlight OK, and then press ENTER. Using the mouse, click OK. The system returns to the Live View mode. The backup status indicator is displayed and two messages appear (refer to Figure 90).
Figure 90. Backup Status Indicators
After the backup process is complete, the system displays the “Backup completed.” dialog box.
e.On the front panel or remote control, press ENTER. Using the mouse, click OK.
DAILY BACKUP SCHEDULE
The DX4500/DX4600 daily backup feature allows you to perform a daily automatic backup of recorded data to a USB device; the DVR does not back up data to CD/DVD media. You can configure the time when the backup process starts and ends. The start and end times can be specified, and the DVR can be configured to backup all, normal (instant and normal recorded video), or
1.From the System menu, on the front panel or remote control, press ENTER. Then press the up/down arrow buttons ![]()
![]() to highlight the Backup option. Using the mouse, click Backup. The Backup settings are displayed.
to highlight the Backup option. Using the mouse, click Backup. The Backup settings are displayed.
2.Connect or insert the backup media.
3.Highlight the schedule option.
•On the front panel or remote control:
(1)Press ENTER, and then press the up/down arrow buttons ![]()
![]() to highlight Schedule.
to highlight Schedule.
(2)Press ENTER.
•Using the mouse, click the Schedule settings box. The settings box changes color.
88 |
|
