VIDEO SETUP
VIDEO FORMAT
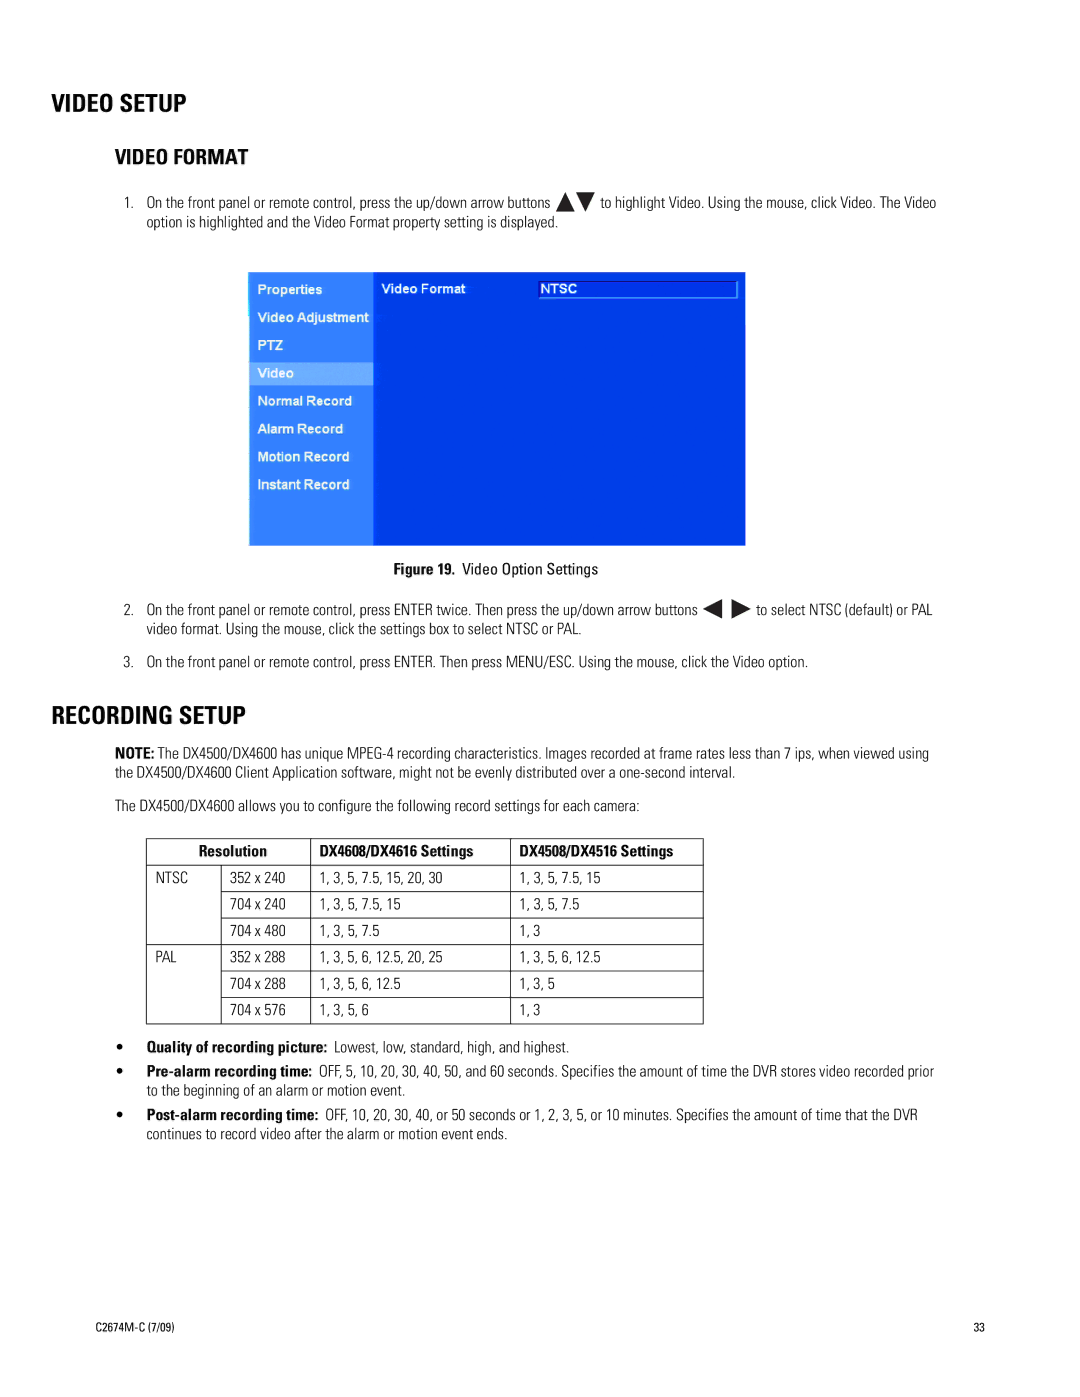
1.On the front panel or remote control, press the up/down arrow buttons ![]()
![]() to highlight Video. Using the mouse, click Video. The Video option is highlighted and the Video Format property setting is displayed.
to highlight Video. Using the mouse, click Video. The Video option is highlighted and the Video Format property setting is displayed.
Figure 19. Video Option Settings
2.On the front panel or remote control, press ENTER twice. Then press the up/down arrow buttons 
 to select NTSC (default) or PAL video format. Using the mouse, click the settings box to select NTSC or PAL.
3.On the front panel or remote control, press ENTER. Then press MENU/ESC. Using the mouse, click the Video option.
RECORDING SETUP
NOTE: The DX4500/DX4600 has unique
The DX4500/DX4600 allows you to configure the following record settings for each camera:
| Resolution | DX4608/DX4616 Settings | DX4508/DX4516 Settings | |
|
|
|
|
|
NTSC |
| 352 x 240 | 1, 3, 5, 7.5, 15, 20, 30 | 1, 3, 5, 7.5, 15 |
|
|
|
|
|
|
| 704 x 240 | 1, 3, 5, 7.5, 15 | 1, 3, 5, 7.5 |
|
|
|
|
|
|
| 704 x 480 | 1, 3, 5, 7.5 | 1, 3 |
|
|
|
|
|
PAL |
| 352 x 288 | 1, 3, 5, 6, 12.5, 20, 25 | 1, 3, 5, 6, 12.5 |
|
|
|
|
|
|
| 704 x 288 | 1, 3, 5, 6, 12.5 | 1, 3, 5 |
|
|
|
|
|
|
| 704 x 576 | 1, 3, 5, 6 | 1, 3 |
|
|
|
|
|
•Quality of recording picture: Lowest, low, standard, high, and highest.
•
•
33 |