d.If the “Configuration data is changed.” dialog box is displayed, press the left/right arrow buttons ![]()
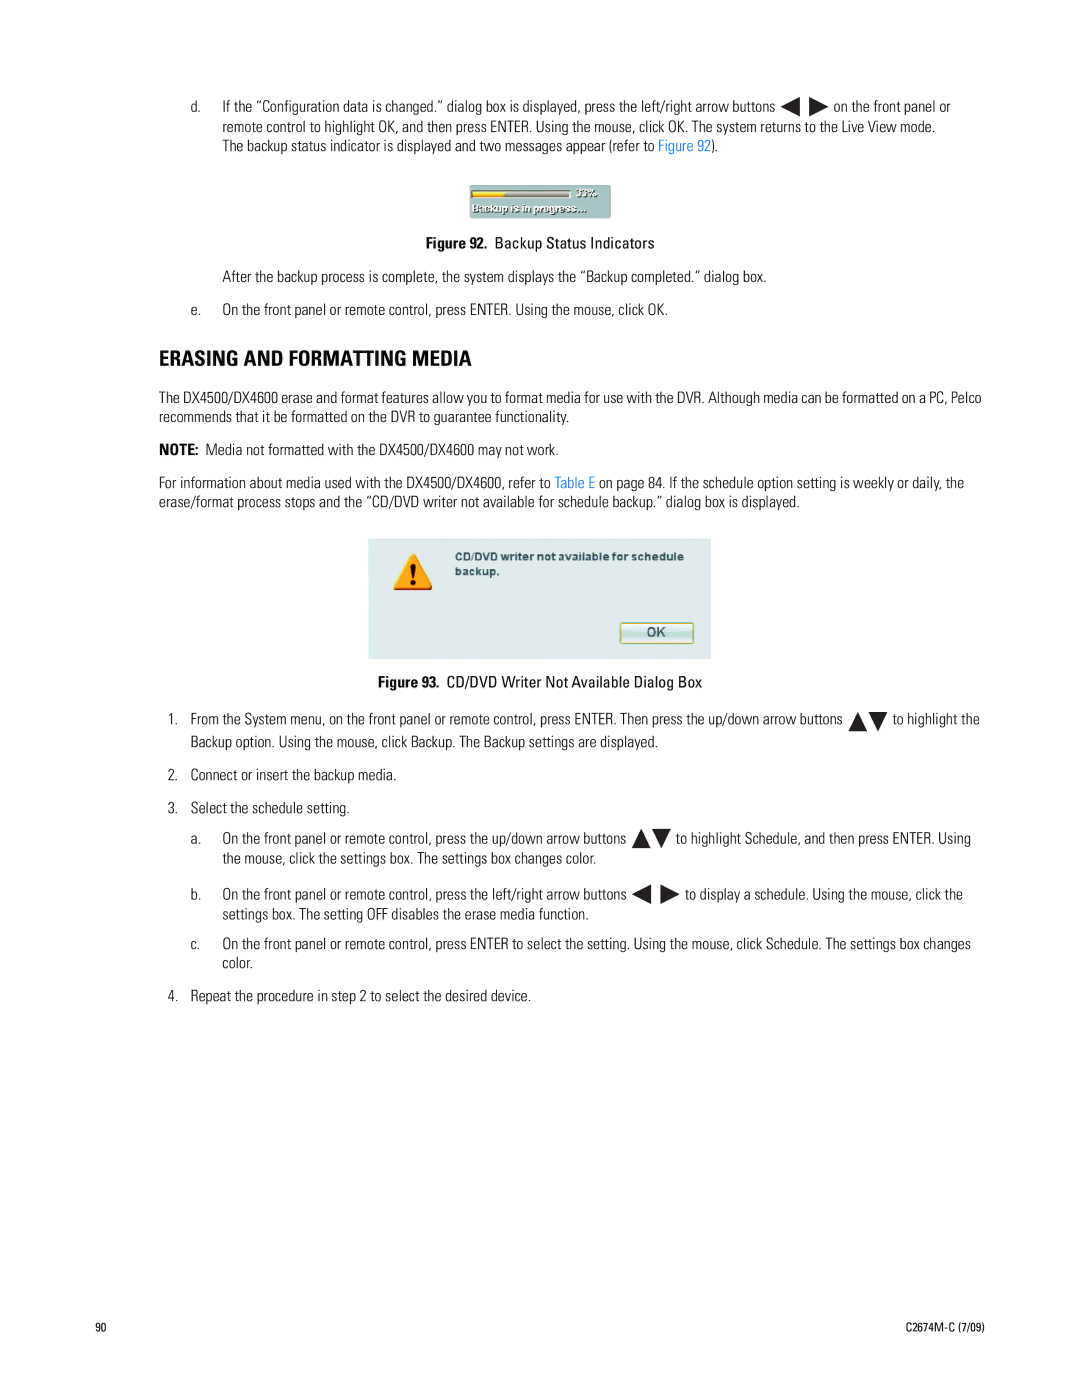
![]() on the front panel or remote control to highlight OK, and then press ENTER. Using the mouse, click OK. The system returns to the Live View mode. The backup status indicator is displayed and two messages appear (refer to Figure 92).
on the front panel or remote control to highlight OK, and then press ENTER. Using the mouse, click OK. The system returns to the Live View mode. The backup status indicator is displayed and two messages appear (refer to Figure 92).
Figure 92. Backup Status Indicators
After the backup process is complete, the system displays the “Backup completed.” dialog box.
e.On the front panel or remote control, press ENTER. Using the mouse, click OK.
ERASING AND FORMATTING MEDIA
The DX4500/DX4600 erase and format features allow you to format media for use with the DVR. Although media can be formatted on a PC, Pelco recommends that it be formatted on the DVR to guarantee functionality.
NOTE: Media not formatted with the DX4500/DX4600 may not work.
For information about media used with the DX4500/DX4600, refer to Table E on page 84. If the schedule option setting is weekly or daily, the erase/format process stops and the “CD/DVD writer not available for schedule backup.” dialog box is displayed.
Figure 93. CD/DVD Writer Not Available Dialog Box
1.From the System menu, on the front panel or remote control, press ENTER. Then press the up/down arrow buttons ![]()
![]() to highlight the Backup option. Using the mouse, click Backup. The Backup settings are displayed.
to highlight the Backup option. Using the mouse, click Backup. The Backup settings are displayed.
2.Connect or insert the backup media.
3.Select the schedule setting.
a.On the front panel or remote control, press the up/down arrow buttons ![]()
![]() to highlight Schedule, and then press ENTER. Using the mouse, click the settings box. The settings box changes color.
to highlight Schedule, and then press ENTER. Using the mouse, click the settings box. The settings box changes color.
b.On the front panel or remote control, press the left/right arrow buttons ![]()
![]() to display a schedule. Using the mouse, click the settings box. The setting OFF disables the erase media function.
to display a schedule. Using the mouse, click the settings box. The setting OFF disables the erase media function.
c.On the front panel or remote control, press ENTER to select the setting. Using the mouse, click Schedule. The settings box changes color.
4.Repeat the procedure in step 2 to select the desired device.
90 |
|
