b.On the front panel or remote control, press the left/right arrow buttons ![]()
![]() to highlight OK, and then press ENTER. Using the mouse, click OK. The settings are saved and the Live view mode is displayed.
to highlight OK, and then press ENTER. Using the mouse, click OK. The settings are saved and the Live view mode is displayed.
4.To return to the Record mode, do the following:
a.On the front panel, press the MENU/ESC button or press the MENU/ESC button ![]() on the remote control. Using the mouse, click
on the remote control. Using the mouse, click
the Setup icon ![]() . By default, the Setup window opens and the Camera menu is selected.
. By default, the Setup window opens and the Camera menu is selected.
b.On the front panel or remote control, press the up/down arrow buttons ![]()
![]() to highlight Record. Using the mouse, click Record. The Record option is highlighted and the property settings are displayed.
to highlight Record. Using the mouse, click Record. The Record option is highlighted and the property settings are displayed.
c.On the front panel or remote control, press the up/down arrow buttons ![]()
![]() to highlight another day of the week. Using the mouse, click a day of the week. The option is highlighted and the schedule is displayed.
to highlight another day of the week. Using the mouse, click a day of the week. The option is highlighted and the schedule is displayed.
COPYING SCHEDULES
The DX4500/DX4600 supports four methods for copying schedules:
•Weekday
•Weekend (Saturday and Sunday): The schedule from the highlighted day is only copied to the respective channels for Saturday and Sunday. The schedule is not copied to the weekdays
•Day
•
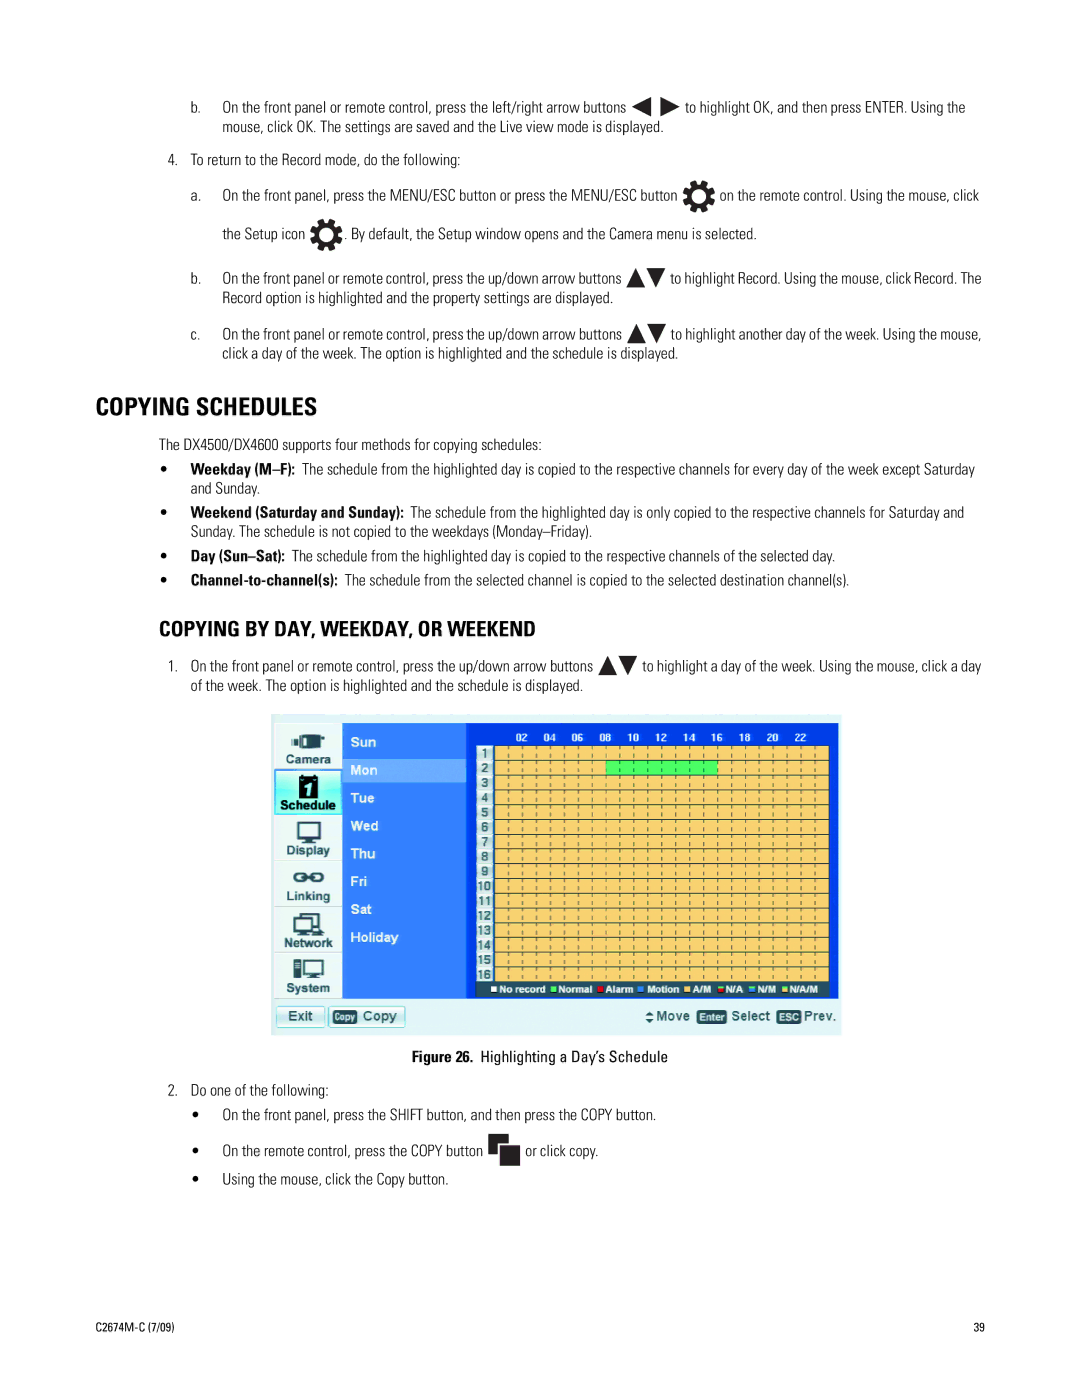
COPYING BY DAY, WEEKDAY, OR WEEKEND
1.On the front panel or remote control, press the up/down arrow buttons ![]()
![]() to highlight a day of the week. Using the mouse, click a day of the week. The option is highlighted and the schedule is displayed.
to highlight a day of the week. Using the mouse, click a day of the week. The option is highlighted and the schedule is displayed.
Figure 26. Highlighting a Day’s Schedule
2.Do one of the following:
•On the front panel, press the SHIFT button, and then press the COPY button.
•On the remote control, press the COPY button  or click copy.
•Using the mouse, click the Copy button.
39 |
