2 Troubleshooting Procedures | 2.9 Optical drive Troubleshooting |
2.9Optical drive Troubleshooting
This section describes how to determine if the optical drive in the Slim Select Bay is functioning properly. Perform the steps below starting with Procedure 1 and continue with the other procedures as required.
Procedure 1: Diagnostic Test Program Execution Check
Procedure 2: Connector Check and Replacement Check
Procedure 1 Diagnostic Test Program Execution Check
The
Prepare the tools before the test.
Then insert the Diagnostics Disk in the USB floppy disk drive, turn on the computer and run the test. Refer to Chapter 3, Tests and Diagnostics, for more information about the diagnostics test procedures.
If any errors occur while executing the
Procedure 2 Connector Check and Replacement Check
The optical drive is connected to the system board. The connectors may be disconnected from the system board or may be damaged. Disassemble the computer following the steps described in Chapter 4, Replacement Procedures and perform the following checks:
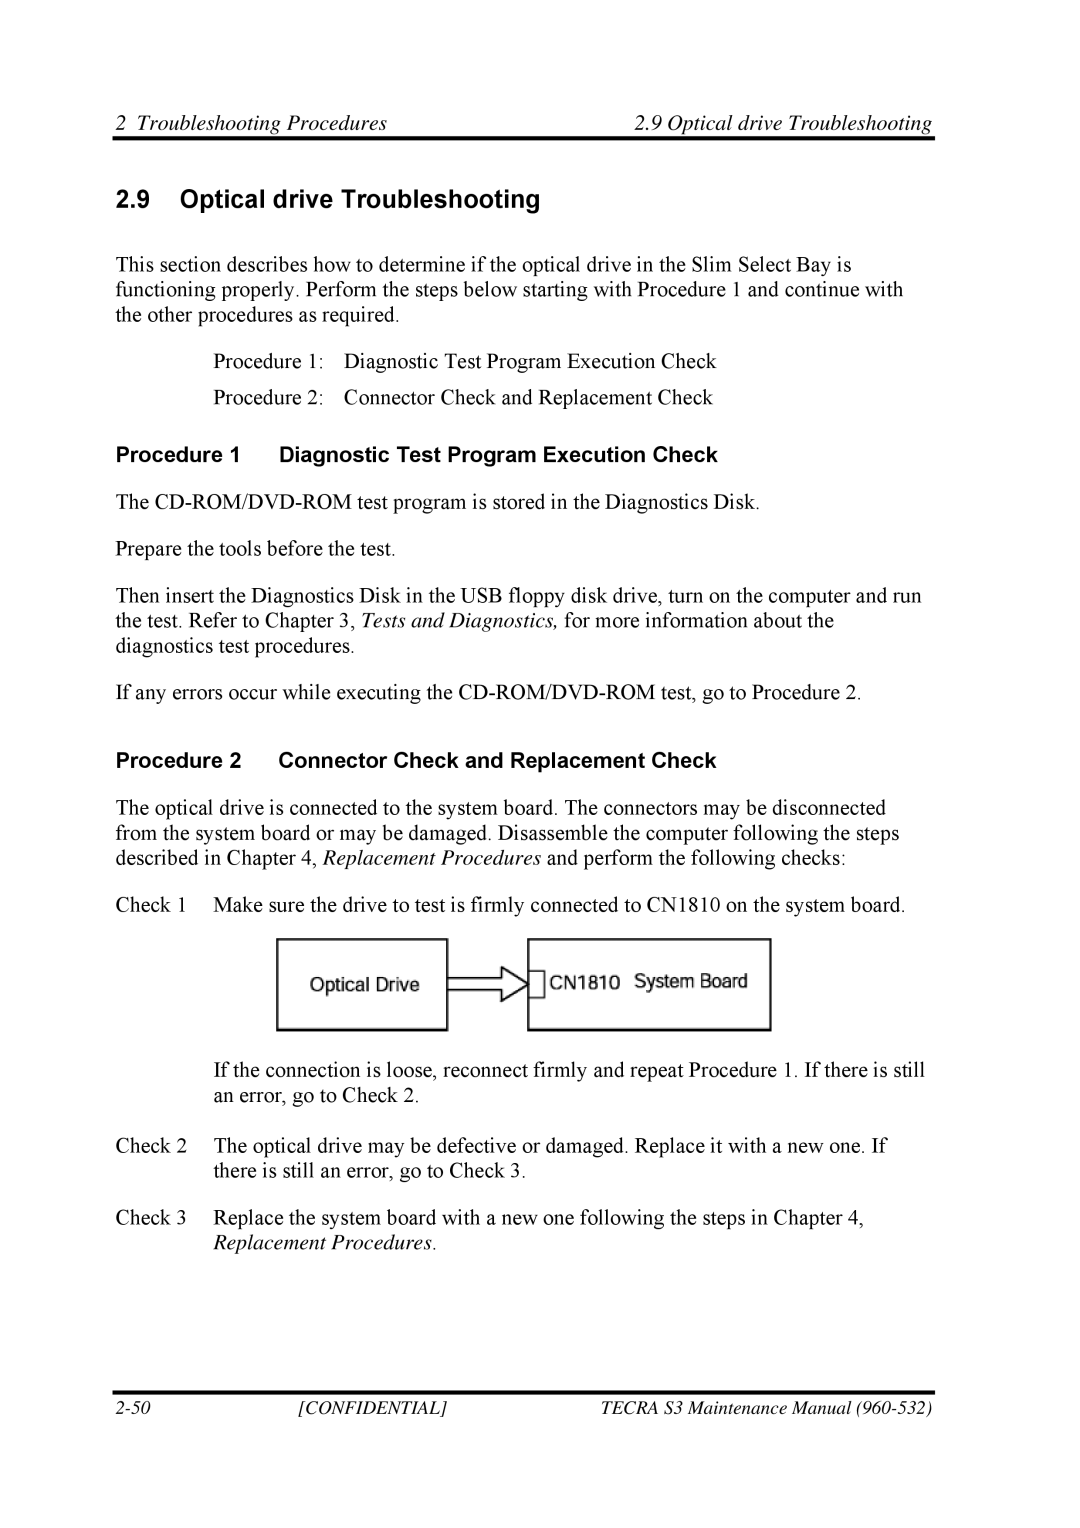
Check 1 Make sure the drive to test is firmly connected to CN1810 on the system board.
If the connection is loose, reconnect firmly and repeat Procedure 1. If there is still an error, go to Check 2.
Check 2 The optical drive may be defective or damaged. Replace it with a new one. If there is still an error, go to Check 3.
Check 3 Replace the system board with a new one following the steps in Chapter 4, Replacement Procedures.
[CONFIDENTIAL] | TECRA S3 Maintenance Manual |