Quick-start Tutorial
An auto-project is a custom, image control, project that holds project settings where the build model is unknown. You can view these settings using the Project Properties window. Using an auto-project enables you to amend and save image load parameters where you do not have a user-defined project or where you have no control over the build model. You also have the option to use the saved auto-project as the basis of a user-defined project.
Note
If you load an image built as part of a user-defined project without opening the project you cannot access all the project properties because these are unknown to RealView Debugger. In this case, RealView Debugger creates an in-memory project, or uses the saved auto-project file.
See the chapter on working with images in RealView Debugger v1.6 User Guide for details on using auto-projects in RealView Debugger.
Displaying memory contents
To display an area of memory:
1.Select View → Pane Views → Memory from the default Code window to display the Memory pane.
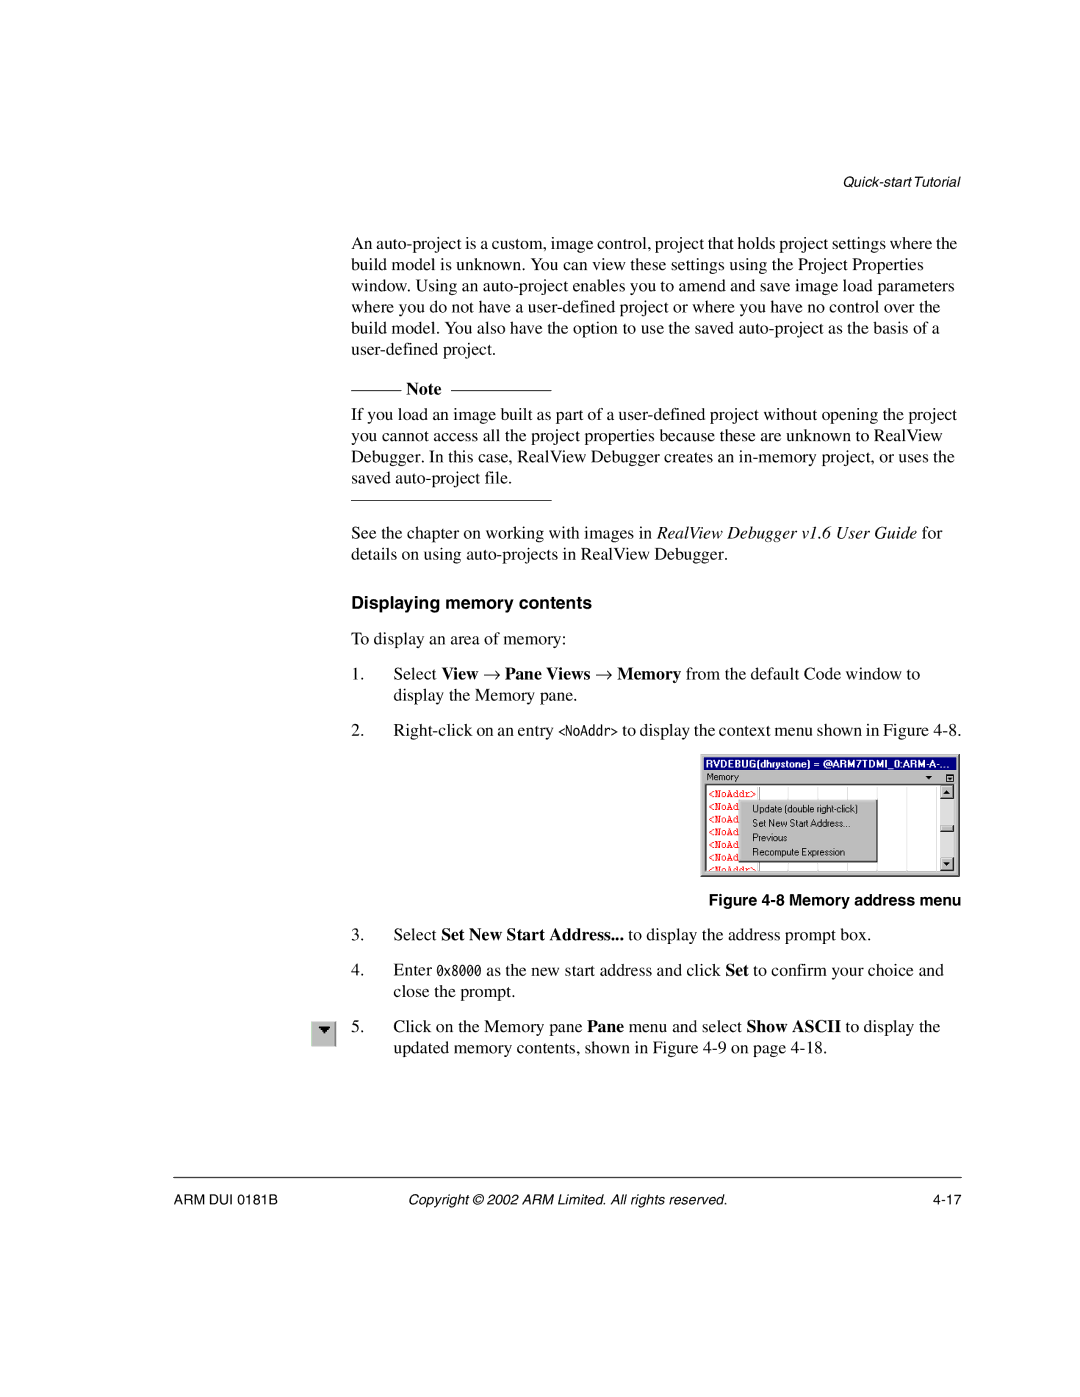
2.Right-click on an entry <NoAddr> to display the context menu shown in Figure 4-8.
Figure 4-8 Memory address menu
3.Select Set New Start Address... to display the address prompt box.
4.Enter 0x8000 as the new start address and click Set to confirm your choice and close the prompt.
5.Click on the Memory pane Pane menu and select Show ASCII to display the updated memory contents, shown in Figure 4-9 on page 4-18.
ARM DUI 0181B | Copyright © 2002 ARM Limited. All rights reserved. | 4-17 |