C O M M U N I C A T I O N S S E T U
.P
. Ethernet Control ..
.
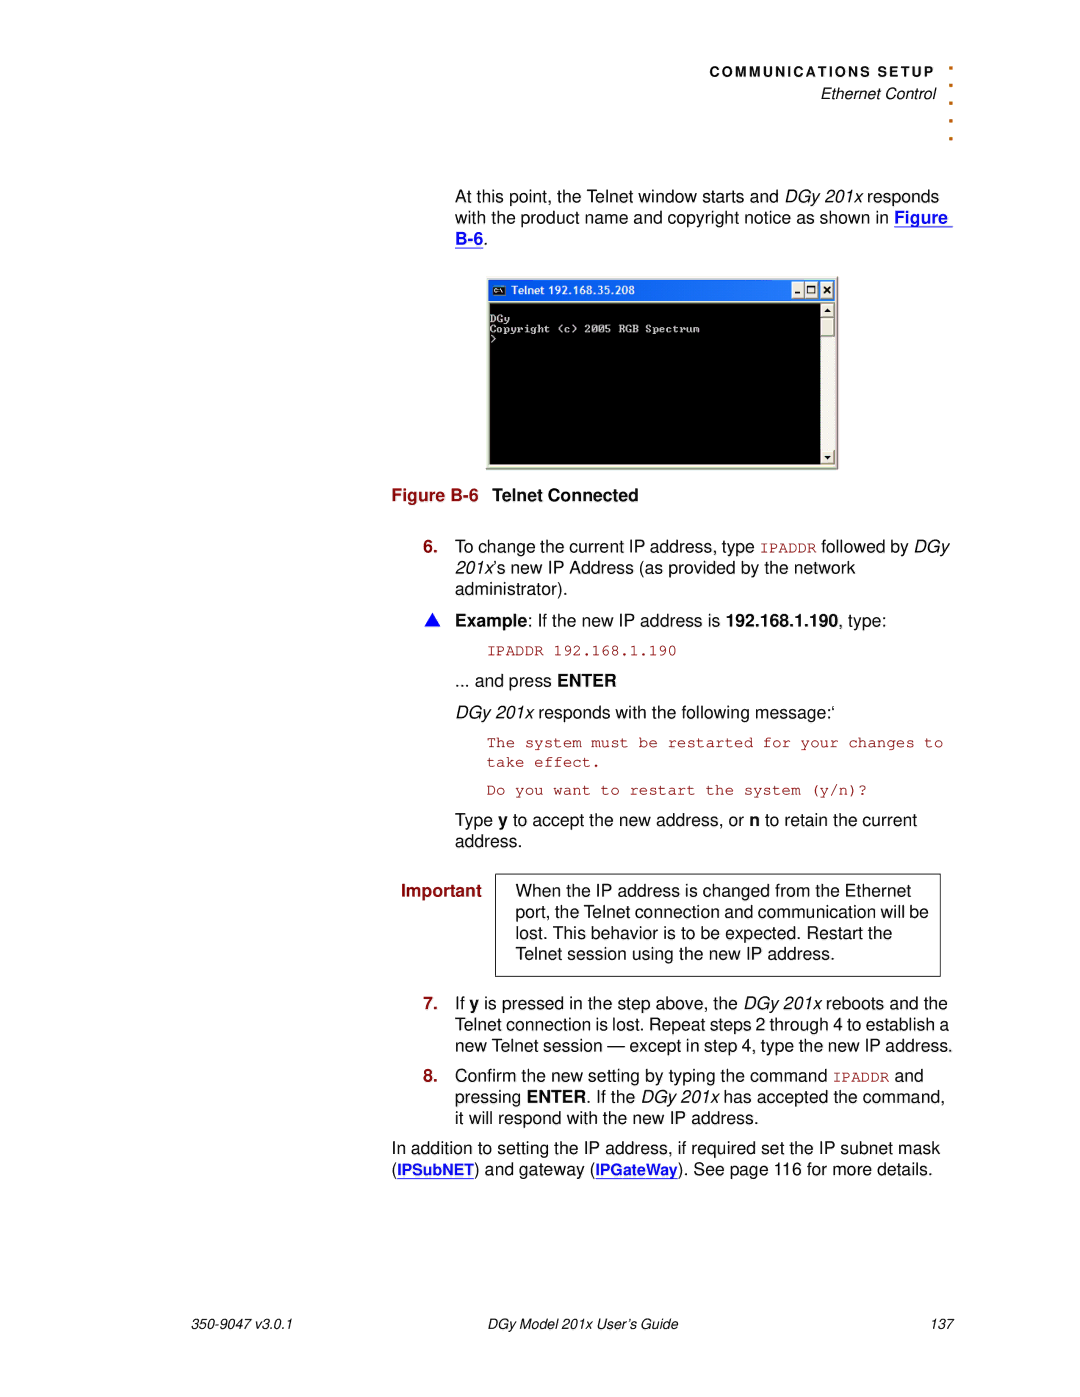
At this point, the Telnet window starts and DGy 201x responds with the product name and copyright notice as shown in Figure
Figure B-6 Telnet Connected
6.To change the current IP address, type IPADDR followed by DGy 201x’s new IP Address (as provided by the network administrator).
SExample: If the new IP address is 192.168.1.190, type:
IPADDR 192.168.1.190
... and press ENTER
DGy 201x responds with the following message:‘
The system must be restarted for your changes to take effect.
Do you want to restart the system (y/n)?
Type y to accept the new address, or n to retain the current address.
Important
When the IP address is changed from the Ethernet port, the Telnet connection and communication will be lost. This behavior is to be expected. Restart the Telnet session using the new IP address.
7.If y is pressed in the step above, the DGy 201x reboots and the Telnet connection is lost. Repeat steps 2 through 4 to establish a new Telnet session — except in step 4, type the new IP address.
8.Confirm the new setting by typing the command IPADDR and pressing ENTER. If the DGy 201x has accepted the command, it will respond with the new IP address.
In addition to setting the IP address, if required set the IP subnet mask (IPSubNET) and gateway (IPGateWay). See page 116 for more details.
DGy Model 201x User’s Guide | 137 |