O P E R A T I O N. . Recording Clips ..
.
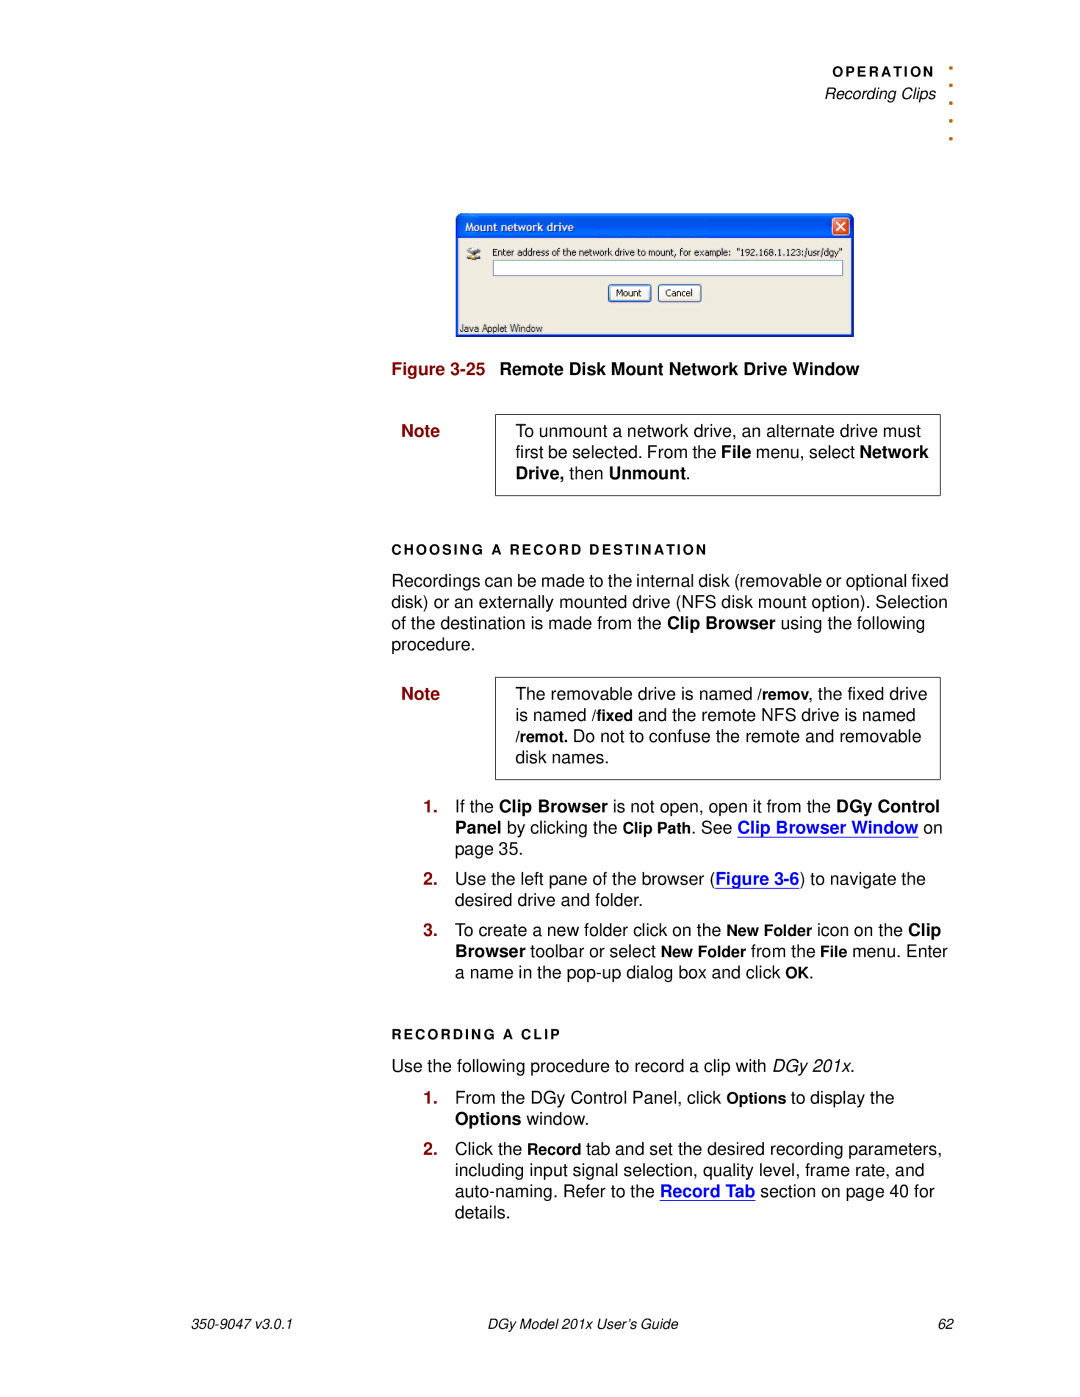
Figure 3-25 Remote Disk Mount Network Drive Window
Note
To unmount a network drive, an alternate drive must first be selected. From the File menu, select Network Drive, then Unmount.
C H O O S I N G A R E C O R D D E S T I N A T I O N
Recordings can be made to the internal disk (removable or optional fixed disk) or an externally mounted drive (NFS disk mount option). Selection of the destination is made from the Clip Browser using the following procedure.
Note
The removable drive is named /remov, the fixed drive is named /fixed and the remote NFS drive is named /remot. Do not to confuse the remote and removable disk names.
1.If the Clip Browser is not open, open it from the DGy Control Panel by clicking the Clip Path. See Clip Browser Window on page 35.
2.Use the left pane of the browser (Figure
3.To create a new folder click on the New Folder icon on the Clip Browser toolbar or select New Folder from the File menu. Enter a name in the
R E C O R D I N G A C L I P
Use the following procedure to record a clip with DGy 201x.
1.From the DGy Control Panel, click Options to display the Options window.
2.Click the Record tab and set the desired recording parameters, including input signal selection, quality level, frame rate, and
| DGy Model 201x User’s Guide | 62 |