O P E R A T I O N. . Recording Clips ..
.
3.Click the Input tab and to set up input parameters, including RGB/DVI input selection, audio recording parameters, and image adjustments. If the DGy 201x has not automatically locked to the input source then the timing parameters can be selected from the Timing List. In the Timing List section, select the timing that matches the input signal and click Load. Refer to the Input Tab section on page 48 for details.
4.Click Close to return to the DGy Control Panel.
5.On the DGy Control Panel, click the Record button to begin recording the new clip.
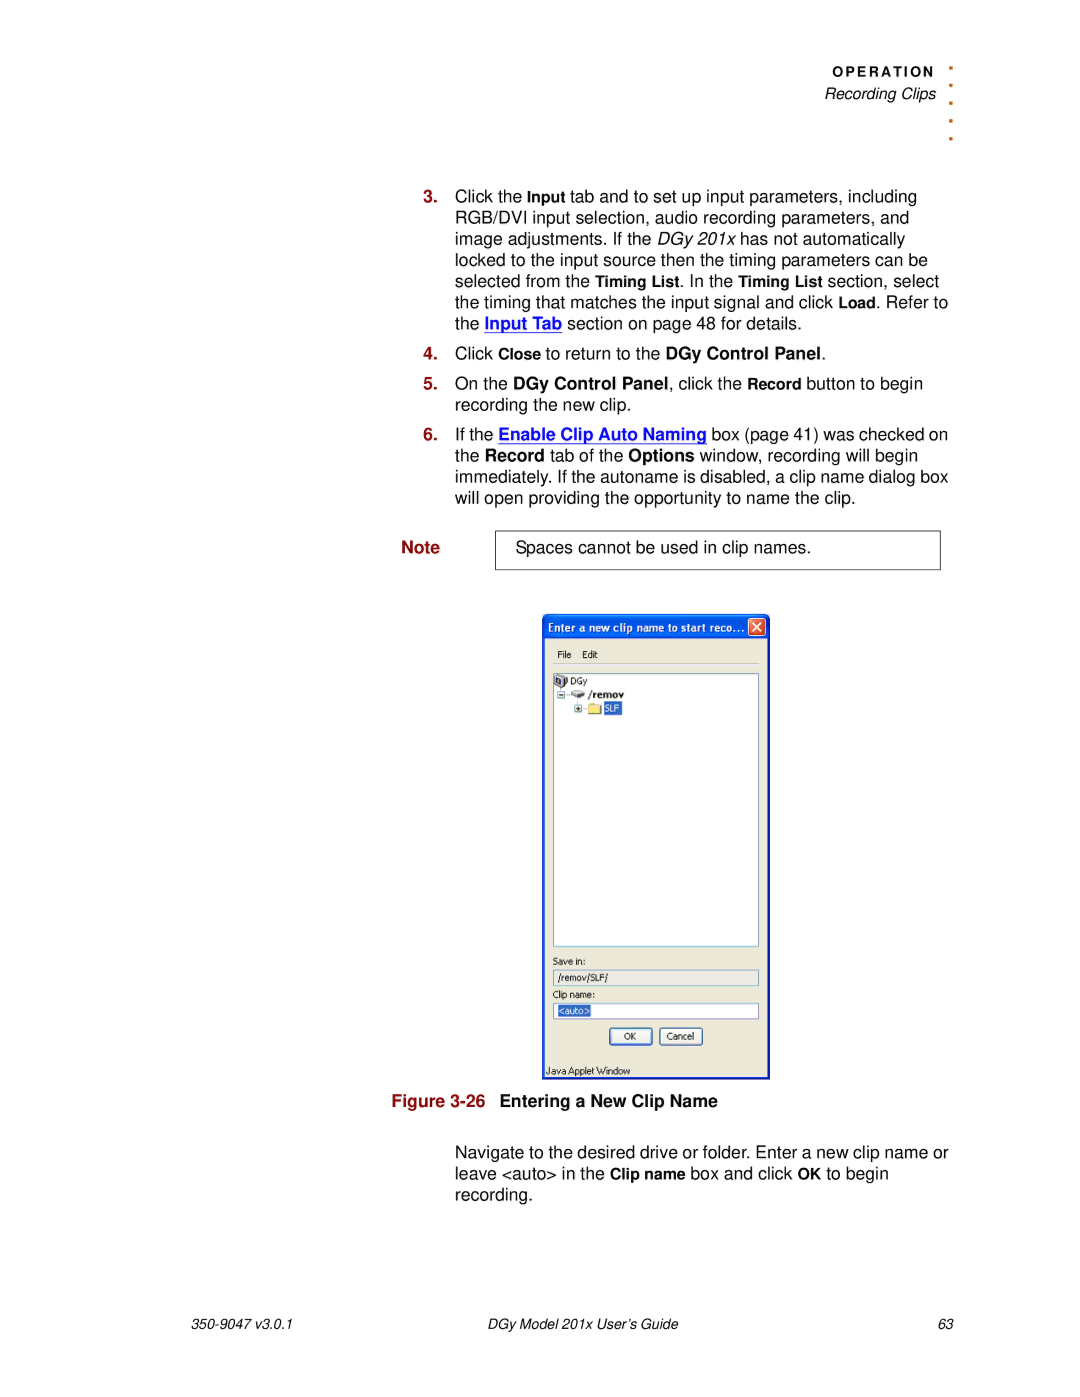
6.If the Enable Clip Auto Naming box (page 41) was checked on the Record tab of the Options window, recording will begin immediately. If the autoname is disabled, a clip name dialog box will open providing the opportunity to name the clip.
Note
Spaces cannot be used in clip names.
Figure 3-26 Entering a New Clip Name
Navigate to the desired drive or folder. Enter a new clip name or leave <auto> in the Clip name box and click OK to begin recording.
| DGy Model 201x User’s Guide | 63 |