TR A N S F E R R I N G R E C O R D I N G
.S
. Transferring Files from the DGy ..
.
TRANSFERRING. . . . . . . . . . . .FILES. . . . FROM. . . . .THE. . .DGy. . . . .
Use the following steps to set up and transfer files from the DGy 201x to a local computer.
1.Start the DGy FTP client. See Starting the FTP Client on page 72.
2.Connect to the DGy. See Connecting to the DGy on page 74.
3.Click the Download from DGy radio button to display the FTP download options as shown in Figure
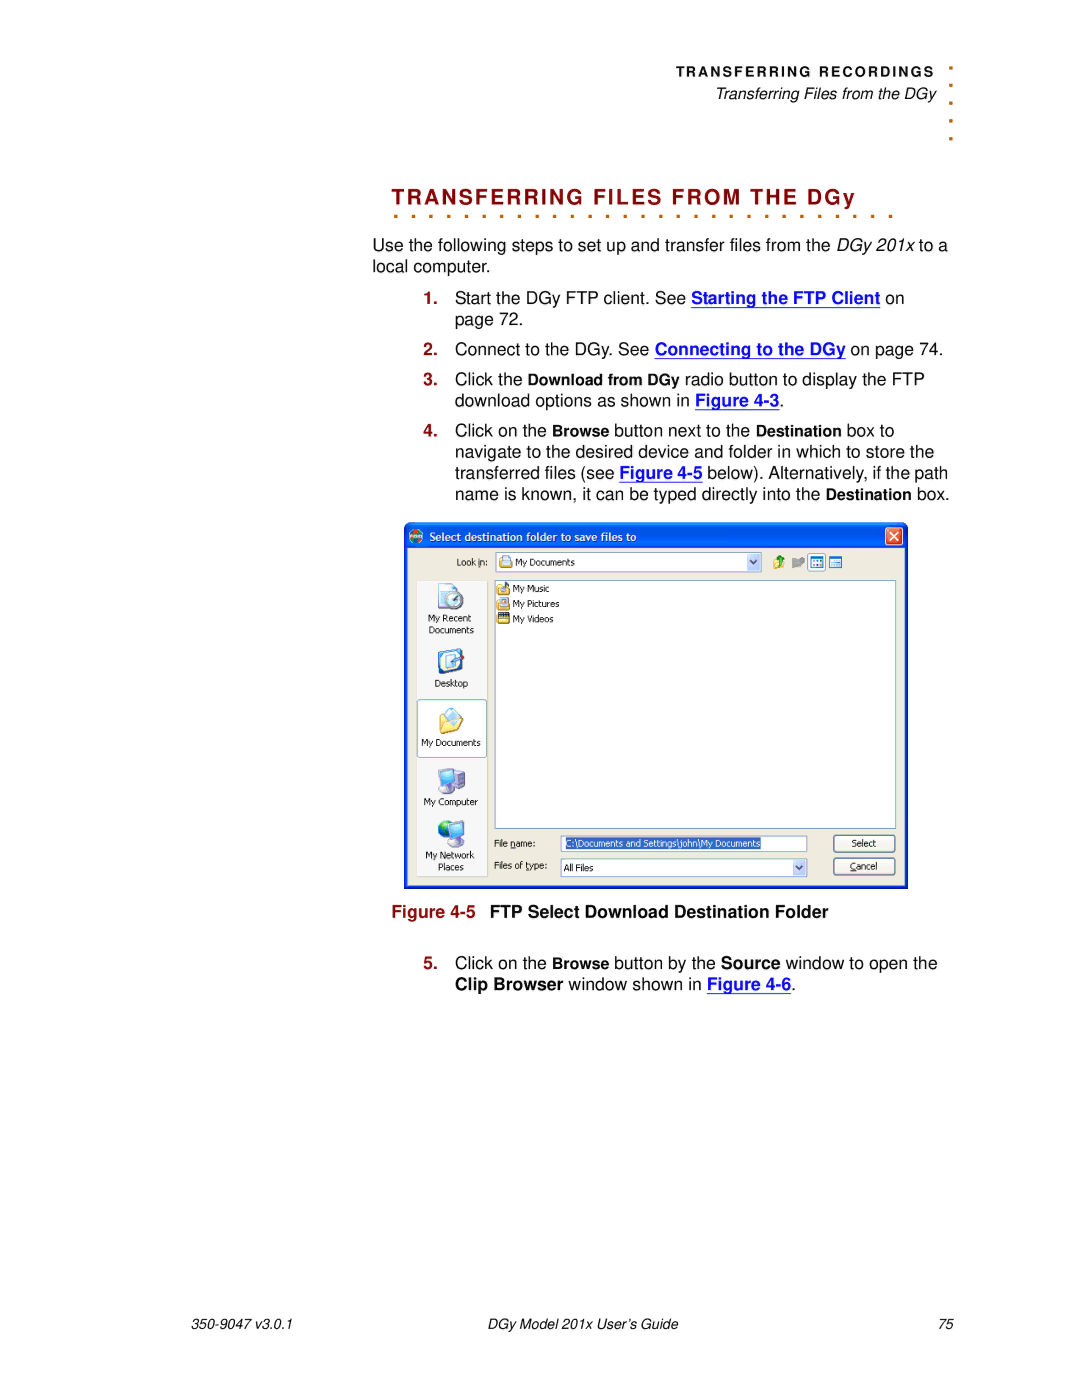
4.Click on the Browse button next to the Destination box to navigate to the desired device and folder in which to store the transferred files (see Figure
Figure 4-5 FTP Select Download Destination Folder
5.Click on the Browse button by the Source window to open the Clip Browser window shown in Figure
| DGy Model 201x User’s Guide | 75 |