IP ADDRESS SETUP
. . .VIA. .ETHERNET. . . .
C O M M U N I C A T I O N S S E T U .P . Ethernet Control ..
.
DGy 201x’s IP address can be set directly via Ethernet, using a Telnet session that enables remote login to the DGy 201x from a computer. This procedure is not required if the IP address was set using the method described in the IP Address Setup via Serial Port section on page 135.
Use the following procedure to set up the IP address with a Telnet session:
1.Use an Ethernet crossover cable or Ethernet hub to connect directly between the DGy 201x’s Ethernet port the network port of the PC.
Note | For this procedure, the direct connection method is |
| recommended over the network method. This avoids |
| potential conflicts between DGy 201x’s default IP |
| address and the network. |
|
|
2.From the Start menu at the bottom of the Windows desktop select Run...
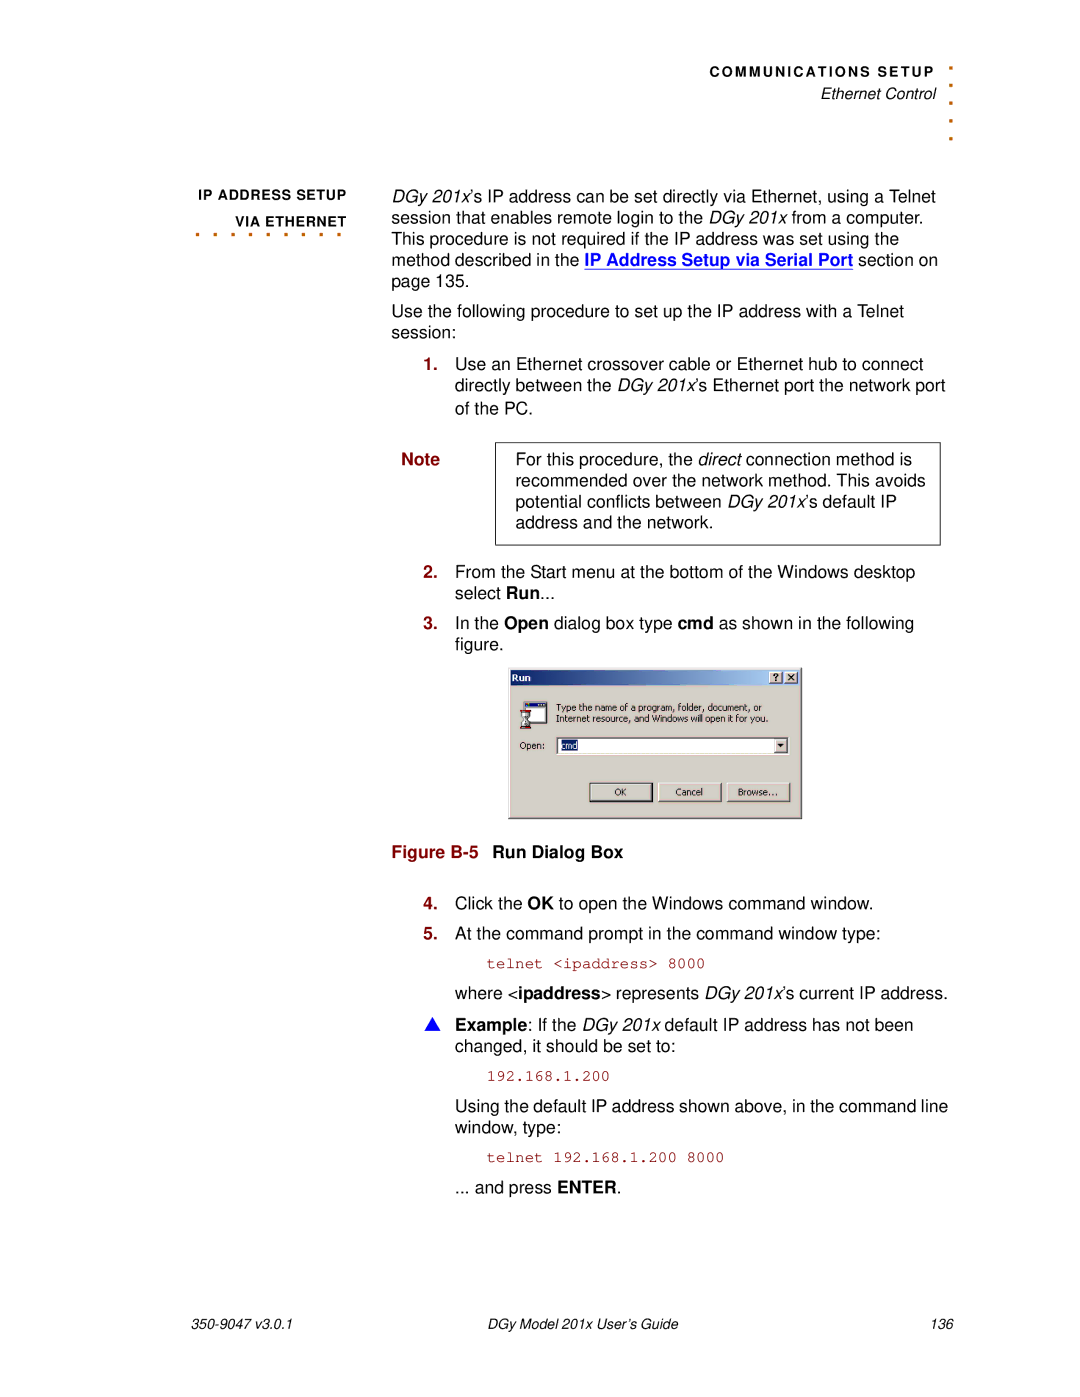
3.In the Open dialog box type cmd as shown in the following figure.
Figure B-5 Run Dialog Box
4.Click the OK to open the Windows command window.
5.At the command prompt in the command window type: telnet <ipaddress> 8000
where <ipaddress> represents DGy 201x’s current IP address.
SExample: If the DGy 201x default IP address has not been changed, it should be set to:
192.168.1.200
Using the default IP address shown above, in the command line window, type:
telnet 192.168.1.200 8000
... and press ENTER.
DGy Model 201x User’s Guide | 136 |