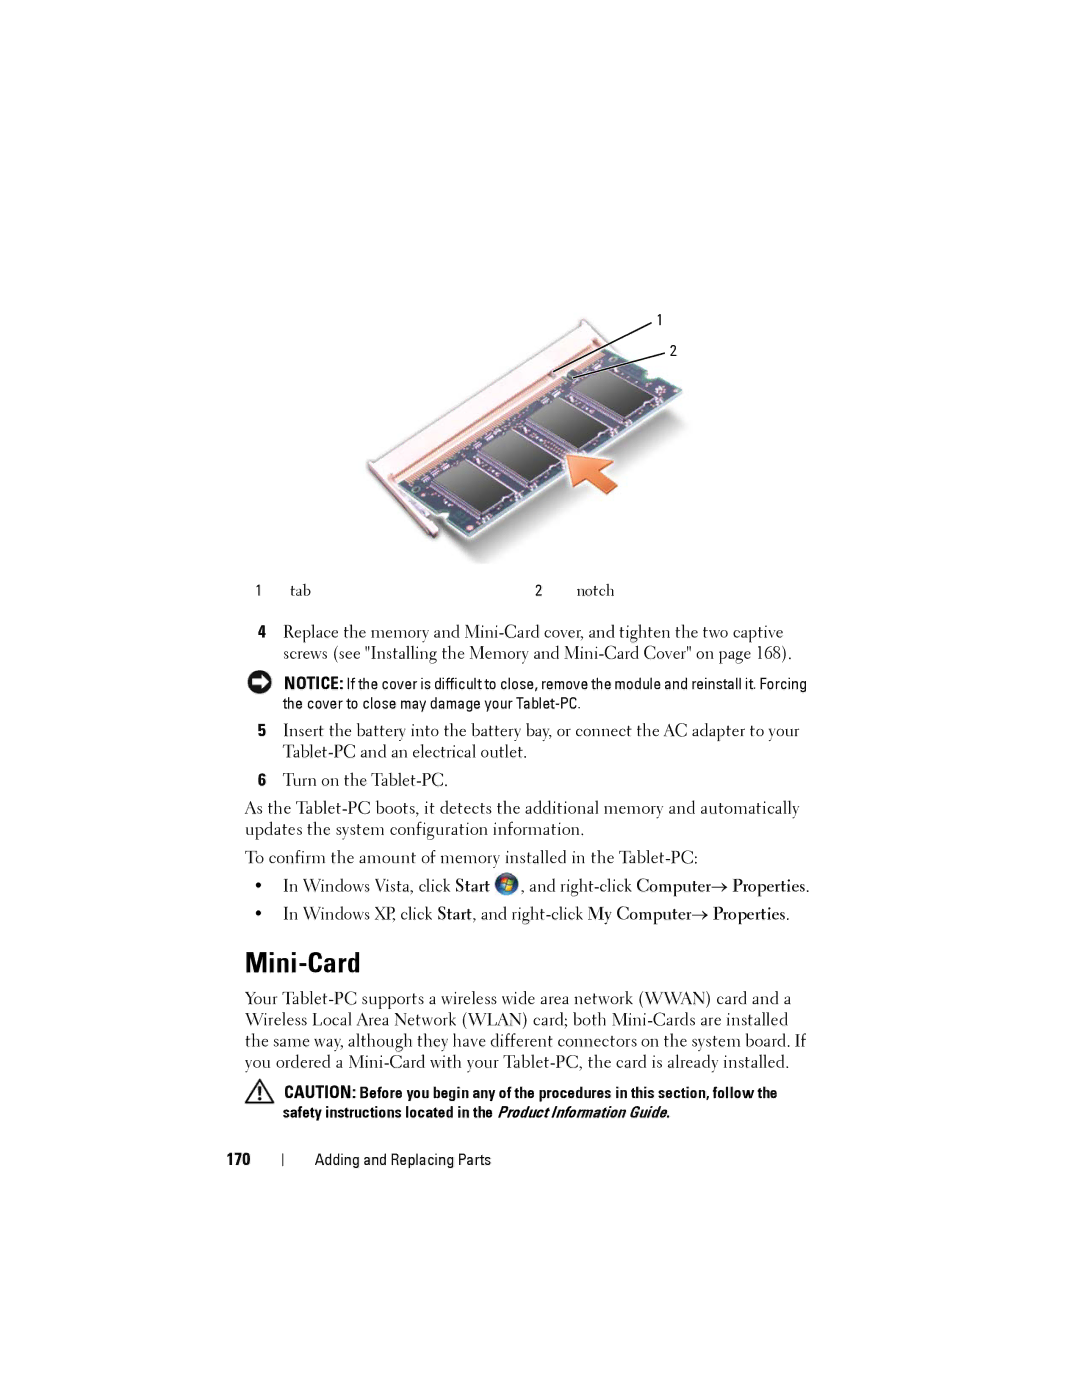
1

2

1

tab

2

notch

4Replace the memory and Mini-Card cover, and tighten the two captive screws (see "Installing the Memory and Mini-Card Cover" on page 168).

NOTICE: If the cover is difficult to close, remove the module and reinstall it. Forcing the cover to close may damage your Tablet-PC.

5Insert the battery into the battery bay, or connect the AC adapter to your Tablet-PC and an electrical outlet.

6Turn on the Tablet-PC.

As the Tablet-PC boots, it detects the additional memory and automatically updates the system configuration information.

To confirm the amount of memory installed in the Tablet-PC:

In Windows Vista, click Start , and right-click ComputerProperties.

In Windows XP, click Start, and right-click My ComputerProperties.

Mini-Card

Your Tablet-PC supports a wireless wide area network (WWAN) card and a Wireless Local Area Network (WLAN) card; both Mini-Cards are installed the same way, although they have different connectors on the system board. If you ordered a Mini-Card with your Tablet-PC, the card is already installed.

CAUTION: Before you begin any of the procedures in this section, follow the safety instructions located in the Product Information Guide.

170

Adding and Replacing Parts
Page 170
Image 170
Dell PP12S manual Mini-Card, 170