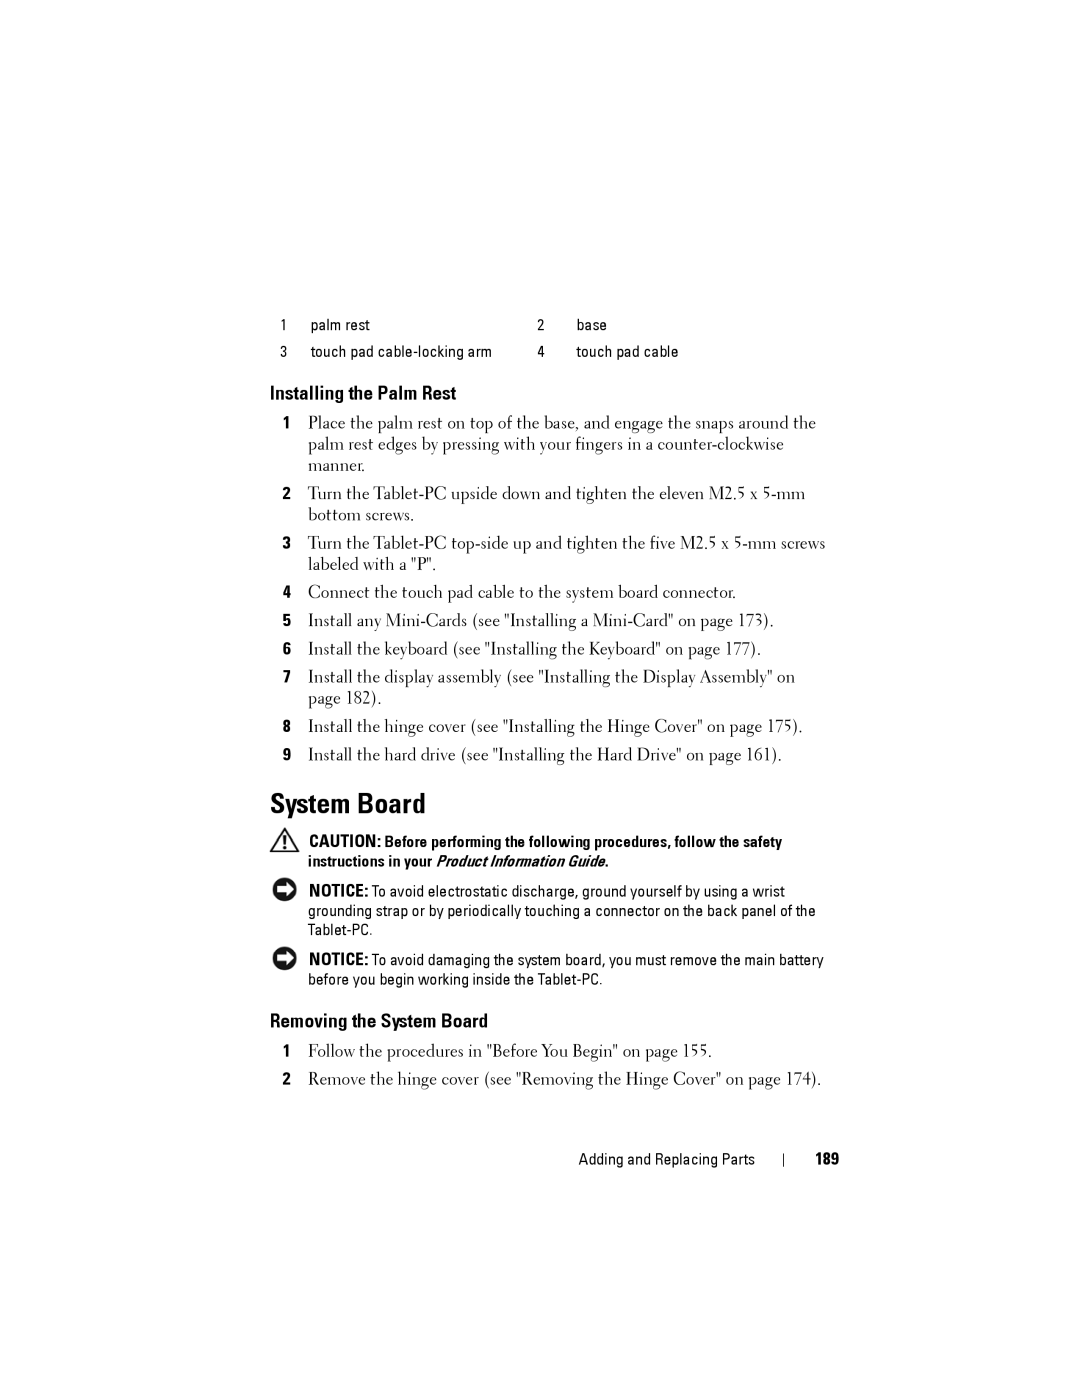
1 | palm rest | 2 | base |
3 | touch pad | 4 | touch pad cable |
Installing the Palm Rest
1Place the palm rest on top of the base, and engage the snaps around the palm rest edges by pressing with your fingers in a
2Turn the
3Turn the
4Connect the touch pad cable to the system board connector.
5Install any
6Install the keyboard (see "Installing the Keyboard" on page 177).
7Install the display assembly (see "Installing the Display Assembly" on page 182).
8Install the hinge cover (see "Installing the Hinge Cover" on page 175).
9Install the hard drive (see "Installing the Hard Drive" on page 161).
System Board
CAUTION: Before performing the following procedures, follow the safety instructions in your Product Information Guide.
NOTICE: To avoid electrostatic discharge, ground yourself by using a wrist grounding strap or by periodically touching a connector on the back panel of the
NOTICE: To avoid damaging the system board, you must remove the main battery before you begin working inside the
Removing the System Board
1Follow the procedures in "Before You Begin" on page 155.
2Remove the hinge cover (see "Removing the Hinge Cover" on page 174).
Adding and Replacing Parts