3.Connect the Cables
Important: You must attach the enclosed bidirectional parallel cable from the HP OfficeJet to your computer. If you don’t, the OfficeJet won’t work.
●For safety, turn off your computer before connecting the cables.
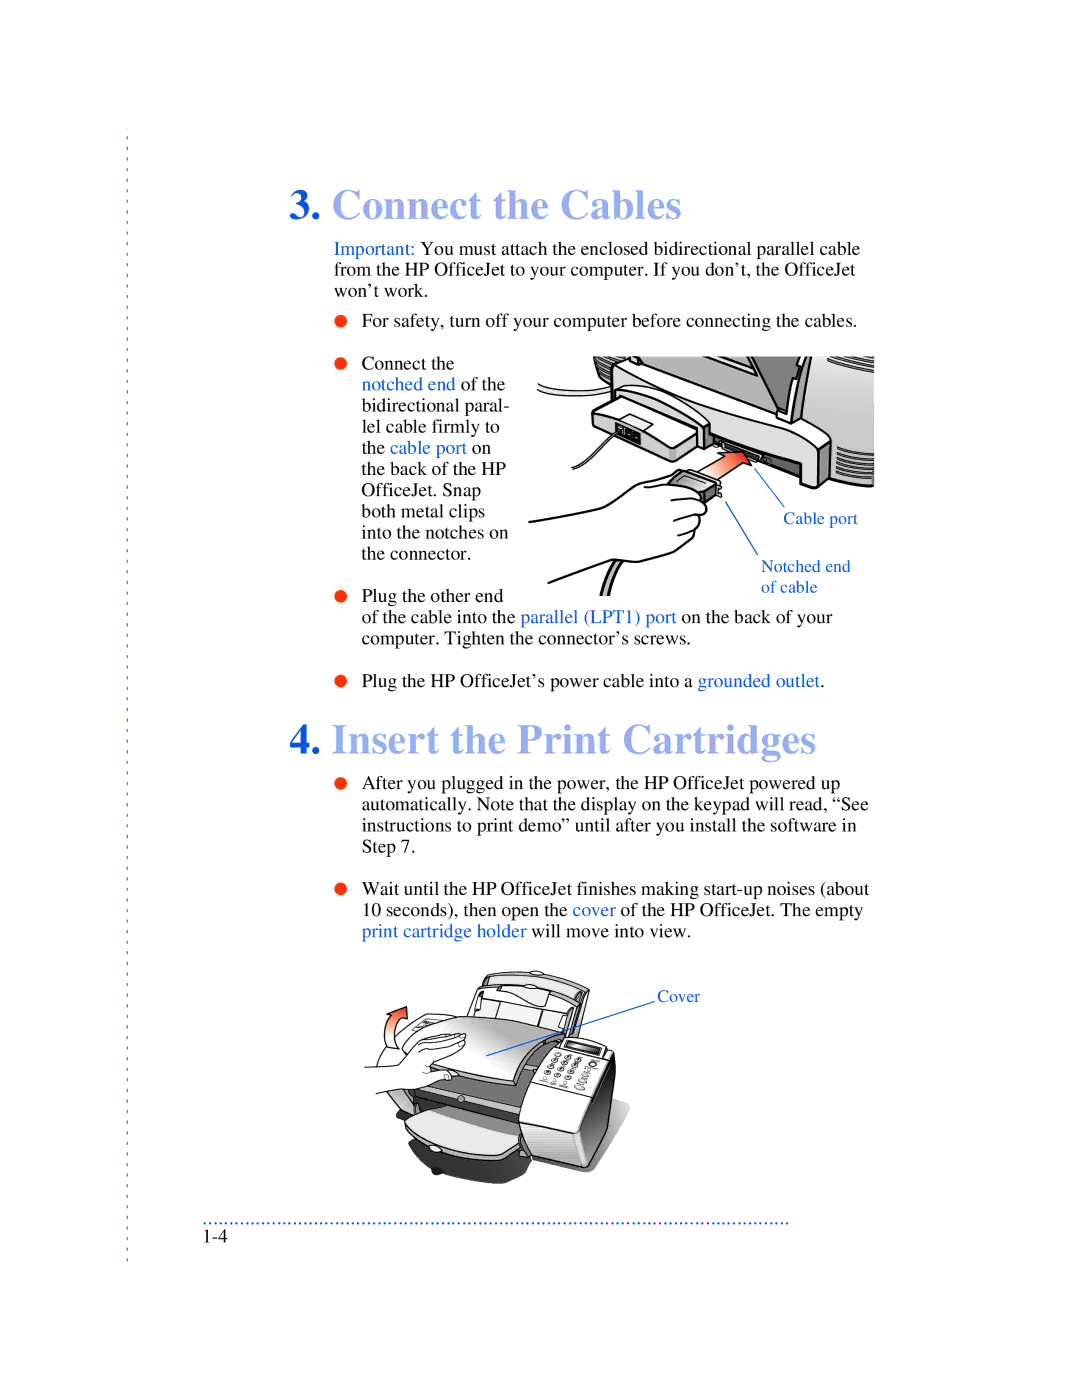
● Connect the notched end of the bidirectional paral- lel cable firmly to the cable port on the back of the HP OfficeJet. Snap both metal clips into the notches on the connector.
● Plug the other end
of the cable into the parallel (LPT1) port on the back of your computer. Tighten the connector’s screws.
●Plug the HP OfficeJet’s power cable into a grounded outlet.
4.Insert the Print Cartridges
●After you plugged in the power, the HP OfficeJet powered up automatically. Note that the display on the keypad will read, “See instructions to print demo” until after you install the software in Step 7.
●Wait until the HP OfficeJet finishes making
Cover
...............................................................................................................