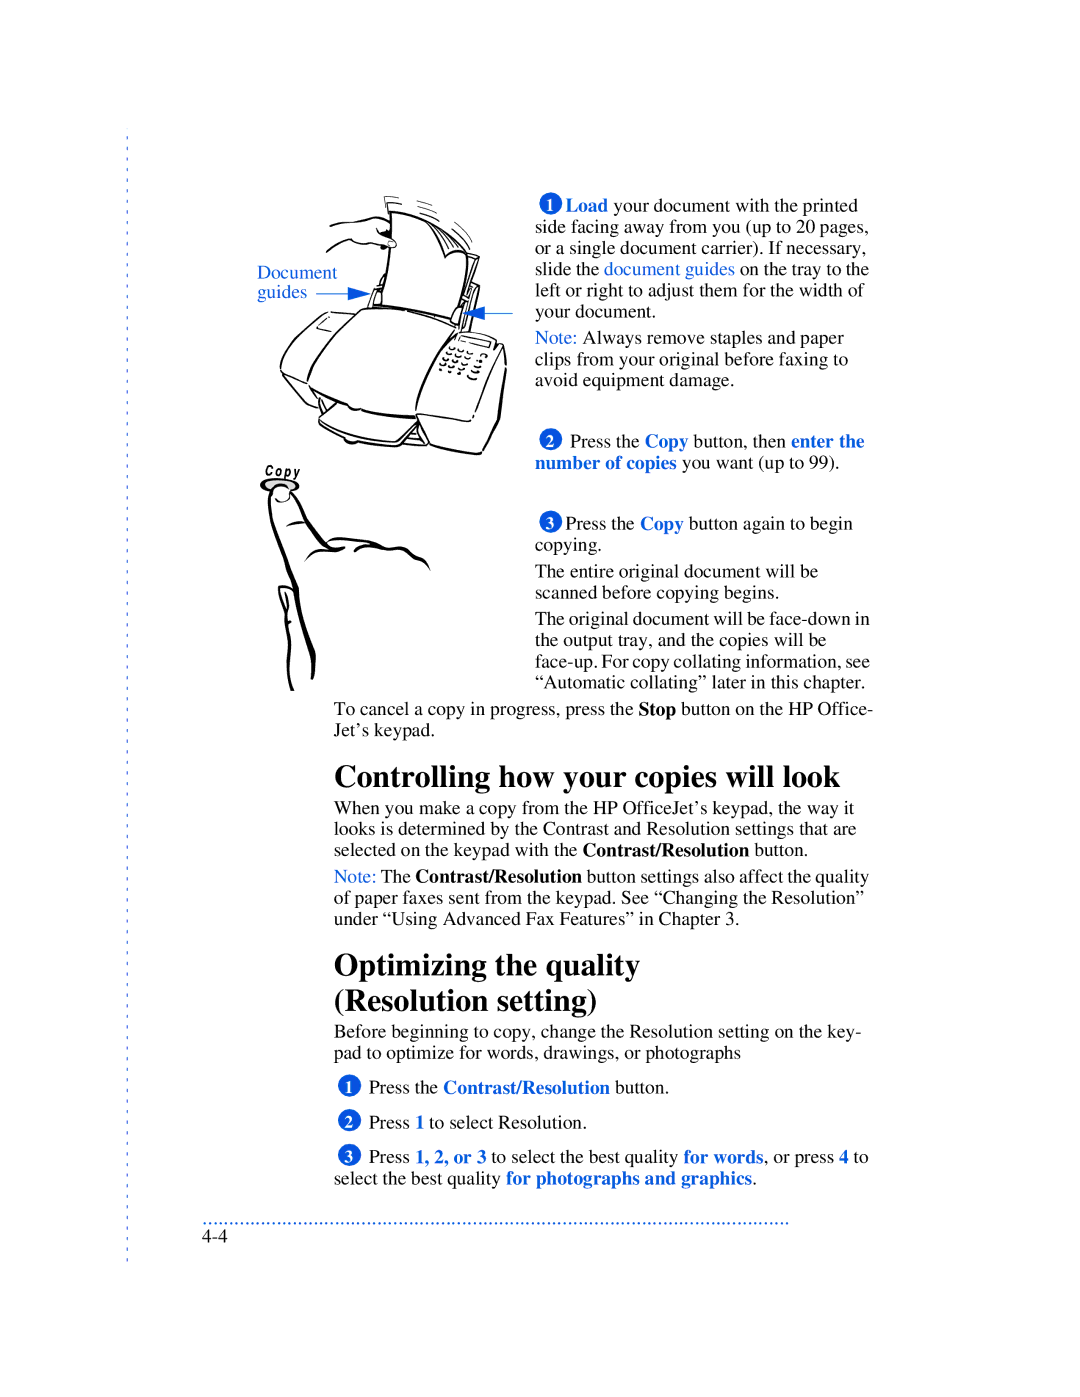
Document guides 

1Load your document with the printed side facing away from you (up to 20 pages, or a single document carrier). If necessary, slide the document guides on the tray to the left or right to adjust them for the width of your document.
Note: Always remove staples and paper clips from your original before faxing to avoid equipment damage.
2Press the Copy button, then enter the number of copies you want (up to 99).
3Press the Copy button again to begin copying.
The entire original document will be scanned before copying begins.
The original document will be
To cancel a copy in progress, press the Stop button on the HP Office- Jet’s keypad.
Controlling how your copies will look
When you make a copy from the HP OfficeJet’s keypad, the way it looks is determined by the Contrast and Resolution settings that are selected on the keypad with the Contrast/Resolution button.
Note: The Contrast/Resolution button settings also affect the quality of paper faxes sent from the keypad. See “Changing the Resolution” under “Using Advanced Fax Features” in Chapter 3.
Optimizing the quality (Resolution setting)
Before beginning to copy, change the Resolution setting on the key- pad to optimize for words, drawings, or photographs
1Press the Contrast/Resolution button.
2Press 1 to select Resolution.
3Press 1, 2, or 3 to select the best quality for words, or press 4 to select the best quality for photographs and graphics.
...............................................................................................................