Important: If your external modem’s software is set to automati- cally receive faxes to your computer, turn off that setting; if you don’t, your HP OfficeJet will not be able to receive faxes prop- erly.
●Connect your phone to the HP OfficeJet. Connect the cord from your phone to either of the two ports on the back of the HP Office- Jet labelled, “To Phone, Answering Machine, or Modem.”
The benefits of connecting a phone in this situation are 1) For the convenience of having a phone close by to make outgoing voice calls, and 2) In case you need to send a fax (press START) after calling someone who must receive their faxes manually.
●After you install the software in Step 7, and answer the Setup Wizard questions for this connection case, here’s how you’ll auto- matically receive faxes with the HP OfficeJet: Your fax line will ring once, then the HP OfficeJet will answer and begin emitting fax tones to the sending machine.
●Continue with Step 7, “Install the Software - REQUIRED!”
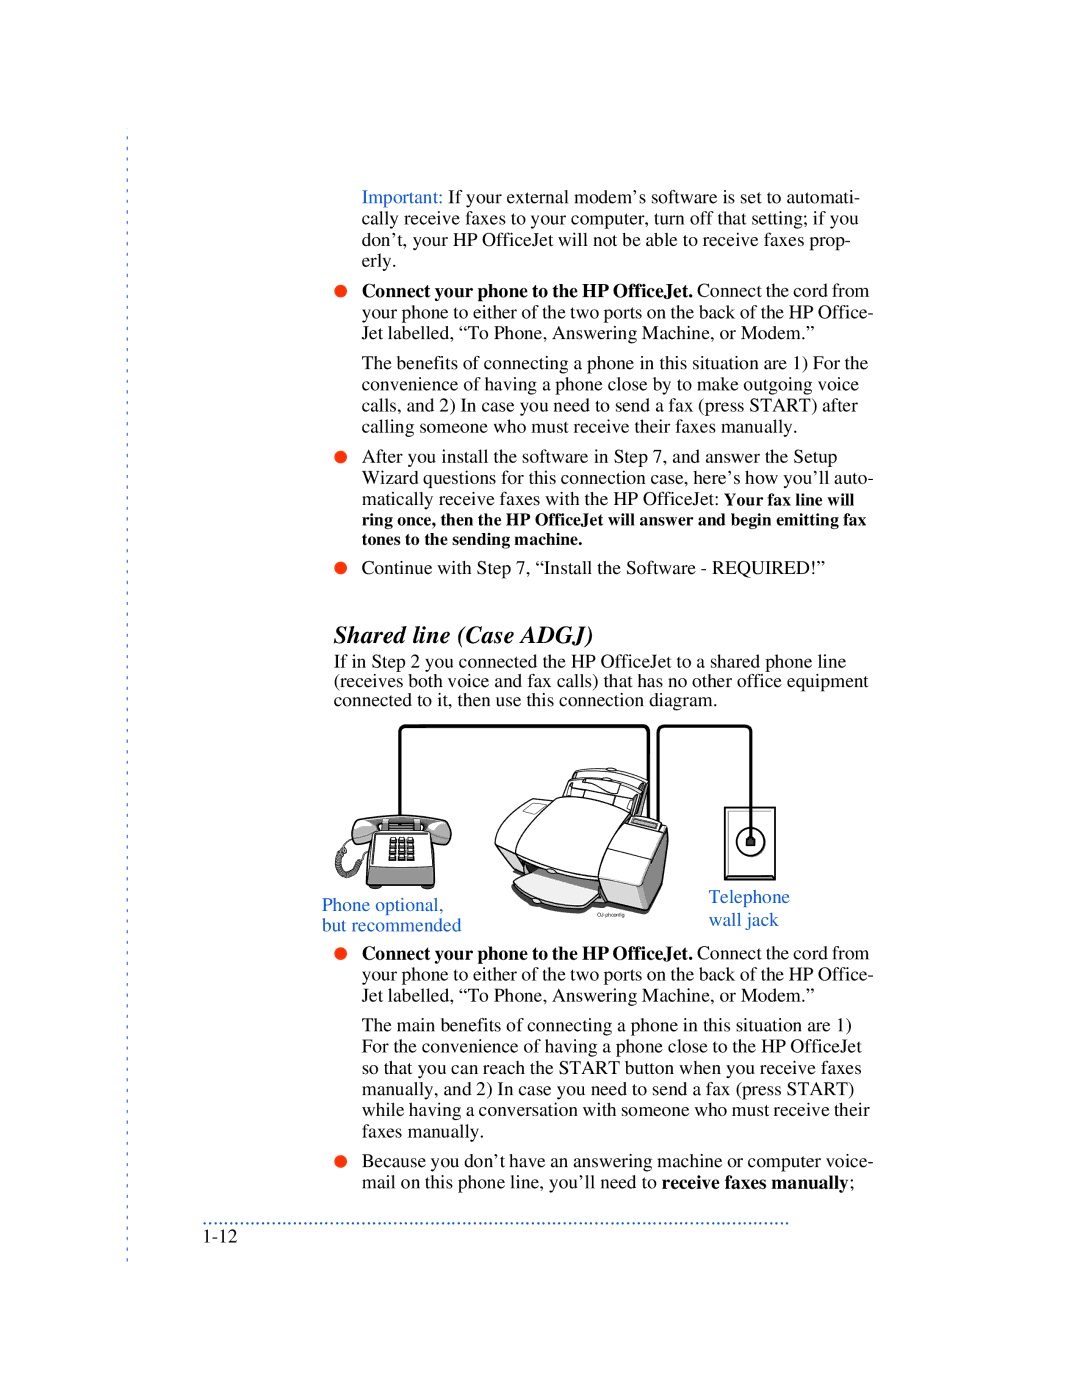
Shared line (Case ADGJ)
If in Step 2 you connected the HP OfficeJet to a shared phone line (receives both voice and fax calls) that has no other office equipment connected to it, then use this connection diagram.
Phone optional, but recommended
Telephone wall jack
●Connect your phone to the HP OfficeJet. Connect the cord from your phone to either of the two ports on the back of the HP Office- Jet labelled, “To Phone, Answering Machine, or Modem.”
The main benefits of connecting a phone in this situation are 1) For the convenience of having a phone close to the HP OfficeJet so that you can reach the START button when you receive faxes manually, and 2) In case you need to send a fax (press START) while having a conversation with someone who must receive their faxes manually.
●Because you don’t have an answering machine or computer voice- mail on this phone line, you’ll need to receive faxes manually;
...............................................................................................................