6.When the removal has been completed, click the OK button and then confirm that you want to restart the computer.
7.After Windows has restarted, open the Control Panel again by clicking Start - > Settings
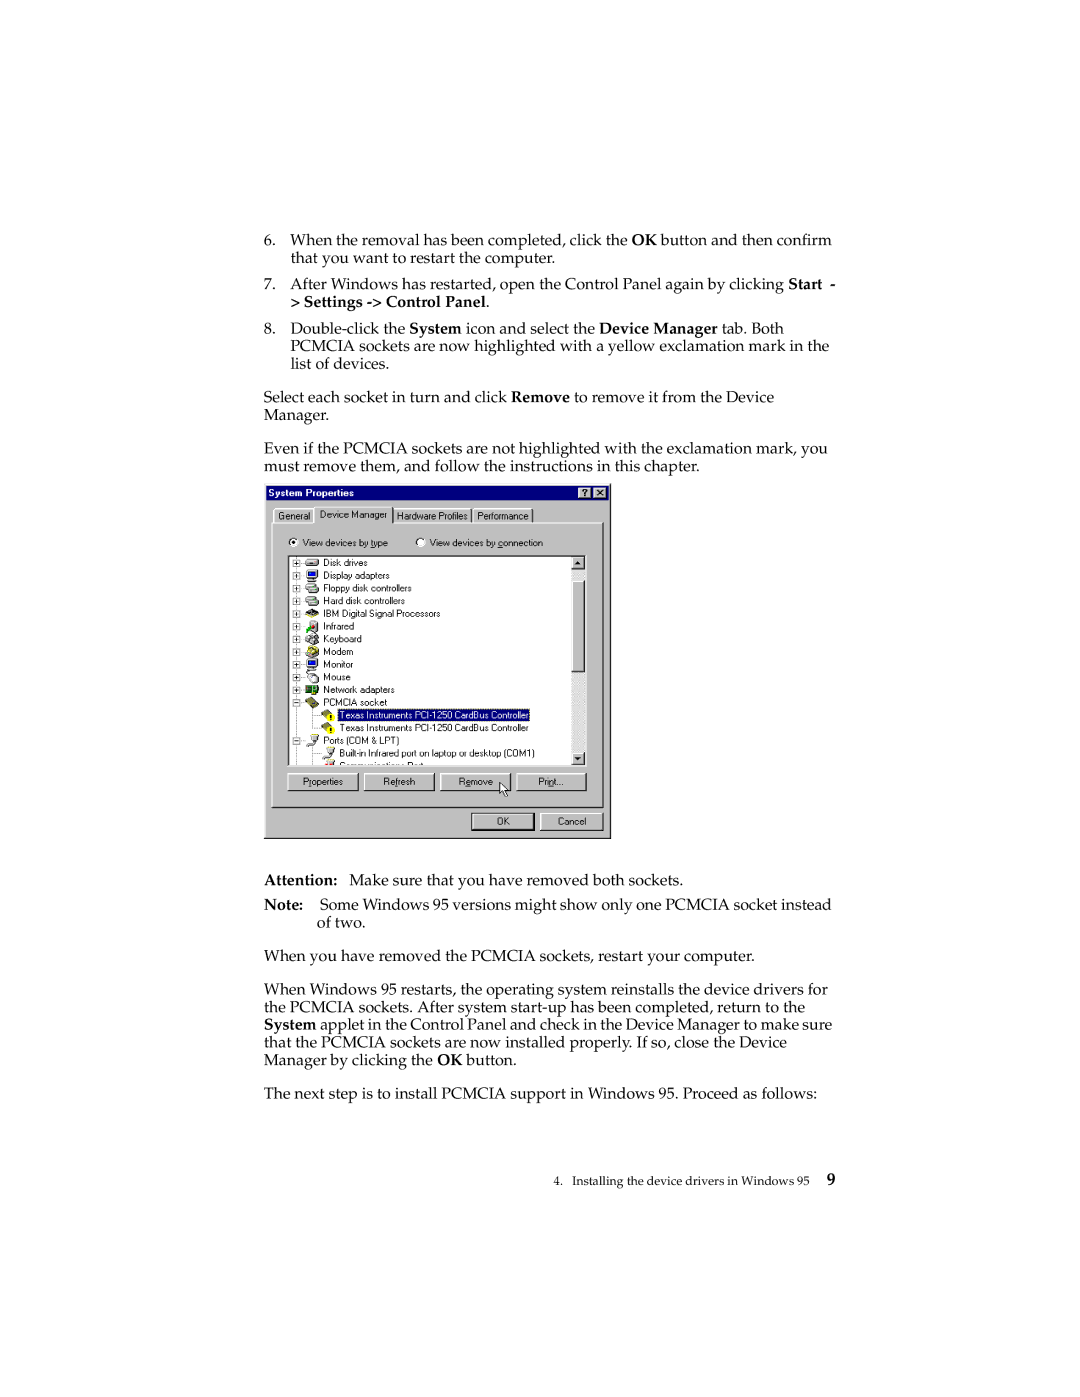
8.
Select each socket in turn and click Remove to remove it from the Device Manager.
Even if the PCMCIA sockets are not highlighted with the exclamation mark, you must remove them, and follow the instructions in this chapter.
Attention: Make sure that you have removed both sockets.
Note: Some Windows 95 versions might show only one PCMCIA socket instead of two.
When you have removed the PCMCIA sockets, restart your computer.
When Windows 95 restarts, the operating system reinstalls the device drivers for the PCMCIA sockets. After system
The next step is to install PCMCIA support in Windows 95. Proceed as follows: