Notes:
•Make sure the
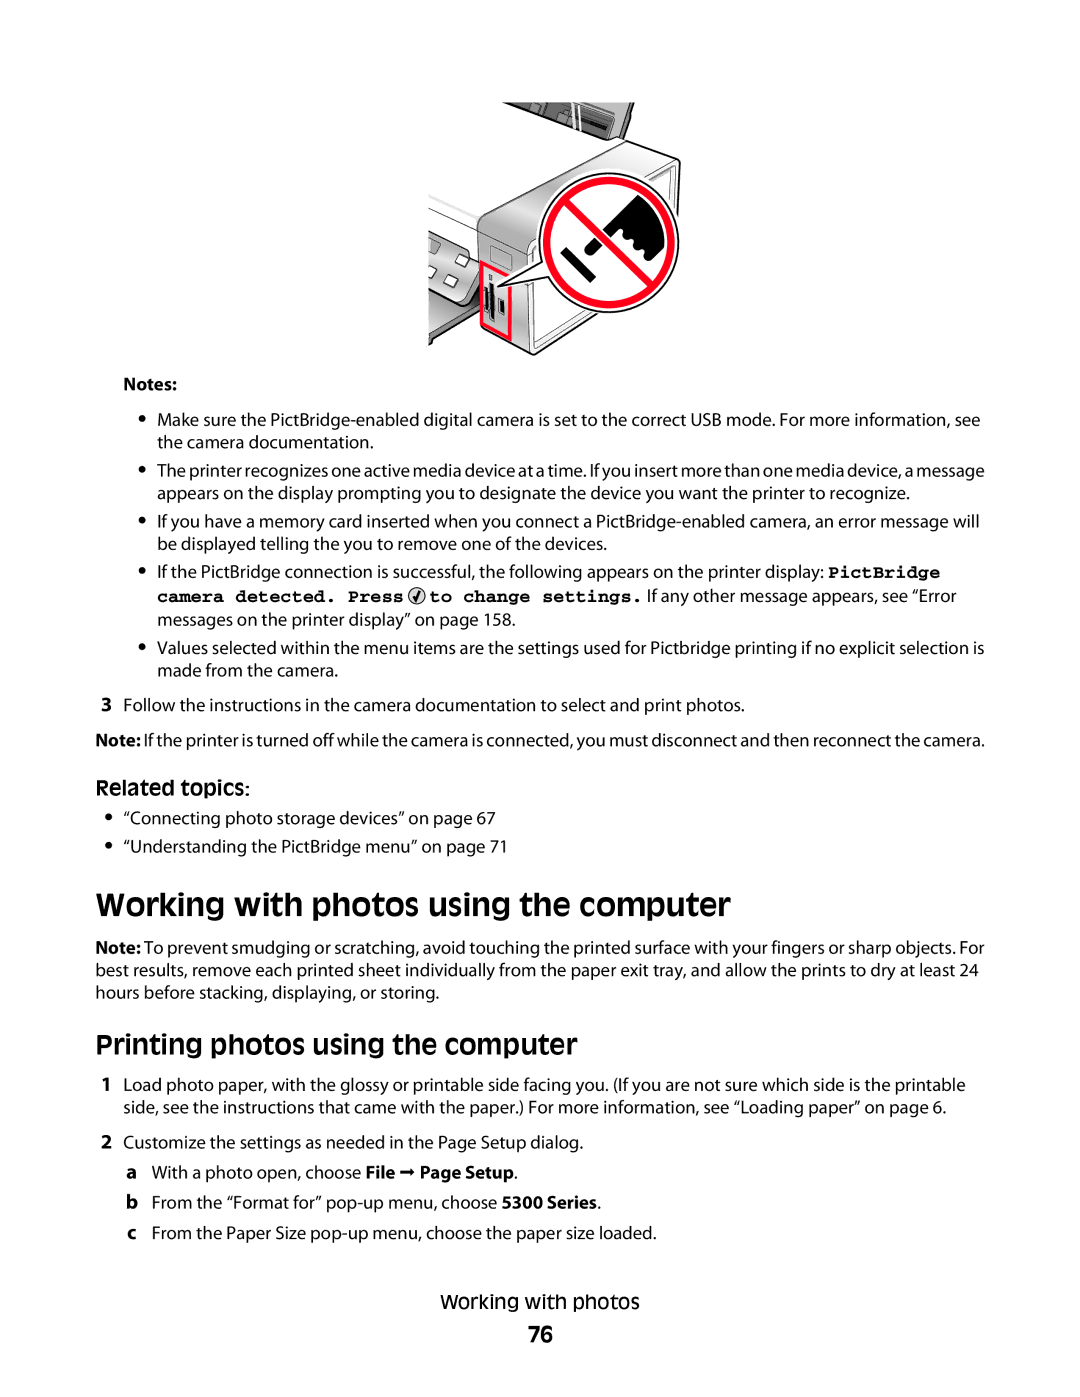
•The printer recognizes one active media device at a time. If you insert more than one media device, a message appears on the display prompting you to designate the device you want the printer to recognize.
•If you have a memory card inserted when you connect a
•If the PictBridge connection is successful, the following appears on the printer display: PictBridge camera detected. Press ![]() to change settings. If any other message appears, see “Error messages on the printer display” on page 158.
to change settings. If any other message appears, see “Error messages on the printer display” on page 158.
•Values selected within the menu items are the settings used for Pictbridge printing if no explicit selection is made from the camera.
3Follow the instructions in the camera documentation to select and print photos.
Note: If the printer is turned off while the camera is connected, you must disconnect and then reconnect the camera.
Related topics:
•“Connecting photo storage devices” on page 67
•“Understanding the PictBridge menu” on page 71
Working with photos using the computer
Note: To prevent smudging or scratching, avoid touching the printed surface with your fingers or sharp objects. For best results, remove each printed sheet individually from the paper exit tray, and allow the prints to dry at least 24 hours before stacking, displaying, or storing.
Printing photos using the computer
1Load photo paper, with the glossy or printable side facing you. (If you are not sure which side is the printable side, see the instructions that came with the paper.) For more information, see “Loading paper” on page 6.
2Customize the settings as needed in the Page Setup dialog. a With a photo open, choose File Page Setup.
b From the “Format for”
c From the Paper Size
Working with photos
76
