dFrom the Paper Type
Note: Choosing
eSelect a print quality other than Quick Print. Best is recommended.
4Click Print.
Note: To prevent smudging, remove each
Related topics:
•“Loading
•“Using the Page Setup dialog” on page 98
•“Using the Print dialog” on page 99
Printing a banner
1Remove all paper from the paper support.
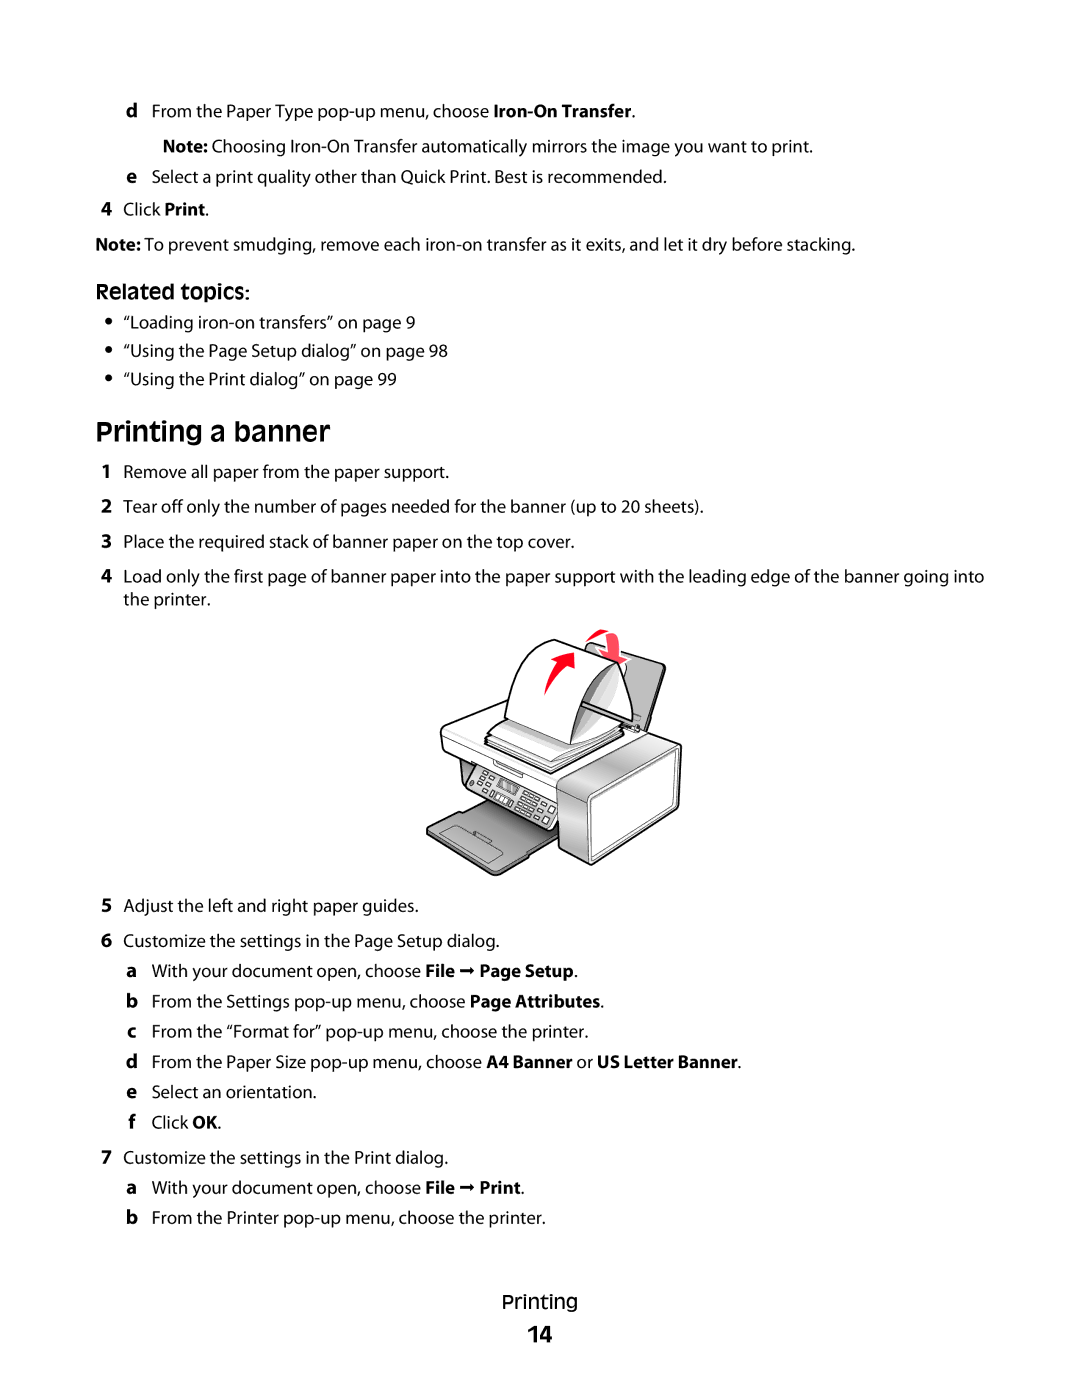
2Tear off only the number of pages needed for the banner (up to 20 sheets).
3Place the required stack of banner paper on the top cover.
4Load only the first page of banner paper into the paper support with the leading edge of the banner going into the printer.
5Adjust the left and right paper guides.
6Customize the settings in the Page Setup dialog.
aWith your document open, choose File Page Setup.
bFrom the Settings
cFrom the “Format for”
dFrom the Paper Size
eSelect an orientation.
fClick OK.
7Customize the settings in the Print dialog.
aWith your document open, choose File Print.
bFrom the Printer
Printing
14
