7Click Scan.
8Retrieve the scanned image from the application, and send it through
Related topics:
•“Loading original documents on the scanner glass” on page 22
Scanning multiple pages using the scanner glass
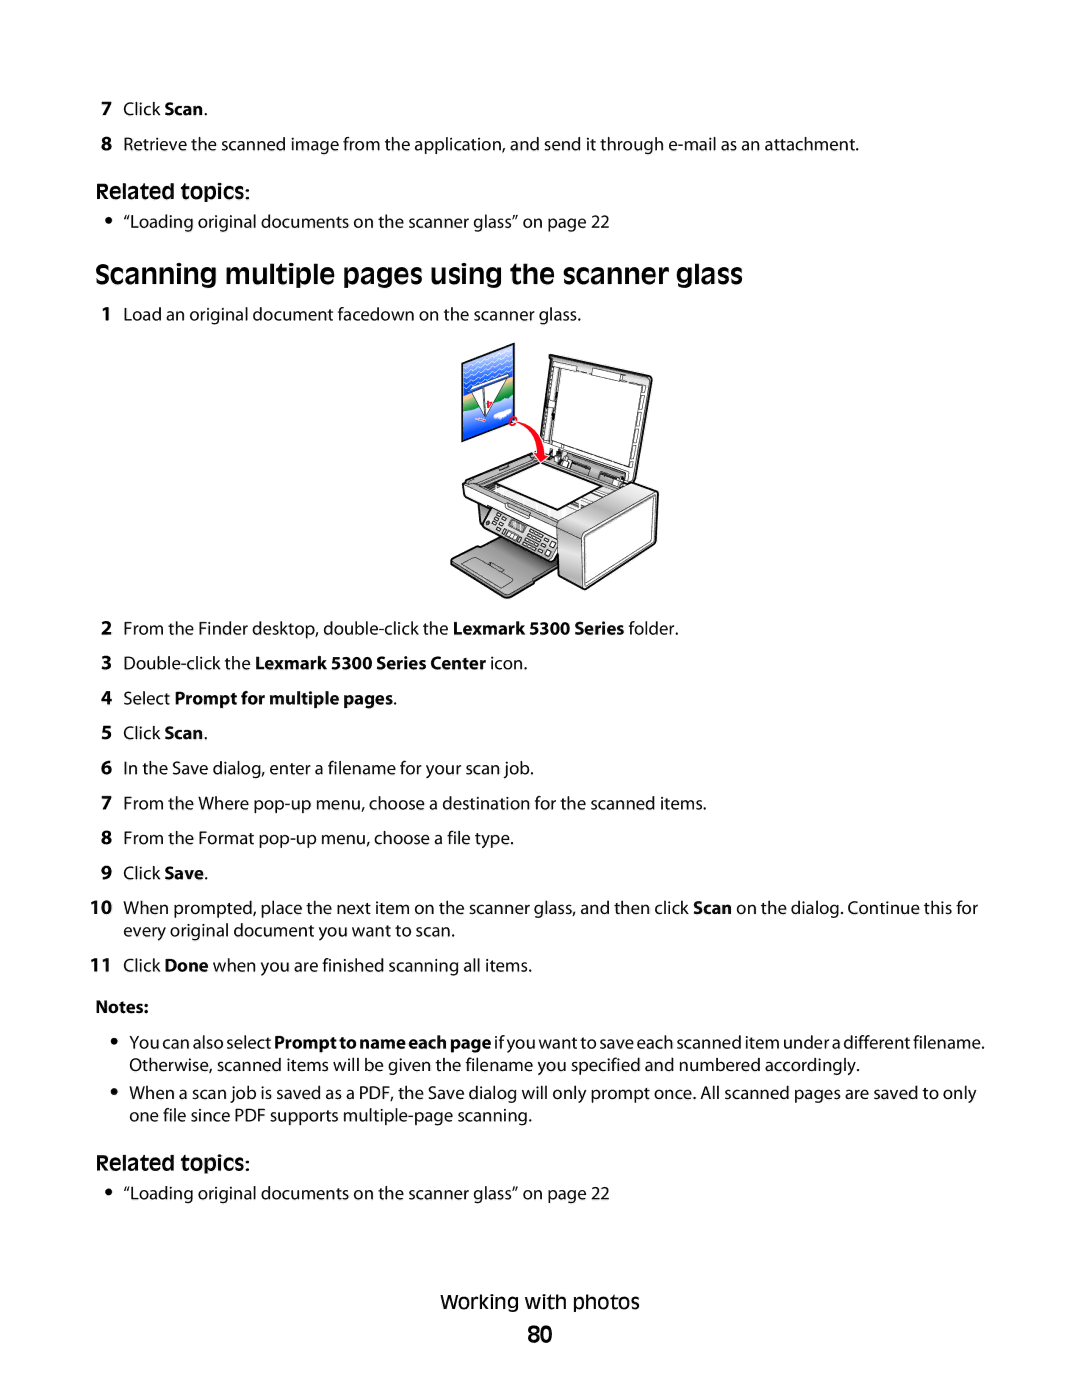
1Load an original document facedown on the scanner glass.
2From the Finder desktop,
3
4Select Prompt for multiple pages.
5Click Scan.
6In the Save dialog, enter a filename for your scan job.
7From the Where
8From the Format
9Click Save.
10When prompted, place the next item on the scanner glass, and then click Scan on the dialog. Continue this for every original document you want to scan.
11Click Done when you are finished scanning all items.
Notes:
•You can also select Prompt to name each page if you want to save each scanned item under a different filename. Otherwise, scanned items will be given the filename you specified and numbered accordingly.
•When a scan job is saved as a PDF, the Save dialog will only prompt once. All scanned pages are saved to only one file since PDF supports
Related topics:
•“Loading original documents on the scanner glass” on page 22
Working with photos
80