Configuring DSL Connections (DSLTNT)
Configuring DSLPipe Plug and Play
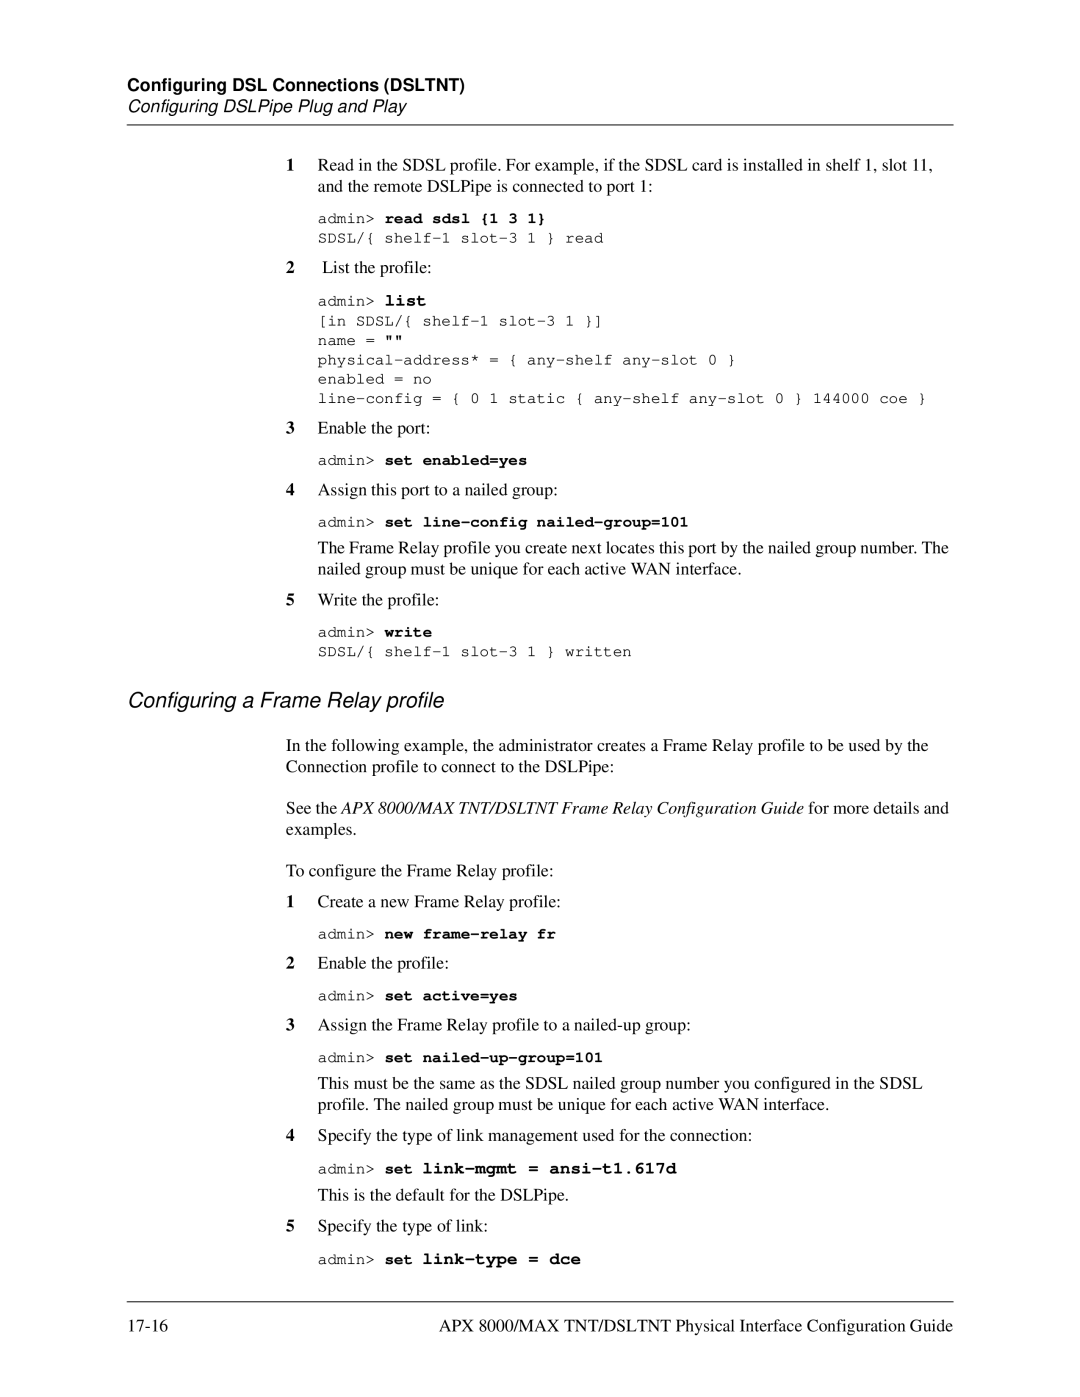
1Read in the SDSL profile. For example, if the SDSL card is installed in shelf 1, slot 11, and the remote DSLPipe is connected to port 1:
admin> read sdsl {1 3 1} SDSL/{
2List the profile:
admin> list
[in SDSL/{
3Enable the port:
admin> set enabled=yes
4Assign this port to a nailed group:
admin> set
The Frame Relay profile you create next locates this port by the nailed group number. The nailed group must be unique for each active WAN interface.
5Write the profile:
admin> write
SDSL/{
Configuring a Frame Relay profile
In the following example, the administrator creates a Frame Relay profile to be used by the Connection profile to connect to the DSLPipe:
See the APX 8000/MAX TNT/DSLTNT Frame Relay Configuration Guide for more details and examples.
To configure the Frame Relay profile:
1Create a new Frame Relay profile: admin> new
2Enable the profile:
admin> set active=yes
3Assign the Frame Relay profile to a
This must be the same as the SDSL nailed group number you configured in the SDSL profile. The nailed group must be unique for each active WAN interface.
4Specify the type of link management used for the connection: admin> set
This is the default for the DSLPipe.
5Specify the type of link:
admin> set link-type = dce
APX 8000/MAX TNT/DSLTNT Physical Interface Configuration Guide |
