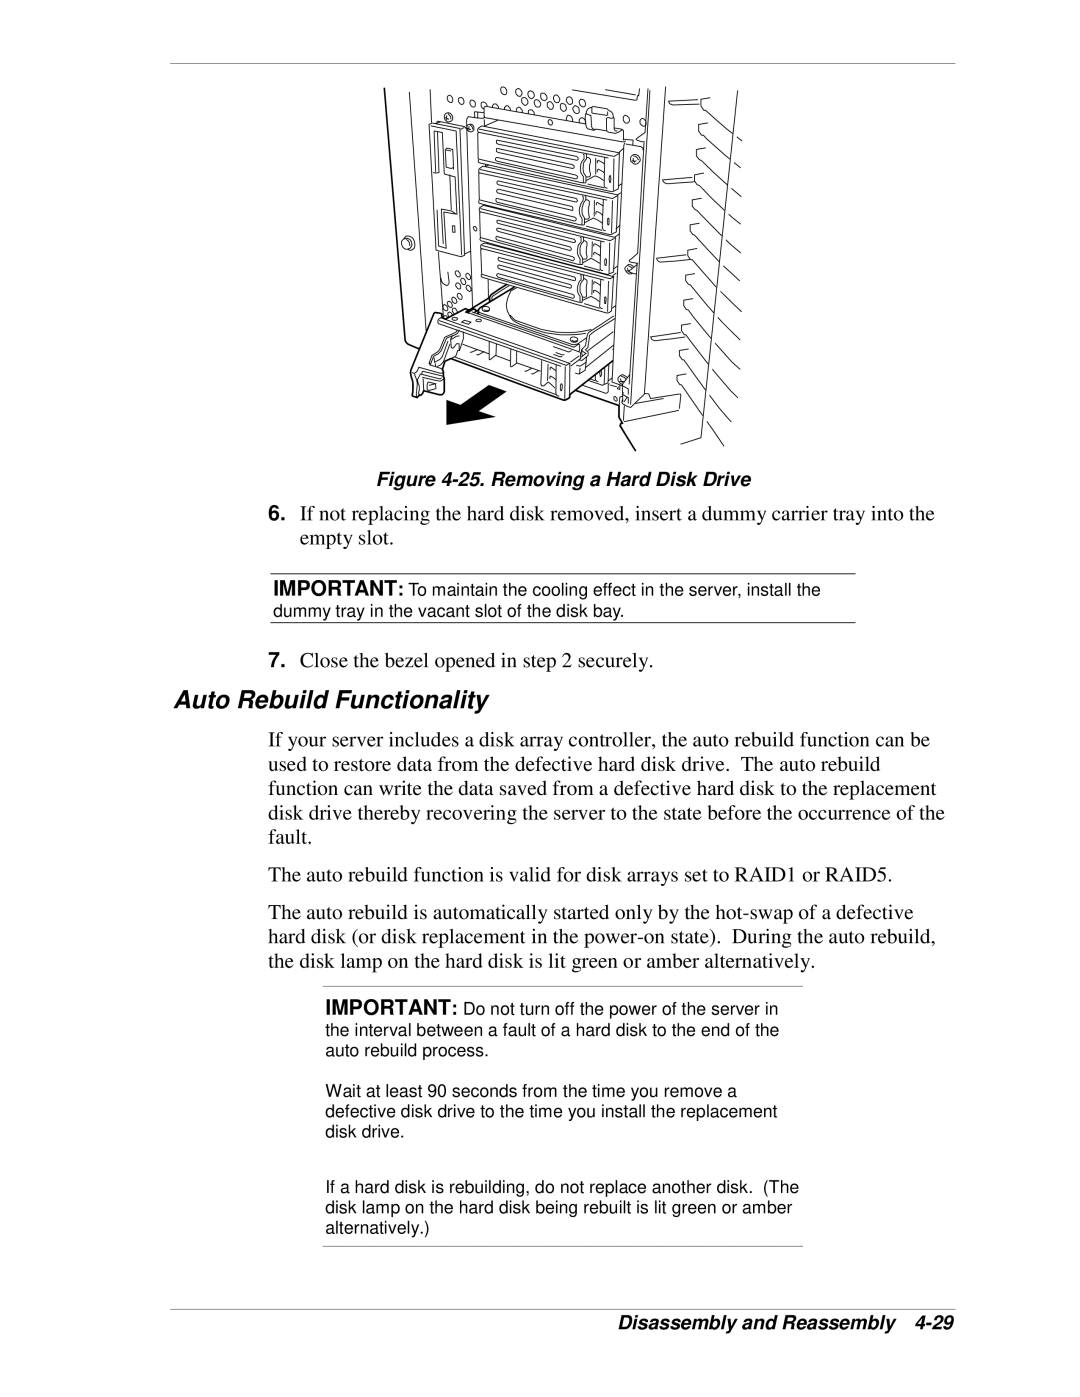
Figure 4-25. Removing a Hard Disk Drive
6.If not replacing the hard disk removed, insert a dummy carrier tray into the empty slot.
IMPORTANT: To maintain the cooling effect in the server, install the dummy tray in the vacant slot of the disk bay.
7.Close the bezel opened in step 2 securely.
Auto Rebuild Functionality
If your server includes a disk array controller, the auto rebuild function can be used to restore data from the defective hard disk drive. The auto rebuild function can write the data saved from a defective hard disk to the replacement disk drive thereby recovering the server to the state before the occurrence of the fault.
The auto rebuild function is valid for disk arrays set to RAID1 or RAID5.
The auto rebuild is automatically started only by the
IMPORTANT: Do not turn off the power of the server in the interval between a fault of a hard disk to the end of the auto rebuild process.
Wait at least 90 seconds from the time you remove a defective disk drive to the time you install the replacement disk drive.
If a hard disk is rebuilding, do not replace another disk. (The disk lamp on the hard disk being rebuilt is lit green or amber alternatively.)