CPU Removal
1.Observe the safety and ESD precautions listed under General Information and Static Precautions at the beginning of this chapter.
2.Prepare your system for upgrade. See Preparing Your System for Disassembly and Reassembly described earlier in this chapter.
3.Remove the
!CAUTION
Observe static precautions. Use an antistatic wrist strap.
Hold the processor only by its edges.
4.Locate the appropriate processor on the CPU board. See Figure
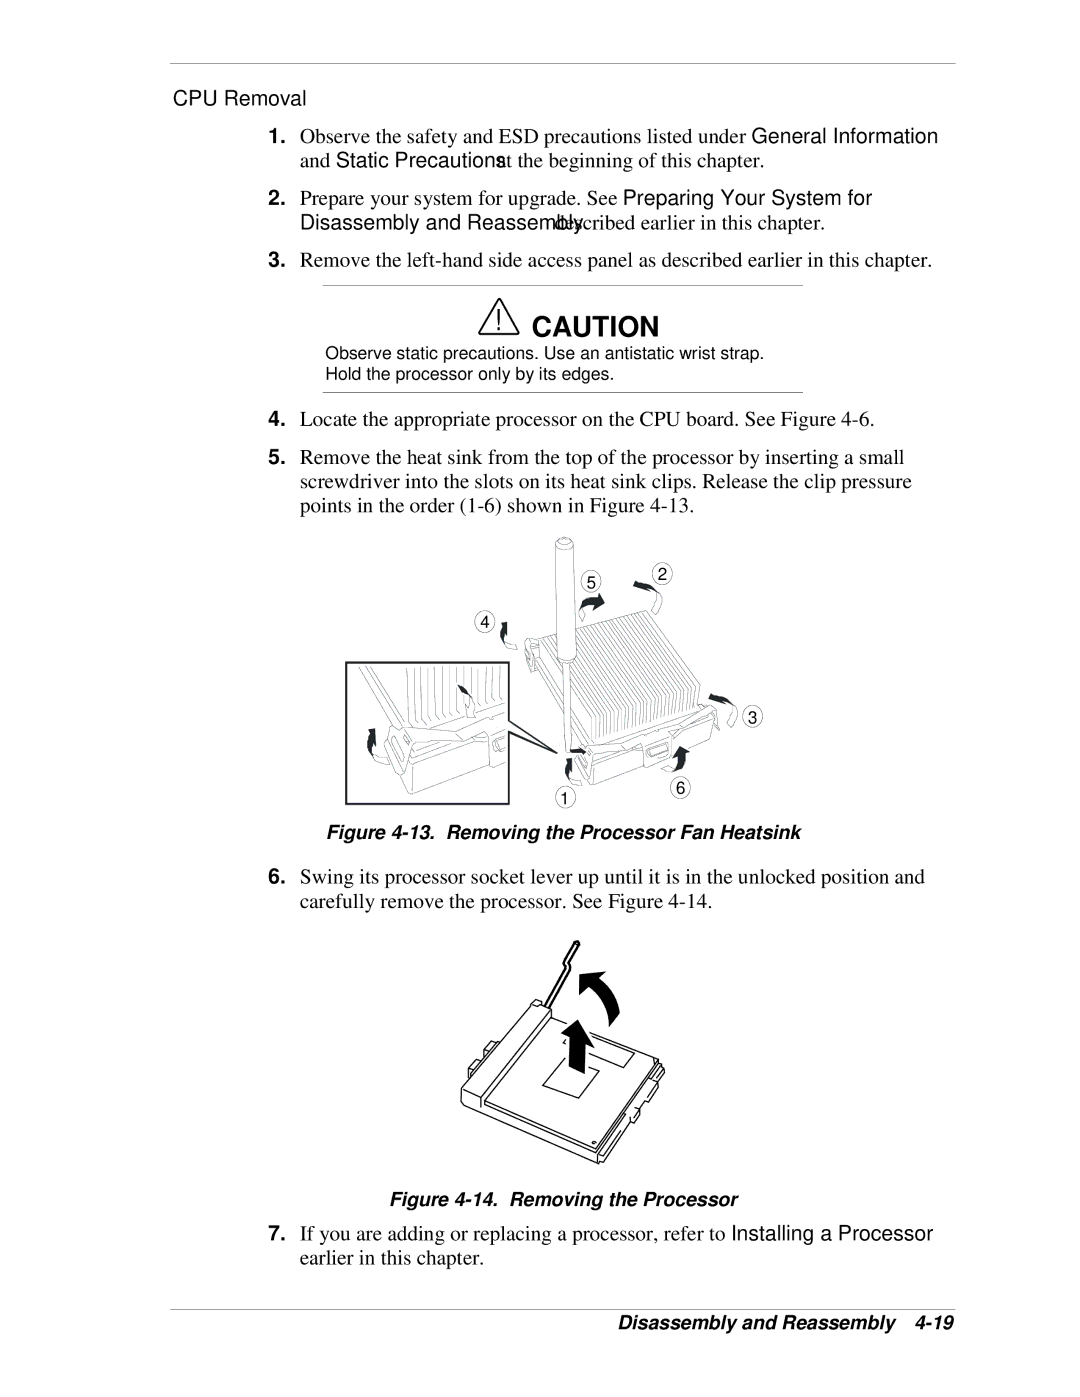
5.Remove the heat sink from the top of the processor by inserting a small screwdriver into the slots on its heat sink clips. Release the clip pressure points in the order
5 2
4
3
16
Figure 4-13. Removing the Processor Fan Heatsink
6.Swing its processor socket lever up until it is in the unlocked position and carefully remove the processor. See Figure
Figure 4-14. Removing the Processor
7.If you are adding or replacing a processor, refer to Installing a Processor earlier in this chapter.