Diskette Drive and Carrier Assembly
Your server system contains a
To remove the diskette drive and carrier assembly, perform the following procedures:
1.Prepare your system for disassembly. See Preparing Your System for Disassembly and Reassembly earlier in this chapter.
2.Remove the
!CAUTION
For proper cooling and airflow, do not operate the system with the side access panel removed. Always replace the panel before powering on the system.
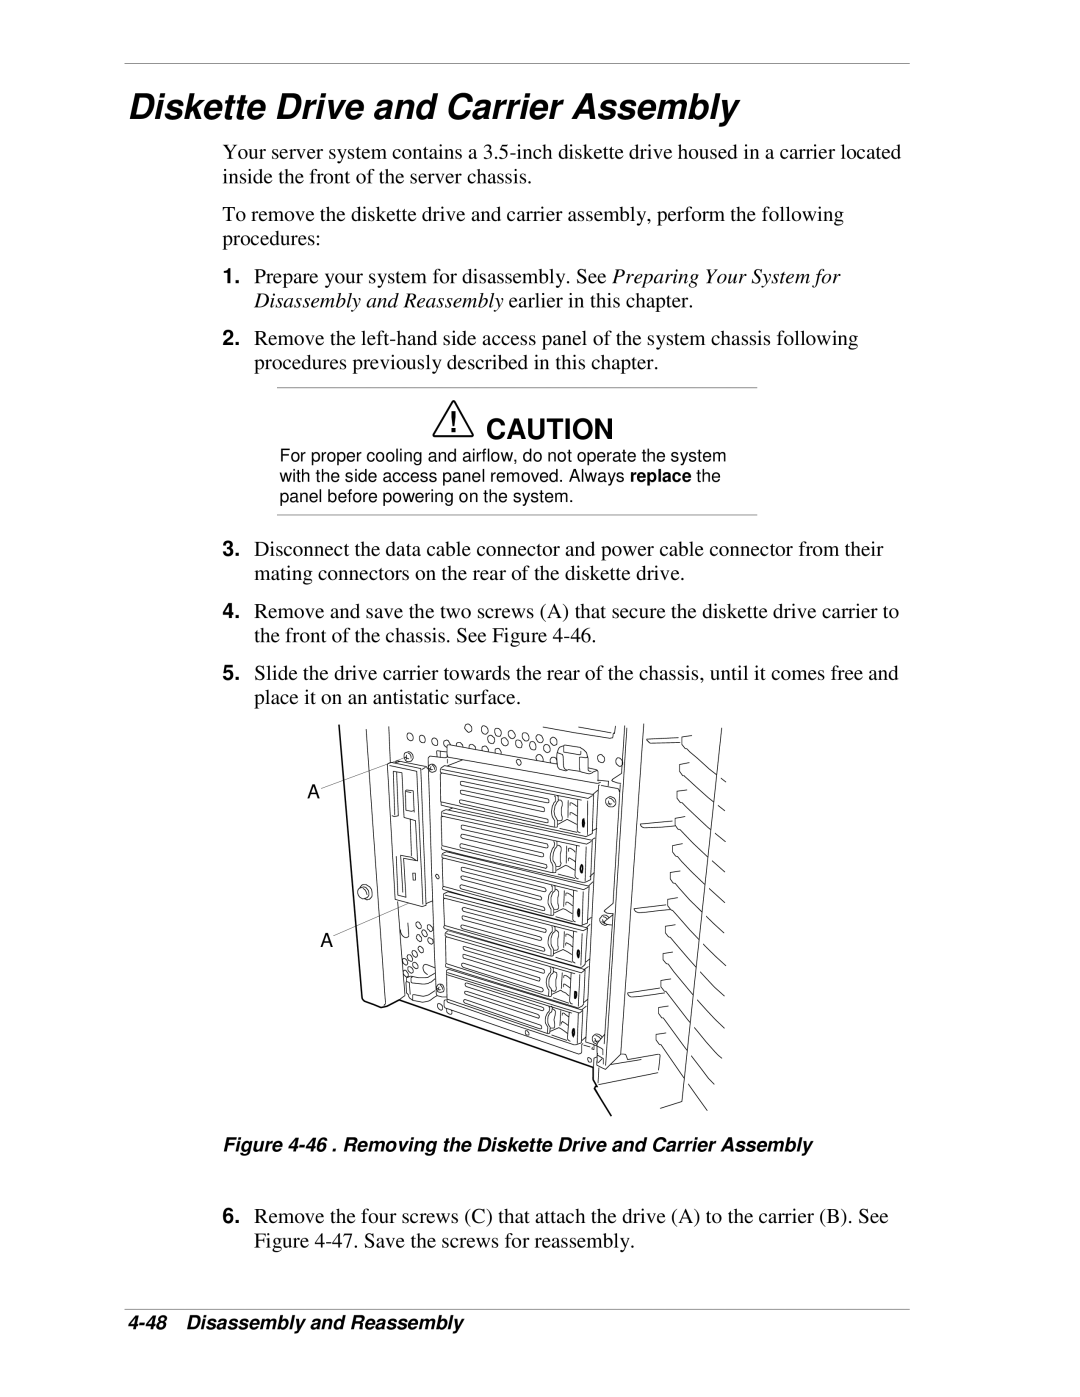
3.Disconnect the data cable connector and power cable connector from their mating connectors on the rear of the diskette drive.
4.Remove and save the two screws (A) that secure the diskette drive carrier to the front of the chassis. See Figure
5.Slide the drive carrier towards the rear of the chassis, until it comes free and place it on an antistatic surface.
A
A
Figure 4-46 . Removing the Diskette Drive and Carrier Assembly
6.Remove the four screws (C) that attach the drive (A) to the carrier (B). See Figure