Using the BayStack 450 10/100/1000 Series Switch
VLAN Configuration
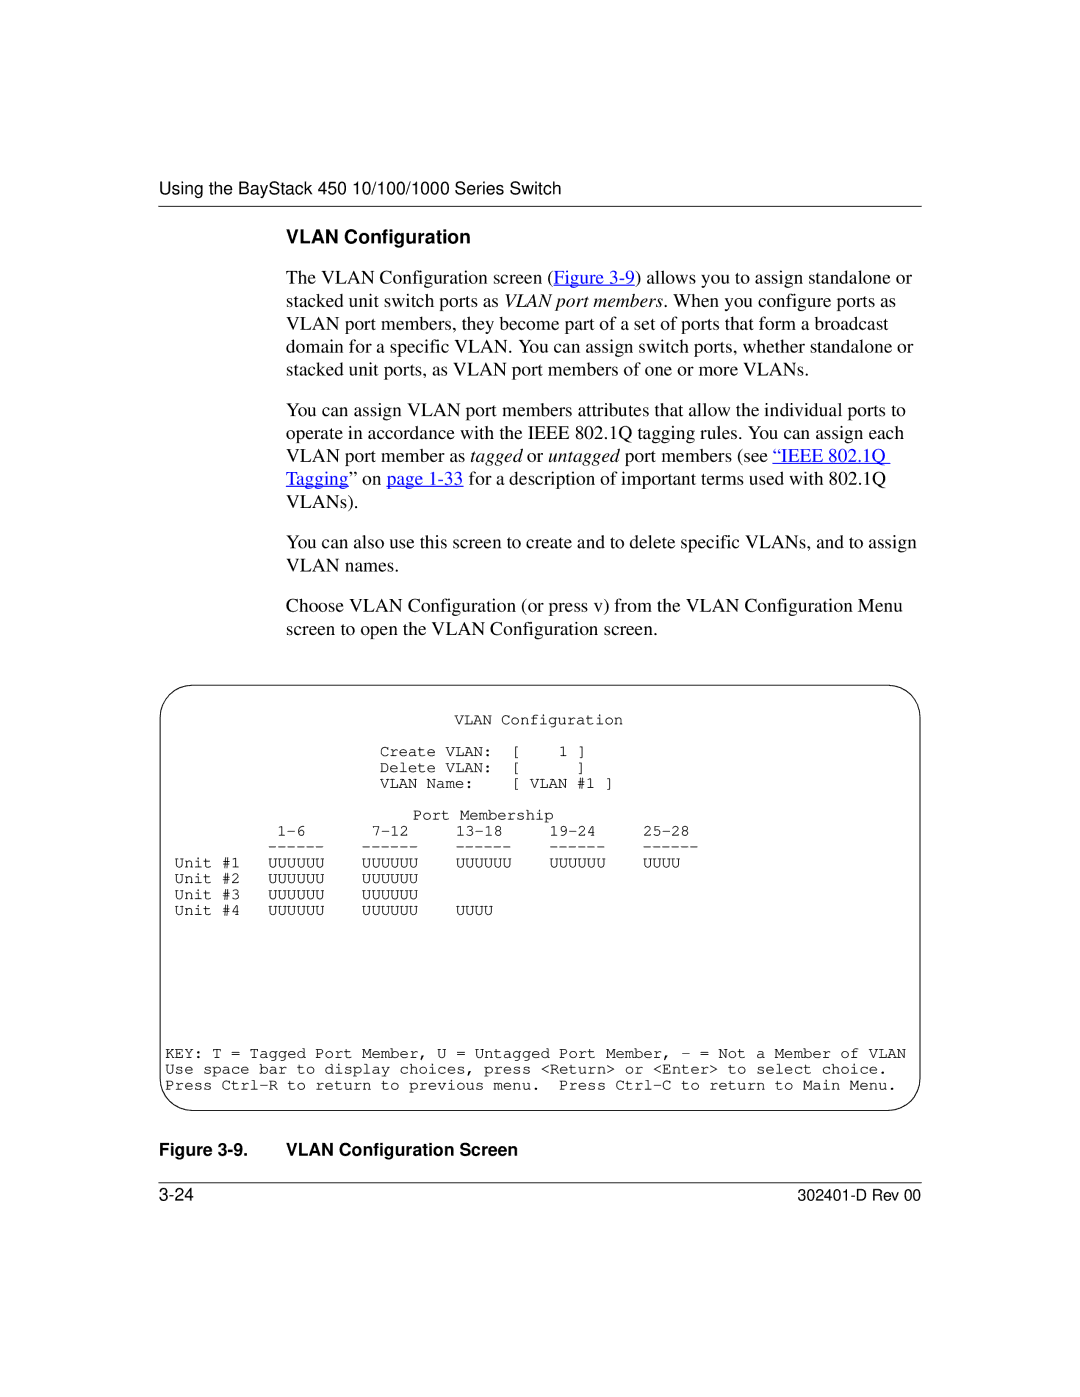
The VLAN Configuration screen (Figure
You can assign VLAN port members attributes that allow the individual ports to operate in accordance with the IEEE 802.1Q tagging rules. You can assign each VLAN port member as tagged or untagged port members (see “ IEEE 802.1Q Tagging” on page
You can also use this screen to create and to delete specific VLANs, and to assign VLAN names.
Choose VLAN Configuration (or press v) from the VLAN Configuration Menu screen to open the VLAN Configuration screen.
|
|
| VLAN Configuration |
| ||
|
| Create VLAN: | [ | 1 ] |
| |
|
| Delete VLAN: | [ | ] |
| |
|
| VLAN Name: | [ VLAN #1 ] |
| ||
|
| Port Membership |
| |||
|
| |||||
| ||||||
Unit #1 | UUUUUU | UUUUUU | UUUUUU | UUUUUU | UUUU | |
Unit #2 | UUUUUU | UUUUUU |
|
|
|
|
Unit #3 | UUUUUU | UUUUUU |
|
|
|
|
Unit #4 | UUUUUU | UUUUUU | UUUU |
|
|
|
KEY: T = Tagged Port Member, U = Untagged Port Member, - = Not a Member of VLAN Use space bar to display choices, press <Return> or <Enter> to select choice. Press
