BayStack 450 10/100/1000 Series Switches
To configure the port priority level, follow these steps:
1.Determine the priority level you want to assign to the switch port.
User priority levels are assigned default settings in all BayStack 450 switches. The range is from 0 to 7. The traffic class table can be modified; therefore, view the settings shown in the Traffic Class Configuration screen before setting the port priority in the VLAN Port Configuration screen.
2.Select Switch Configuration from the BayStack
3.From the Switch Configuration Menu, select VLAN Configuration (or press v).
4.From the VLAN Configuration Menu, select Traffic Class Configuration (or press t).
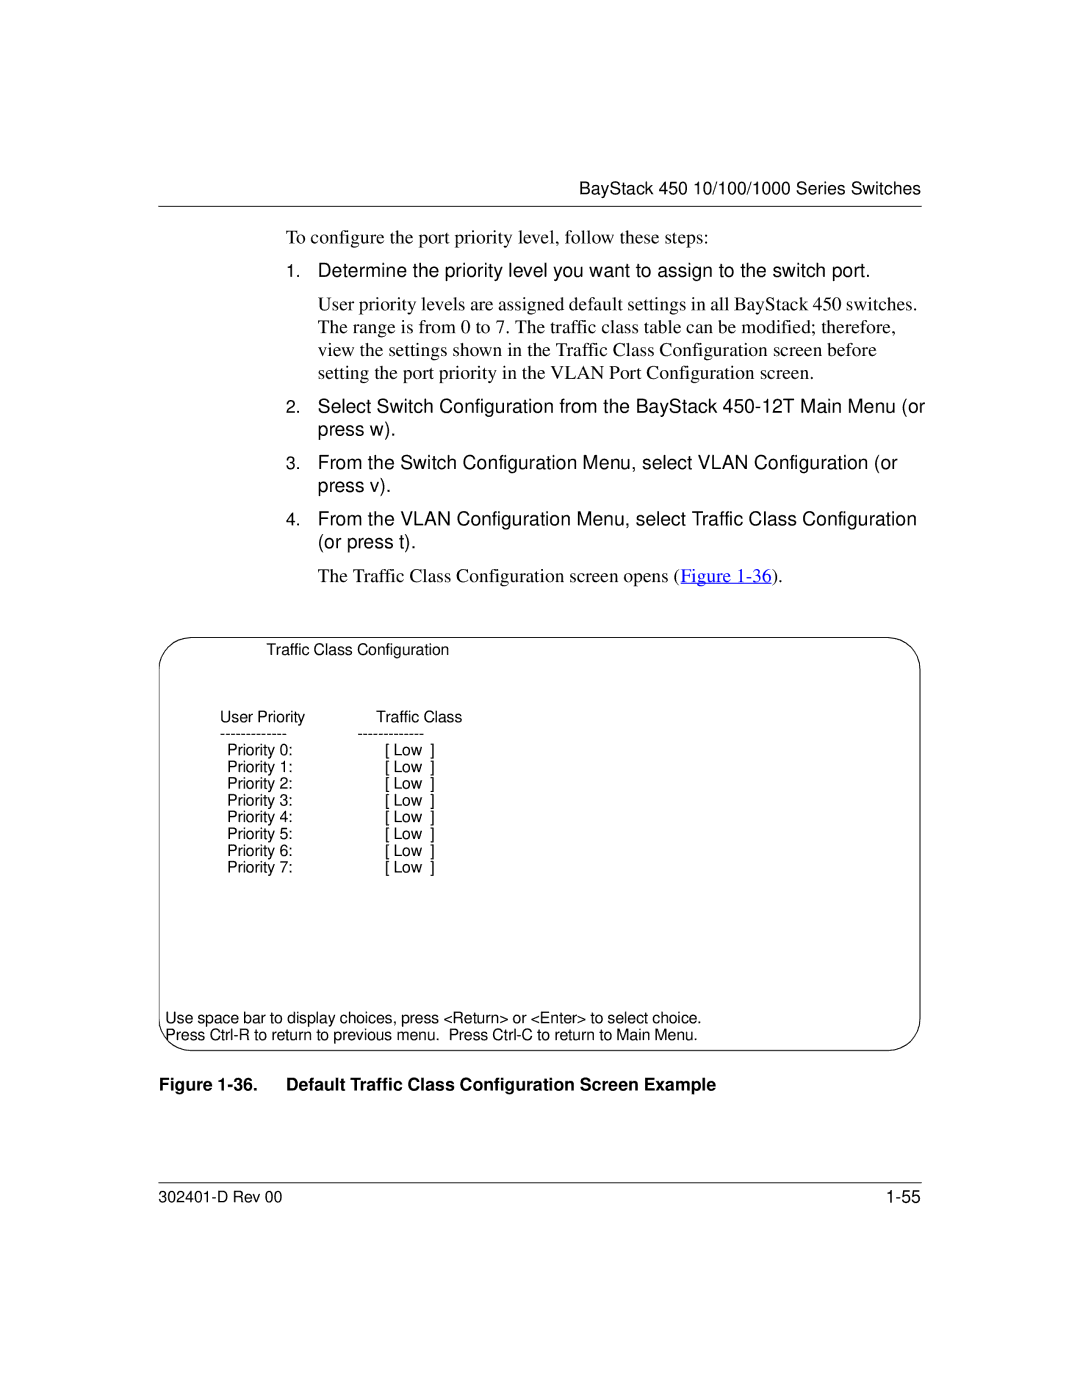
The Traffic Class Configuration screen opens (Figure 1-36).
Traffic Class Configuration |
| |
User Priority | Traffic Class | |
Priority 0: | [ Low | ] |
Priority 1: | [ Low | ] |
Priority 2: | [ Low | ] |
Priority 3: | [ Low | ] |
Priority 4: | [ Low | ] |
Priority 5: | [ Low | ] |
Priority 6: | [ Low | ] |
Priority 7: | [ Low | ] |
Use space bar to display choices, press <Return> or <Enter> to select choice. Press
Figure 1-36. Default Traffic Class Configuration Screen Example
|
