Section 7. Factory Resets
7.3 Clear Head Counters
To reset the printer to the factory settings, perform the following steps.
Caution: Resetting the printer will clear all registers.
STEP | PROCEDURE |
1.Record all current dip switch positions, then place all switches in the OFF position.
2.Place the
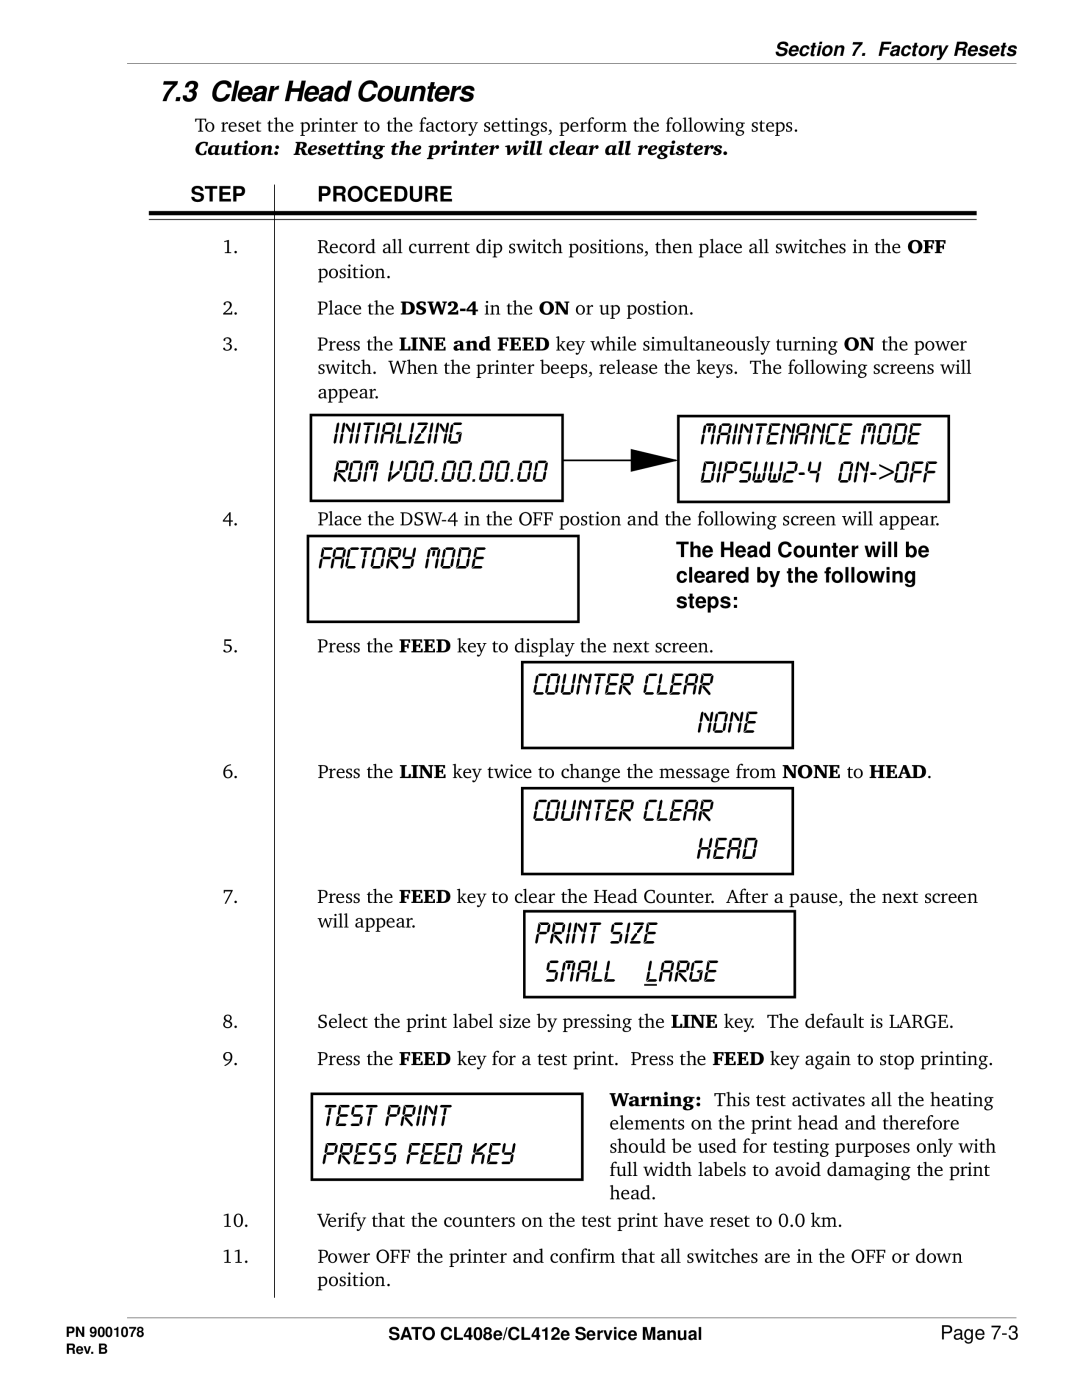
3.Press the LINE and FEED key while simultaneously turning ON the power switch. When the printer beeps, release the keys. The following screens will appear.
initializing |
| maintenance mode |
rom v00.00.00.00 |
| |
| ||
|
|
|
4.Place the
factory mode | The Head Counter will be | |
cleared by the following | ||
| ||
| steps: | |
|
|
5.Press the FEED key to display the next screen.
counter clear none
6.Press the LINE key twice to change the message from NONE to HEAD.
counter clear head
7.Press the FEED key to clear the Head Counter. After a pause, the next screen
will appear.
small large
8.Select the print label size by pressing the LINE key. The default is LARGE.
9.Press the FEED key for a test print. Press the FEED key again to stop printing.
Warning: This test activates all the heating elements on the print head and therefore should be used for testing purposes only with full width labels to avoid damaging the print head.
10.Verify that the counters on the test print have reset to 0.0 km.
11.Power OFF the printer and confirm that all switches are in the OFF or down position.
PN 9001078 | SATO CL408e/CL412e Service Manual | Page |
Rev. B |
|
|
