Section 2. Configuration
LCD Panel — Service Mode
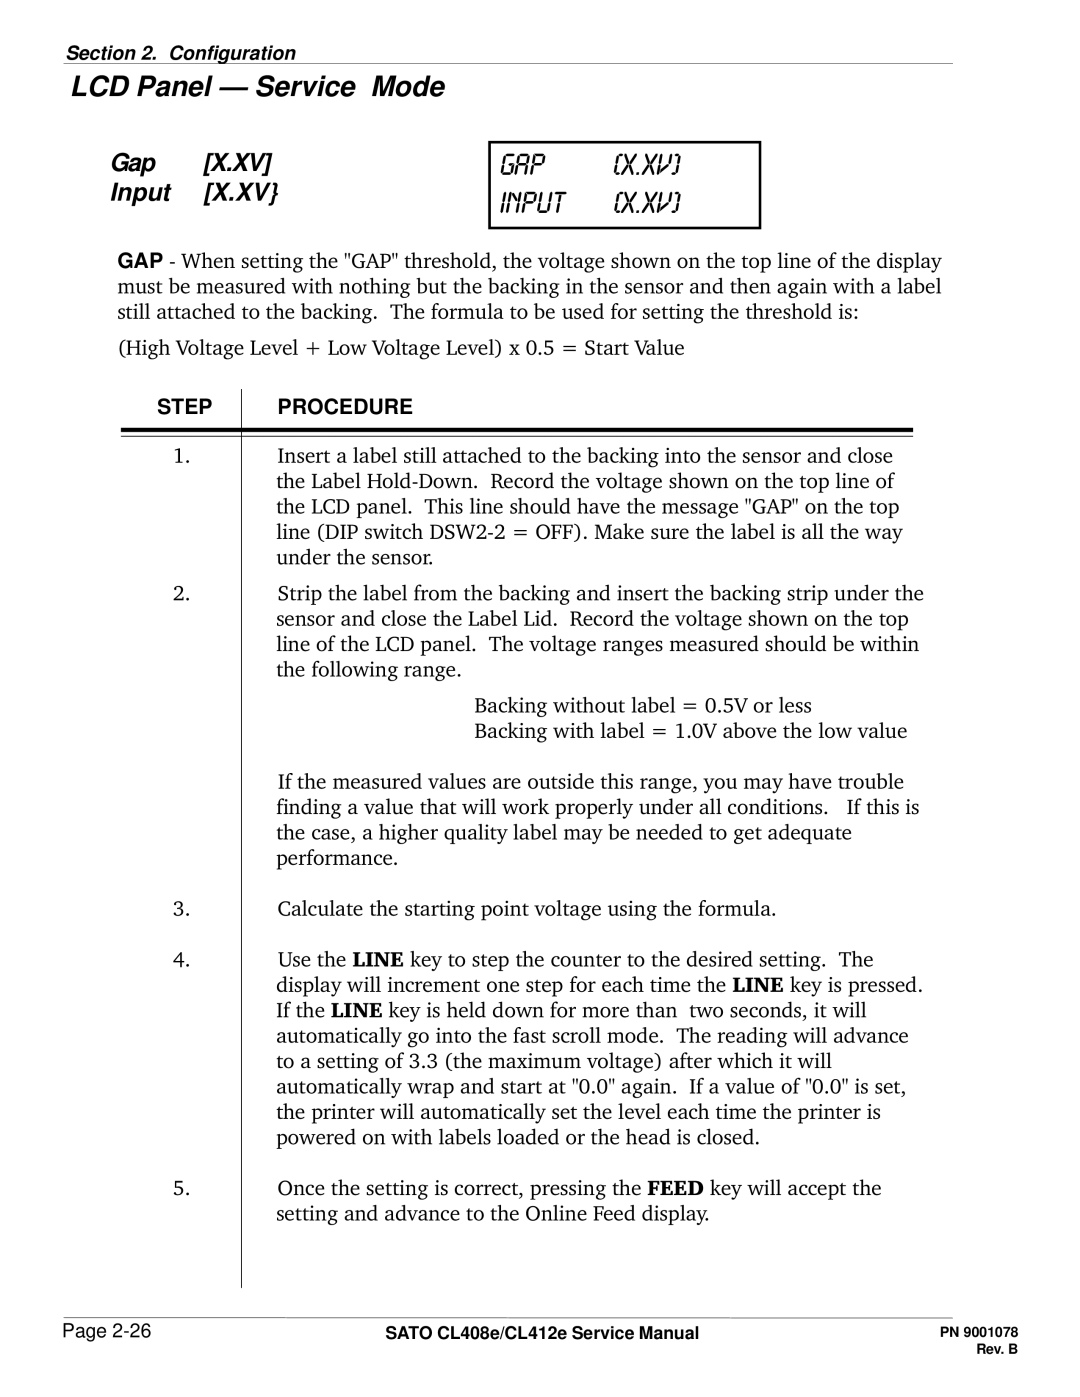
Gap [X.XV] Input [X.XV}
gap [x.xv] input [x.xv]
GAP - When setting the "GAP" threshold, the voltage shown on the top line of the display must be measured with nothing but the backing in the sensor and then again with a label still attached to the backing. The formula to be used for setting the threshold is:
(High Voltage Level + Low Voltage Level) x 0.5 = Start Value
STEP | PROCEDURE |
1.Insert a label still attached to the backing into the sensor and close the Label
2.Strip the label from the backing and insert the backing strip under the sensor and close the Label Lid. Record the voltage shown on the top line of the LCD panel. The voltage ranges measured should be within the following range.
Backing without label = 0.5V or less
Backing with label = 1.0V above the low value
If the measured values are outside this range, you may have trouble finding a value that will work properly under all conditions. If this is the case, a higher quality label may be needed to get adequate performance.
3.Calculate the starting point voltage using the formula.
4.Use the LINE key to step the counter to the desired setting. The display will increment one step for each time the LINE key is pressed. If the LINE key is held down for more than two seconds, it will automatically go into the fast scroll mode. The reading will advance to a setting of 3.3 (the maximum voltage) after which it will automatically wrap and start at "0.0" again. If a value of "0.0" is set, the printer will automatically set the level each time the printer is powered on with labels loaded or the head is closed.
5.Once the setting is correct, pressing the FEED key will accept the setting and advance to the Online Feed display.
Page | SATO CL408e/CL412e Service Manual |