Section 4. Electric Checks and Adjustments
4.9a Ribbon Sensor Operation Verification
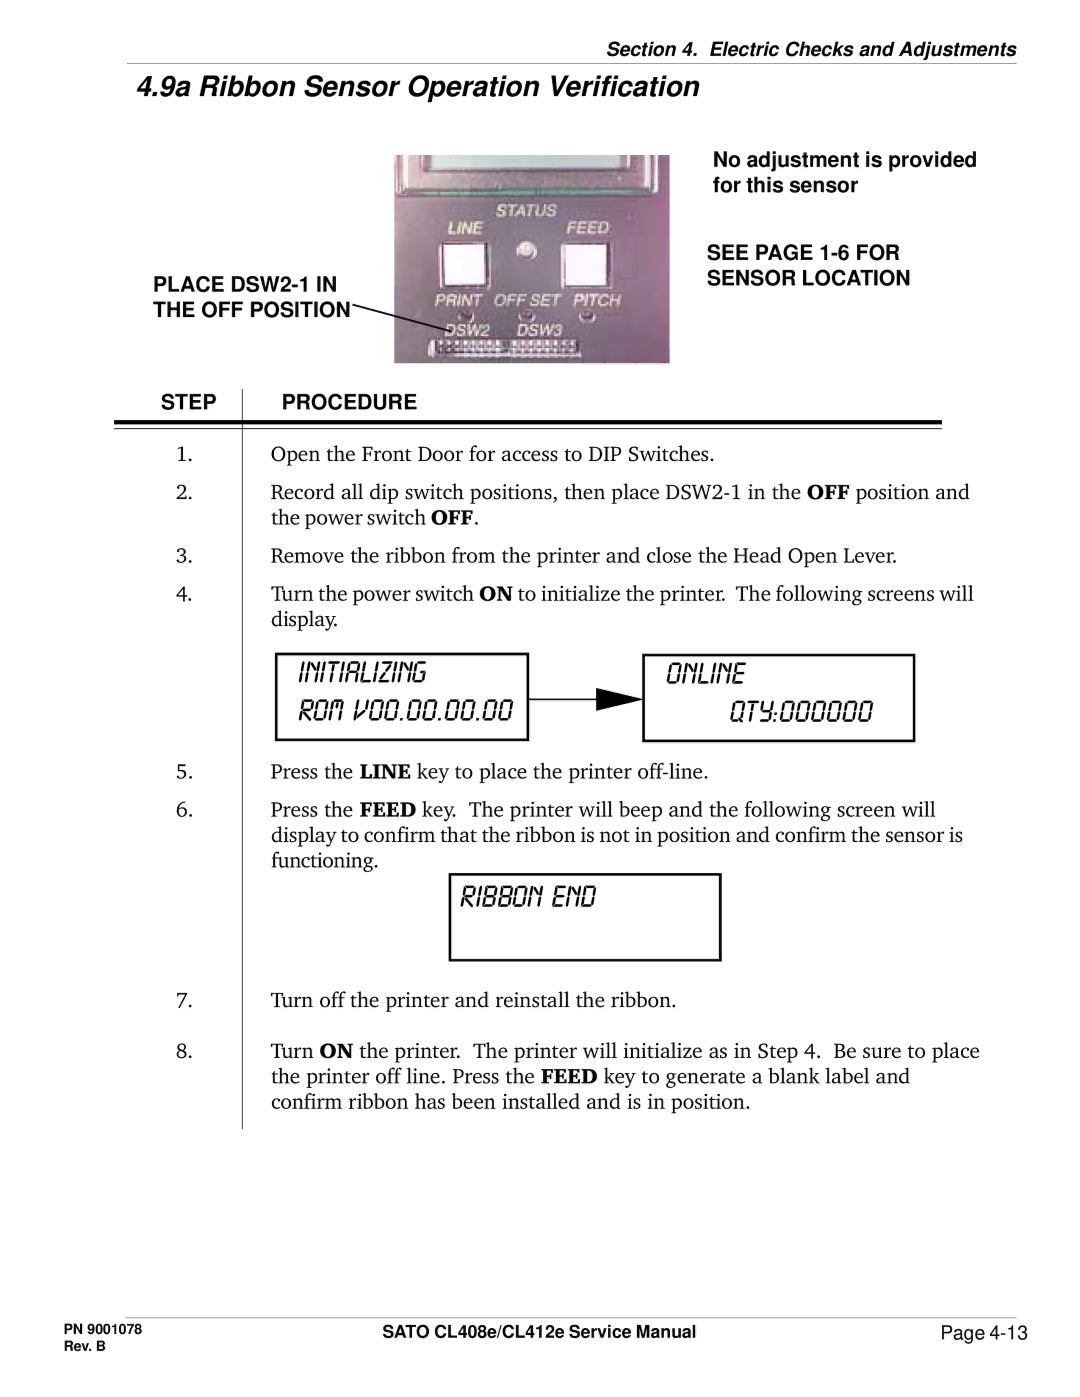
No adjustment is provided for this sensor
SEE PAGE
PLACE ![]()
STEP | PROCEDURE |
1.Open the Front Door for access to DIP Switches.
2.Record all dip switch positions, then place
3.Remove the ribbon from the printer and close the Head Open Lever.
4.Turn the power switch ON to initialize the printer. The following screens will display
initializing |
| online |
rom v00.00.00.00 |
| qty:000000 |
| ||
|
|
|
5.Press the LINE key to place the printer
6.Press the FEED key. The printer will beep and the following screen will display to confirm that the ribbon is not in position and confirm the sensor is functioning.
Ribbon end
7.Turn off the printer and reinstall the ribbon.
8.Turn ON the printer. The printer will initialize as in Step 4. Be sure to place the printer off line. Press the FEED key to generate a blank label and confirm ribbon has been installed and is in position.
PN 9001078 | SATO CL408e/CL412e Service Manual | Page |
Rev. B |
|
|