Section 9. Optional Accessories
9.6 Real Time Clock Installation
The Real Time Clock Chip allows the date and time to be maintained in the local printer rather than using the system clock. It consists of a special clock chip that replaces the EEPROM chip on the main PCB.
STEP | PROCEDURE |
1.Turn the printer OFF and disconnect the AC power cord.
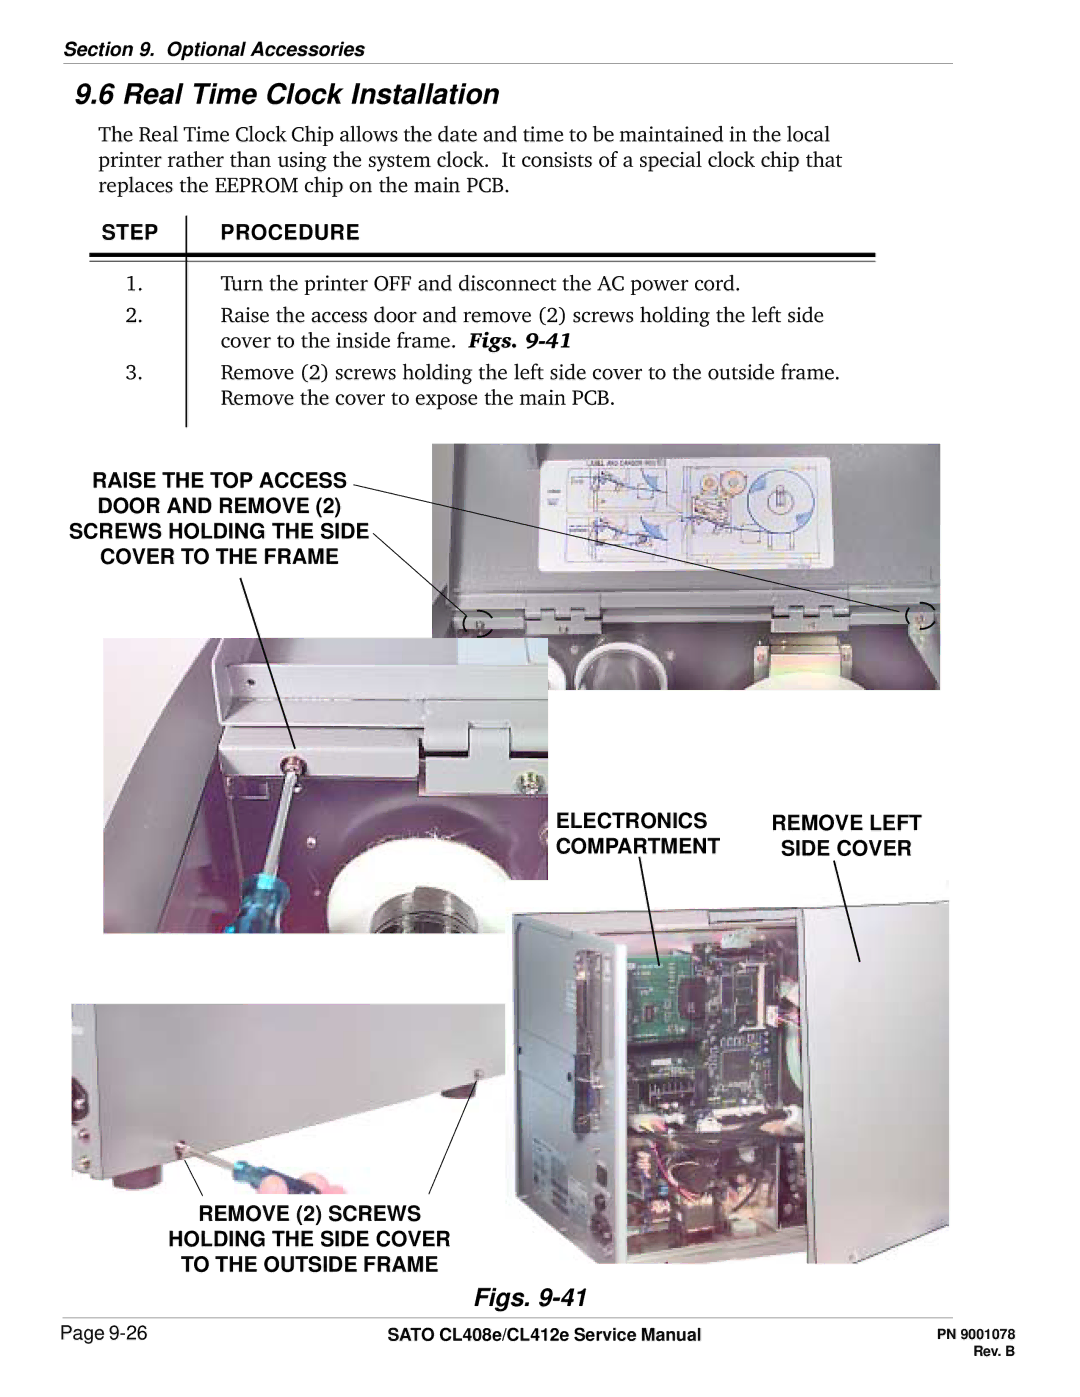
2.Raise the access door and remove (2) screws holding the left side cover to the inside frame. Figs.
3.Remove (2) screws holding the left side cover to the outside frame. Remove the cover to expose the main PCB.
RAISE THE TOP ACCESS
DOOR AND REMOVE (2)
SCREWS HOLDING THE SIDE
COVER TO THE FRAME
ELECTRONICS | REMOVE LEFT |
COMPARTMENT | SIDE COVER |
REMOVE (2) SCREWS
HOLDING THE SIDE COVER
TO THE OUTSIDE FRAME
Figs. 9-41
Page | SATO CL408e/CL412e Service Manual |