Section 2. Configuration
LCD Panel — Counters Mode
STEP PROCEDURE
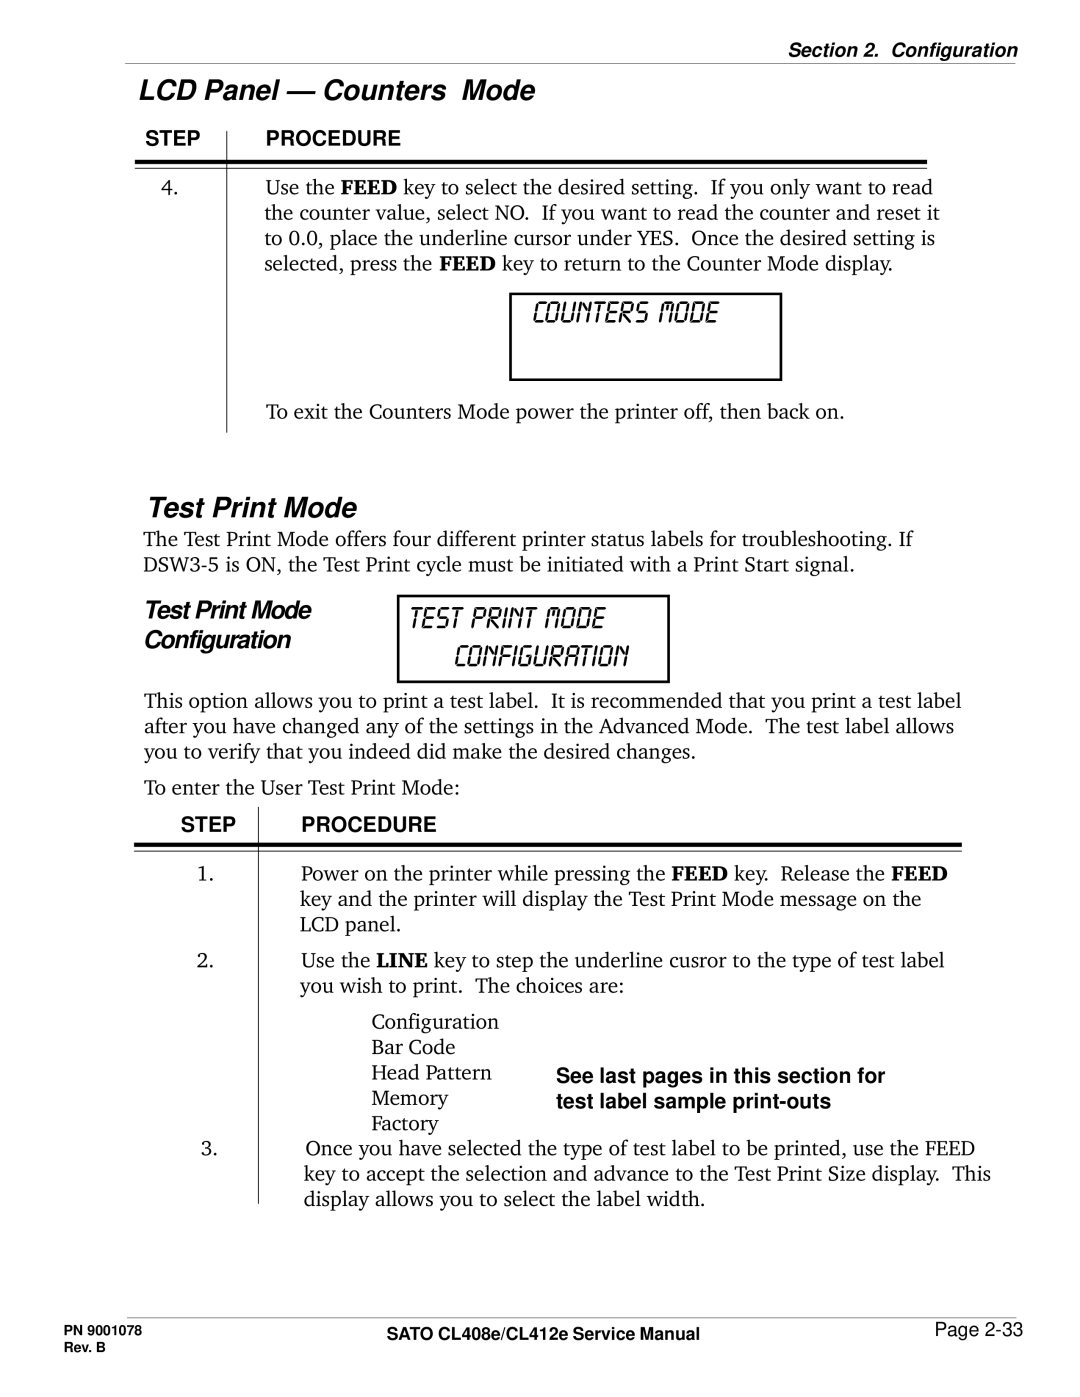
4.Use the FEED key to select the desired setting. If you only want to read the counter value, select NO. If you want to read the counter and reset it to 0.0, place the underline cursor under YES. Once the desired setting is selected, press the FEED key to return to the Counter Mode display.
counters mode
To exit the Counters Mode power the printer off, then back on.
Test Print Mode
The Test Print Mode offers four different printer status labels for troubleshooting. If
Test Print Mode Configuration
test print mode configuration
This option allows you to print a test label. It is recommended that you print a test label after you have changed any of the settings in the Advanced Mode. The test label allows you to verify that you indeed did make the desired changes.
To enter the User Test Print Mode:
STEP | PROCEDURE |
1.Power on the printer while pressing the FEED key. Release the FEED key and the printer will display the Test Print Mode message on the LCD panel.
2.Use the LINE key to step the underline cusror to the type of test label you wish to print. The choices are:
Configuration
Bar Code
Head Pattern
Memory
Factory
3.Once you have selected the type of test label to be printed, use the FEED key to accept the selection and advance to the Test Print Size display. This display allows you to select the label width.
PN 9001078 | SATO CL408e/CL412e Service Manual | Page |
Rev. B |
|
|
