Section 2. Configuration
LCD Panel— Advanced Mode
Advanced mode is provided to make adjustments that require only occasional adjustments. Since they affect the basic operation of the printer, the procedure for entering this mode is designed to prevent someone from accidentally changing the settings.
To Enter Advanced Mode:
STEP | PROCEDURE |
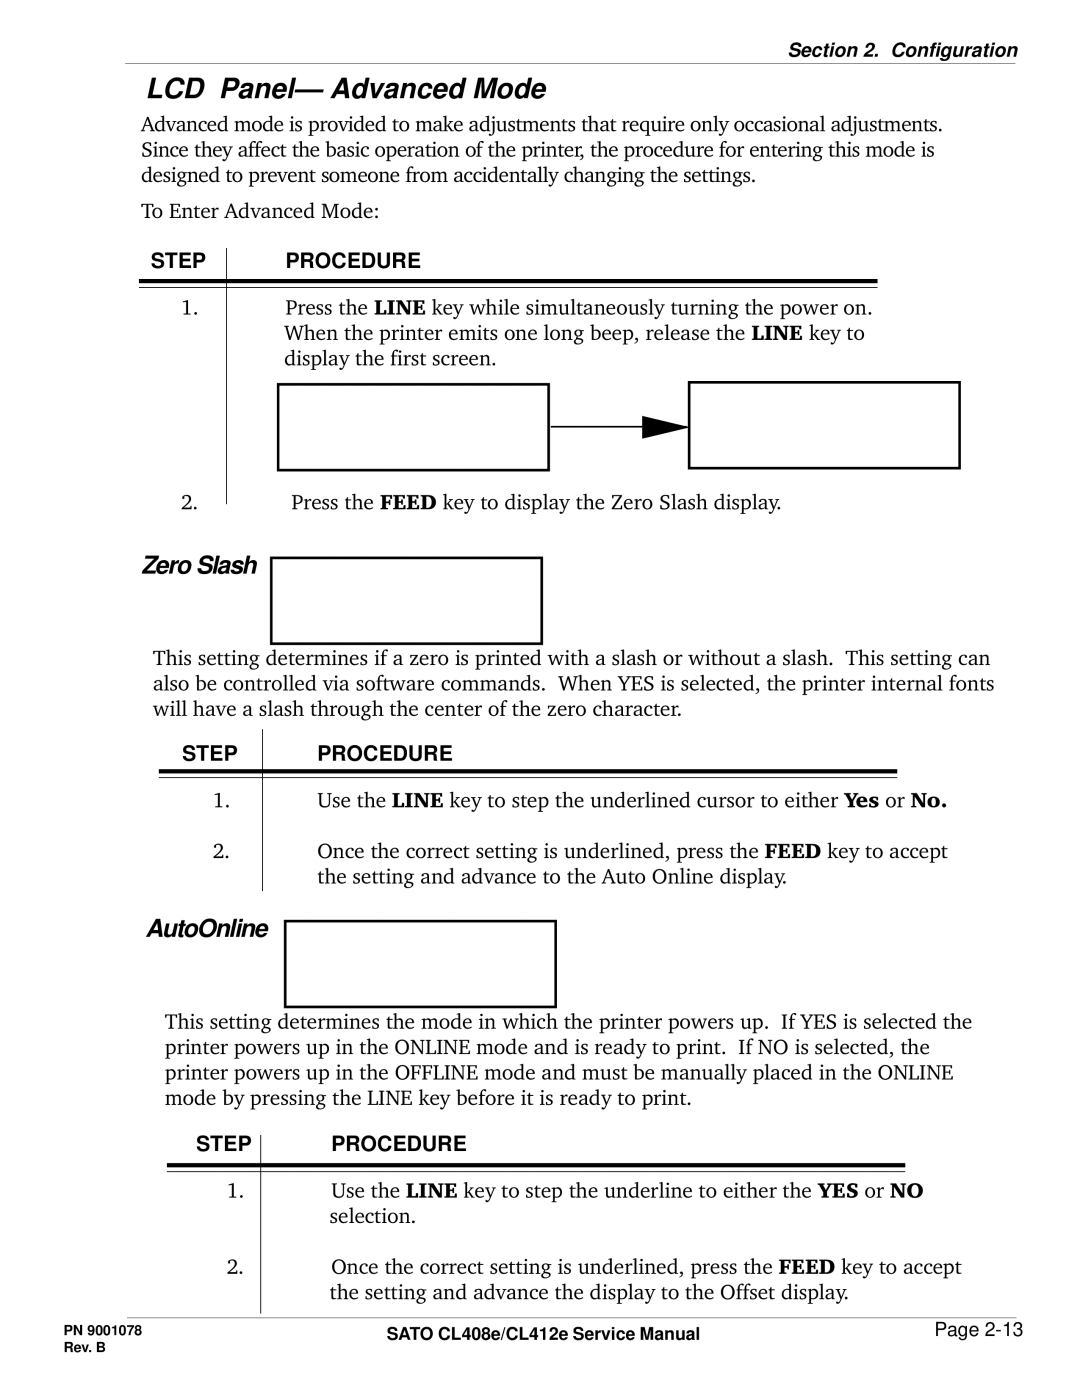
1.Press the LINE key while simultaneously turning the power on. When the printer emits one long beep, release the LINE key to display the first screen.
initializing |
| advanced mode |
rom v00.00.00.00 |
|
|
|
| |
|
|
|
|
|
|
2.
Press the FEED key to display the Zero Slash display.
Zero Slash
ZERO SLASH
YES NO
This setting determines if a zero is printed with a slash or without a slash. This setting can also be controlled via software commands. When YES is selected, the printer internal fonts will have a slash through the center of the zero character.
STEP | PROCEDURE |
1.Use the LINE key to step the underlined cursor to either Yes or No.
2.Once the correct setting is underlined, press the FEED key to accept the setting and advance to the Auto Online display.
AutoOnline
auto online
YES NO
This setting determines the mode in which the printer powers up. If YES is selected the printer powers up in the ONLINE mode and is ready to print. If NO is selected, the printer powers up in the OFFLINE mode and must be manually placed in the ONLINE mode by pressing the LINE key before it is ready to print.
STEP | PROCEDURE |
1.Use the LINE key to step the underline to either the YES or NO selection.
2.Once the correct setting is underlined, press the FEED key to accept the setting and advance the display to the Offset display.
PN 9001078 | SATO CL408e/CL412e Service Manual | Page |
Rev. B |
|
|