Section 2. Configuration
LCD Panel — Normal Mode
Print Speed Adjustment
There are five Speed settings on the printer. The setting is listed on the bottom line of the display. The current setting is indicated by an underline under one of the speed settings. To change the setting:
STEP PROCEDURE
1.Use the LINE key to step the underlined cursor to the desired speed setting.
2 = 2 in/s (50mm/s)
3 = 3 in/s (75mm/s)
4 = 4 in/s (100mm/s)
5 = 5 in/s (125mm/s)
6 = 6 in/s (150mm/s)
PRINT speed
2 3 4 5 6
2.Once the correct setting is underlined, press the FEED key to accept the setting and advance to the next adjustment.
Pitch Offset Adjustment
The label pitch is the distance from the leading edge (the edge that comes out of the printer first) of a label and the leading edge of the next label. The leading edge position of the label can be adjusted relative to the print head +/- 49mm in increments of 1mm. Once the position is set, it can be fine adjusted +/- 3.75mm using the PITCH potentiometer on the adjustment panel.
STEP | PROCEDURE |
1.The underline cursor will initially be positioned underneath the Pitch Direction setting. Use the LINE key to step the underline to either the positive (+) or negative
2.Once the correct setting is underlined, press the FEED key to accept the setting and advance to the Offset adjustment.
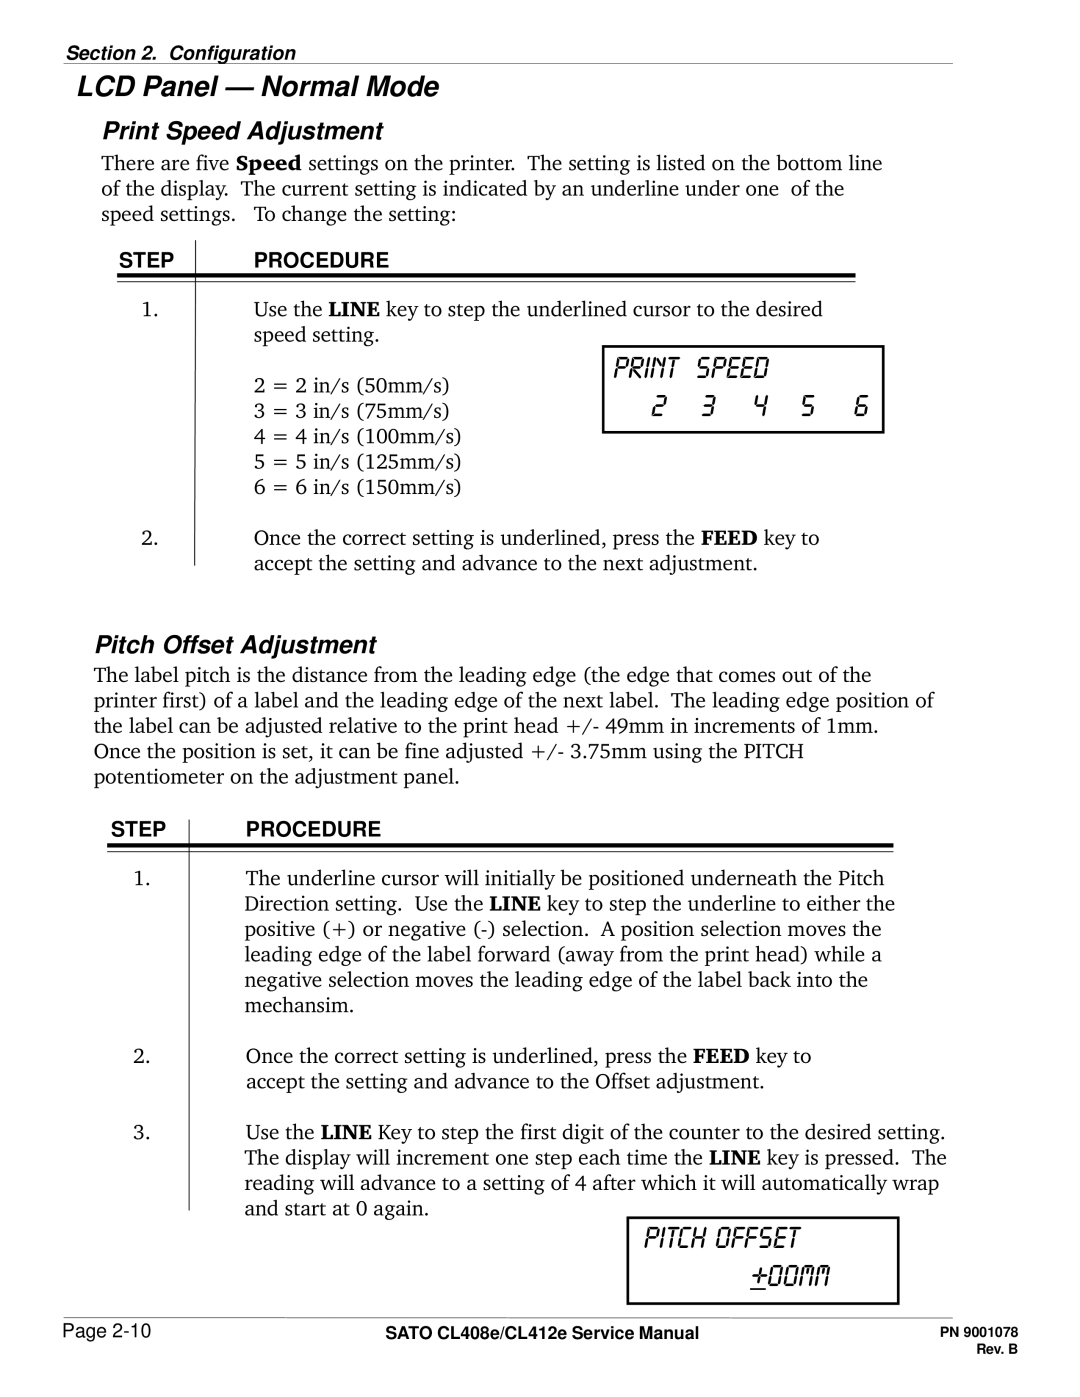
3.Use the LINE Key to step the first digit of the counter to the desired setting. The display will increment one step each time the LINE key is pressed. The reading will advance to a setting of 4 after which it will automatically wrap and start at 0 again.
pitch offset +00mm
Page | SATO CL408e/CL412e Service Manual |