Commissioning (software) 4.4 Creating an axis
4.4Creating an axis
Overview
The SIMOTION SCOUT Engineering System can be used to insert axes in your project.
1.Start a session of the Axis Wizard in order to configure the axes and interconnect these with the SINAMICS Integrated drive.
2.Insert your user programs into the project.
3.Compile the project and download it to SIMOTION D410.
Note
Note that only one real axis can be used on a SIMOTION D410.
Creating an axis using the Axis Wizard
Axes are integrated as technology objects (TOs) in SIMOTION. Create the axis with corresponding settings under the SIMOTION D410 and then interconnect it with SINAMICS Integrated.
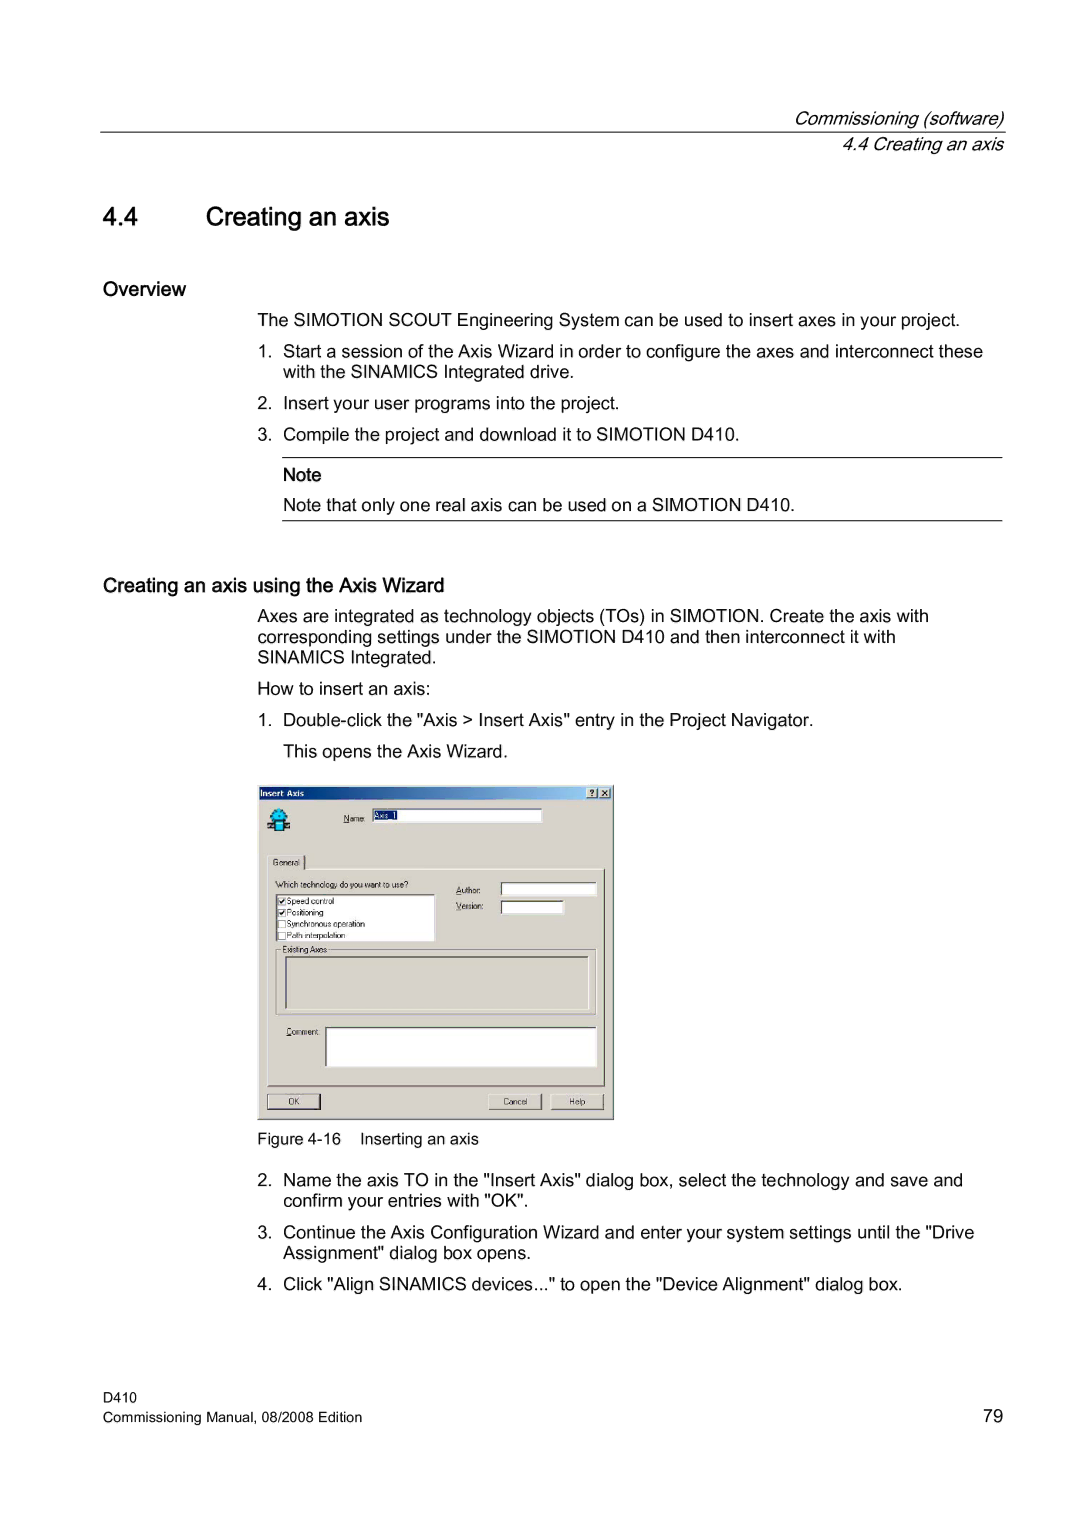
How to insert an axis:
1.
Figure 4-16 Inserting an axis
2.Name the axis TO in the "Insert Axis" dialog box, select the technology and save and confirm your entries with "OK".
3.Continue the Axis Configuration Wizard and enter your system settings until the "Drive Assignment" dialog box opens.
4.Click "Align SINAMICS devices..." to open the "Device Alignment" dialog box.
D410 | 79 |
Commissioning Manual, 08/2008 Edition |